
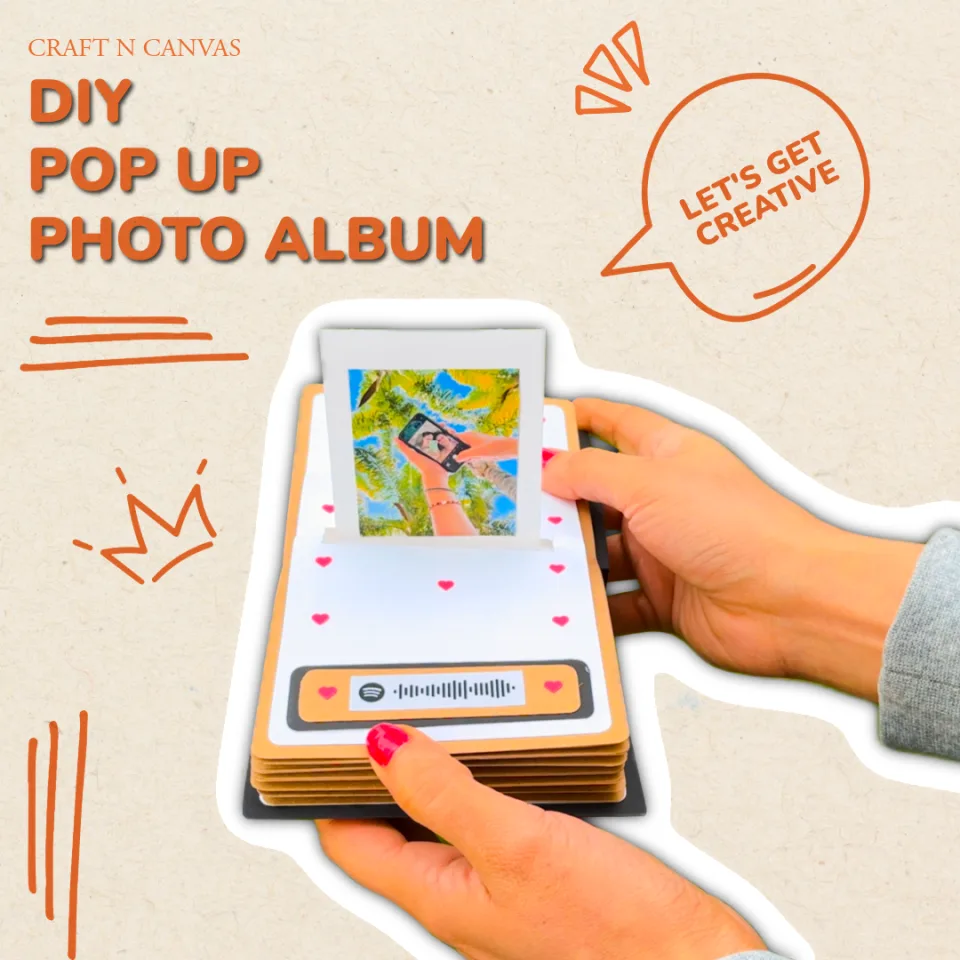
Looking for a creative and heartfelt gift idea? Or maybe you want a beautiful way to store your favourite memories? You’re in the right place! In this blog post, I’ll show you how to make a DIY Pop-Up Photo Album complete with surprise flower pop-ups and photo spaces. The best part? You can Download all the templates here!
Let’s dive in!
What You’ll Need
To create this easy DIY Pop-Up Photo Album, here’s a quick checklist:
· Cardboard papers
· Scissors or craft cutter
· Glue stick or craft glue
· Ruler
· Pencil
· Photos, stickers, and decorations
Download Your Free Templates
We’ve made things super simple for you! All the folding and cutting templates are available as a free download on our website.
Step-by-Step Instructions
1. Prepare Your Album Sheets
Start with 8 pieces of 11×19 cm cardboard. These will be your Album Sheets the base for each photo pop-up page. Use the templates from our website to fold and cut them properly.
2. Create the Pop Base
Next, cut 8 pieces of 10×18 cm cardboard for your Pop Base. Follow the template guides to fold and shape them. These will make your pop-ups come to life!
3. Add the Photo Base
Now take 8 pieces of 9×21 cm cardboard for the Photo Base. Fold and cut each piece using the template to ensure consistency.
4. Make the Flower Base
Cut one piece of 11×19 cm cardboard. This is your Flower Base and will hold a surprise flower pop-up at the end of the album.
How to Make the Flower Pop-Up
This is the wow moment of the album! Here’s how to make it:
· Cut seven 3×3 cm colored paper squares.
· Fold each square Horizontally and then vertically forming a small square.
· Fold bottom right corner to top left corner of square forming a triangle. (Refer our video tutorial if you are visual learner)
· Draw and cut out a leaf or petal shape.
· Open it up, cut one section, and glue the edges to form a 3D flower.
· Repeat the process for all 7 flowers.
· Stick them together in a fan-like arrangement, then glue them onto the Flower Base.
This pop-up adds a surprise element at the end of your album that your recipient will love!
Assembling Your Photo Album
· Stick a Photo Base to an Album Sheet.
· Add the Pop Base on top of the Photo Base.
· Repeat for all 8 sheets.
· Glue all the Album Sheets together one after another.
· Cut a 12×22 cm cardboard piece to make your Album Base.
· Fold and shape it as per the template and attach all the Album Sheets to it.
Your structure is now complete!
Time to Decorate!
Now for the fun part decorating! Use:
Printed photos
Cute stickers
Doodles or handwritten notes
Spotify song codes (great for a personal touch!)
Washi tape, hearts, and more
Make it personal, meaningful, and totally yours.