
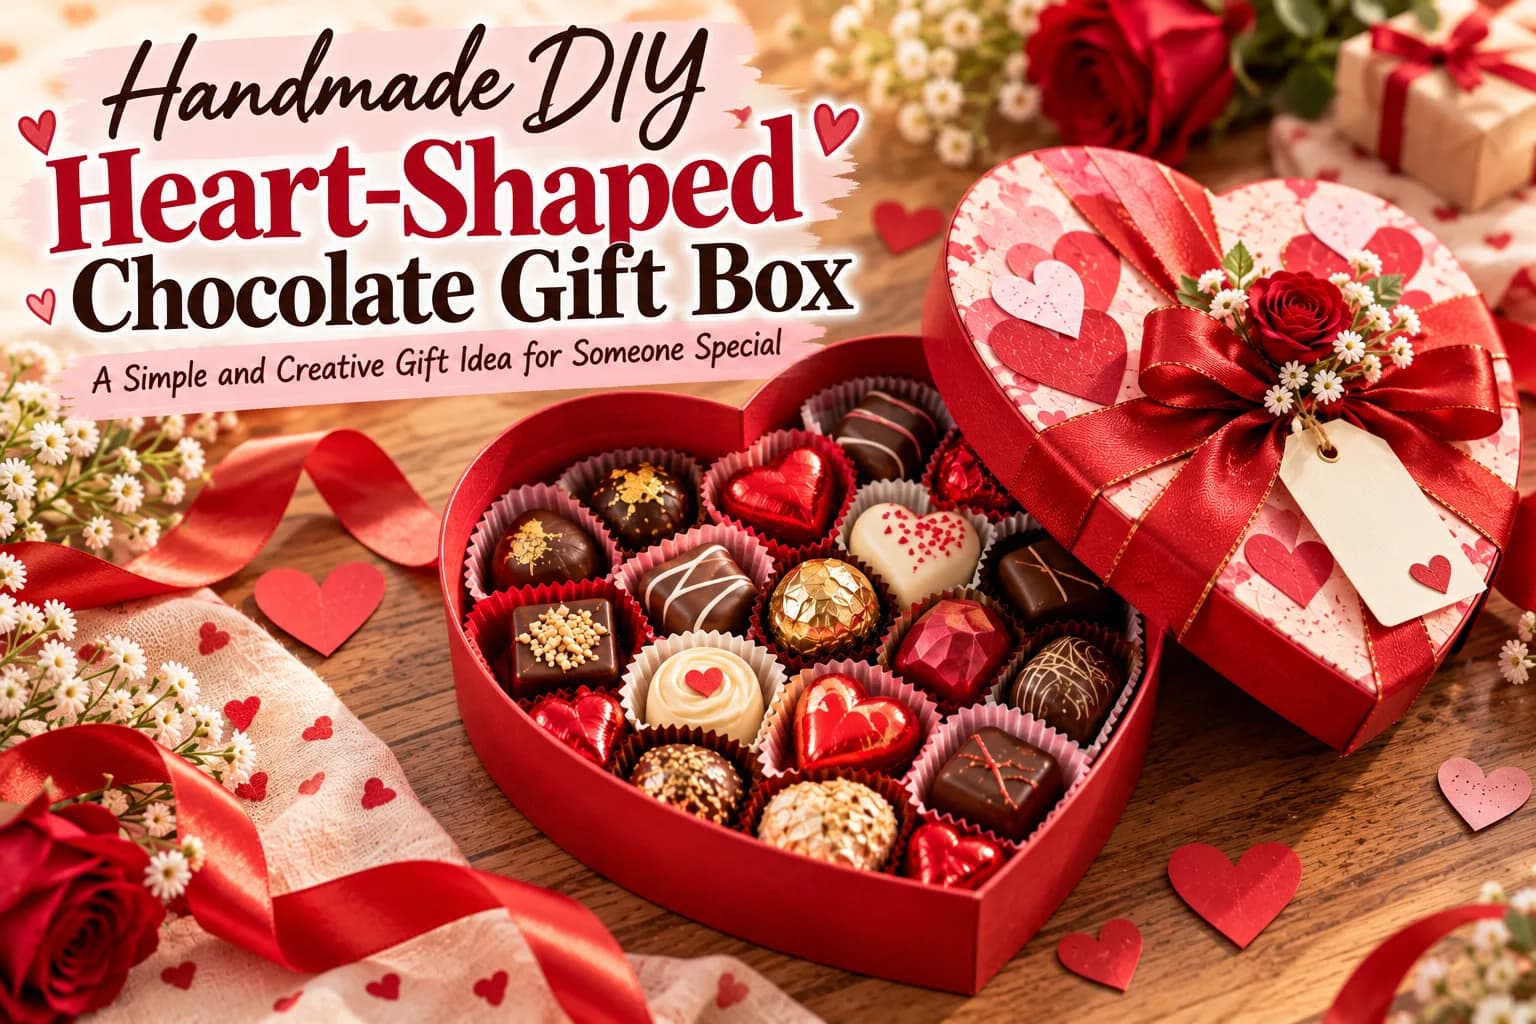
Handmade DIY Heart-Shaped Chocolate Gift Box: A Step-by-Step Guide
Create a beautiful, personalized chocolate gift box with this beginner-friendly DIY craft tutorial. Perfect for Valentine's Day, anniversaries, birthdays, or any occasion when you want to make someone feel special.
Introduction: A Sweet Gift Made with Love
Some gifts are memorable because of their price, but the most meaningful ones often come from the time and care we put into making them. A handmade DIY heart-shaped chocolate gift box combines creativity, thoughtful presentation, and delicious treats in one charming package.
This project transforms simple craft materials into a romantic gift that looks elegant without requiring expensive supplies or advanced crafting skills. Whether you are preparing a Valentine's Day surprise for your partner, creating a personalized anniversary present, or making handmade gifts for friends and family, a heart-shaped chocolate box is a wonderful way to express affection.
You can customize every detail, from the size and color of the box to the ribbon, decorative paper, and chocolate arrangement. It also fits beautifully into modern handmade gifting trends, where personalized packaging and thoughtful details make ordinary presents feel extraordinary.
The best part is that you can create this project at home with basic tools and a little patience.
Difficulty: Beginner-friendly
Estimated time: 60–90 minutes, plus drying time
Estimated cost: Low to moderate, depending on materials and chocolates
Best occasions: Valentine's Day, anniversaries, birthdays, and romantic surprises
Let's make a beautiful chocolate gift box that looks professionally finished while keeping the process enjoyable and affordable.
Essential Materials and Tools
Choosing the right materials is essential for creating a sturdy, attractive chocolate gift box. Cardstock is suitable for lightweight boxes, while thicker chipboard provides extra strength for a premium finish.
Materials Needed
Thick cardstock or chipboard: One sheet of 250–350 GSM cardstock for a lightweight box, or 1–2 mm chipboard for a more rigid design.
Decorative paper: Two sheets of red, pink, cream, or patterned paper for covering the box.
Ribbon: Approximately 60–100 cm of satin ribbon, ideally 1–2 cm wide.
Chocolate selection: 8–12 individually wrapped chocolates, depending on the box size.
Food-safe liner: A small piece of food-safe parchment or an appropriate food-grade insert to protect the interior.
Decorative elements: Paper hearts, gift tags, stickers, or small artificial flowers for the exterior.
Optional padding: Food-safe paper cups or a suitable insert to keep chocolates in place.
Tools Required
Pencil and ruler
Scissors and a craft knife
Cutting mat
Heart-shaped template
Craft glue or double-sided tape
Bone folder or blunt scoring tool
Small clips to hold glued sections while drying
Material substitution: Recycled cardboard from a clean, dry packaging box can work for a budget-friendly prototype. Cover it with decorative paper for a cleaner appearance. Avoid using cardboard that is greasy, damp, or contaminated.
Keep adhesives, paints, glitter, and decorative materials away from exposed chocolate. Individually wrapped chocolates are the simplest choice for a homemade gift box.
Download Gift Box Size Chart & Material List PDF, End Of The Guide.
Detailed Step-by-Step Guide
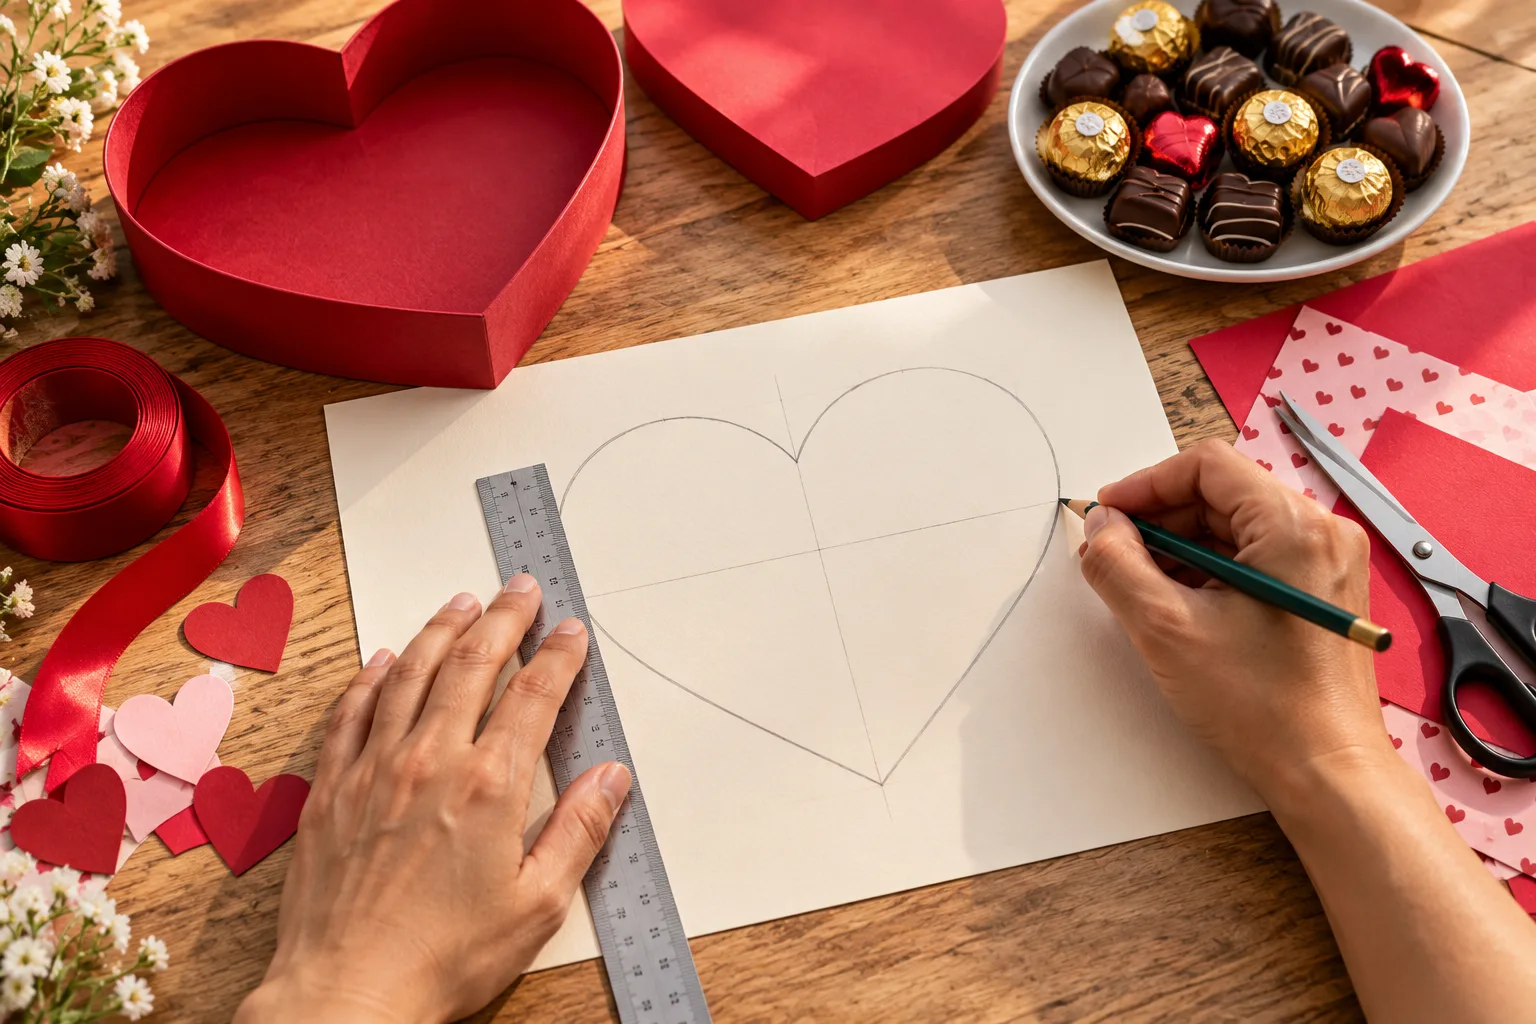
Step 1: Design and Prepare Your Heart Template
Start by deciding how many chocolates you want to include. For a small gift containing 8–12 chocolates, aim for a box approximately 18–22 cm wide, adjusting the dimensions to suit your chosen treats.
Draw half a heart on folded paper, with the center line aligned to the fold.
Cut along the outline and unfold the paper to reveal a symmetrical heart.
Use the template to trace two matching hearts onto your chosen box material: one for the base and one for the lid.
Make the lid slightly larger than the base, allowing approximately 2–3 mm of extra clearance around the outer edge.
Check the template against your chocolates before cutting the final material. This simple test helps prevent a box that looks beautiful but cannot accommodate its contents.
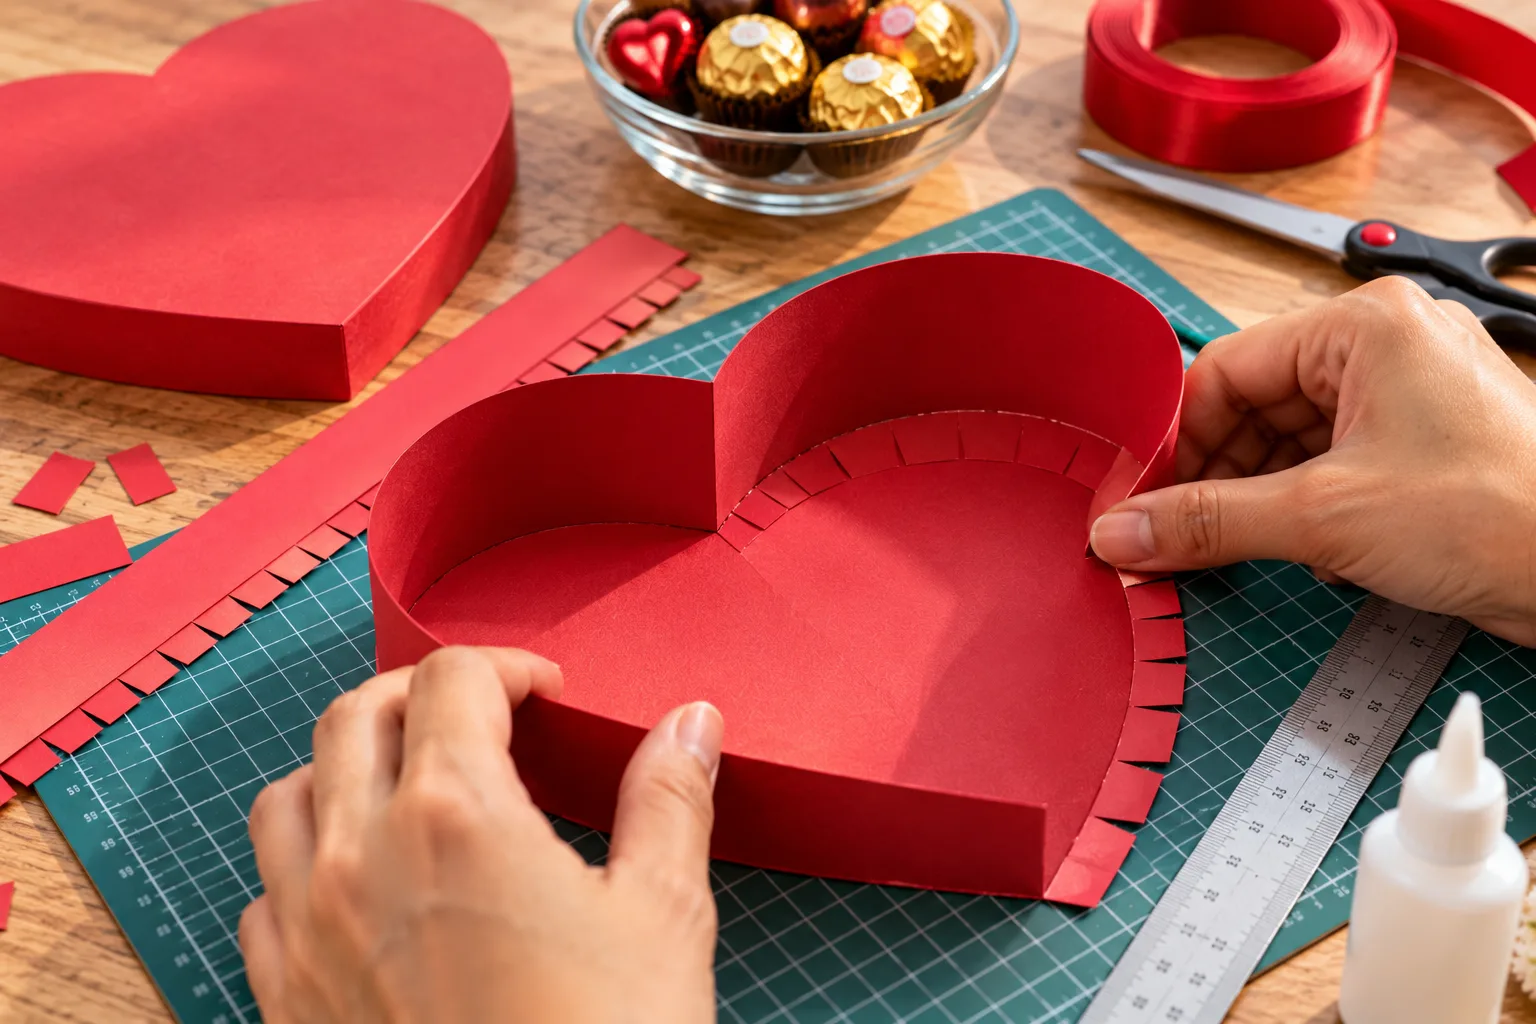
Step 2: Cut the Base and Create the Side Walls
The side walls give your box its depth and help keep the chocolates secure.
Cut out the heart-shaped base carefully, following the pencil outline.
Measure the perimeter of the heart using a flexible measuring tape or a narrow strip of paper.
Cut a long strip of cardstock or thin chipboard approximately 3–4 cm wide. The length should match the measured perimeter, with a little extra material for joining.
Lightly score a line along the bottom edge of the strip, approximately 5–7 mm from the edge. Make small relief cuts along this narrow margin so the strip can follow the curves.
Fold the tabs inward and attach the wall around the heart-shaped base using suitable adhesive or double-sided tape.
Work gradually around the curves instead of forcing the material into sharp bends. Hold each section in position until the adhesive grips.
For a more rigid box, construct the walls from thin chipboard and cover them with decorative paper after assembly.
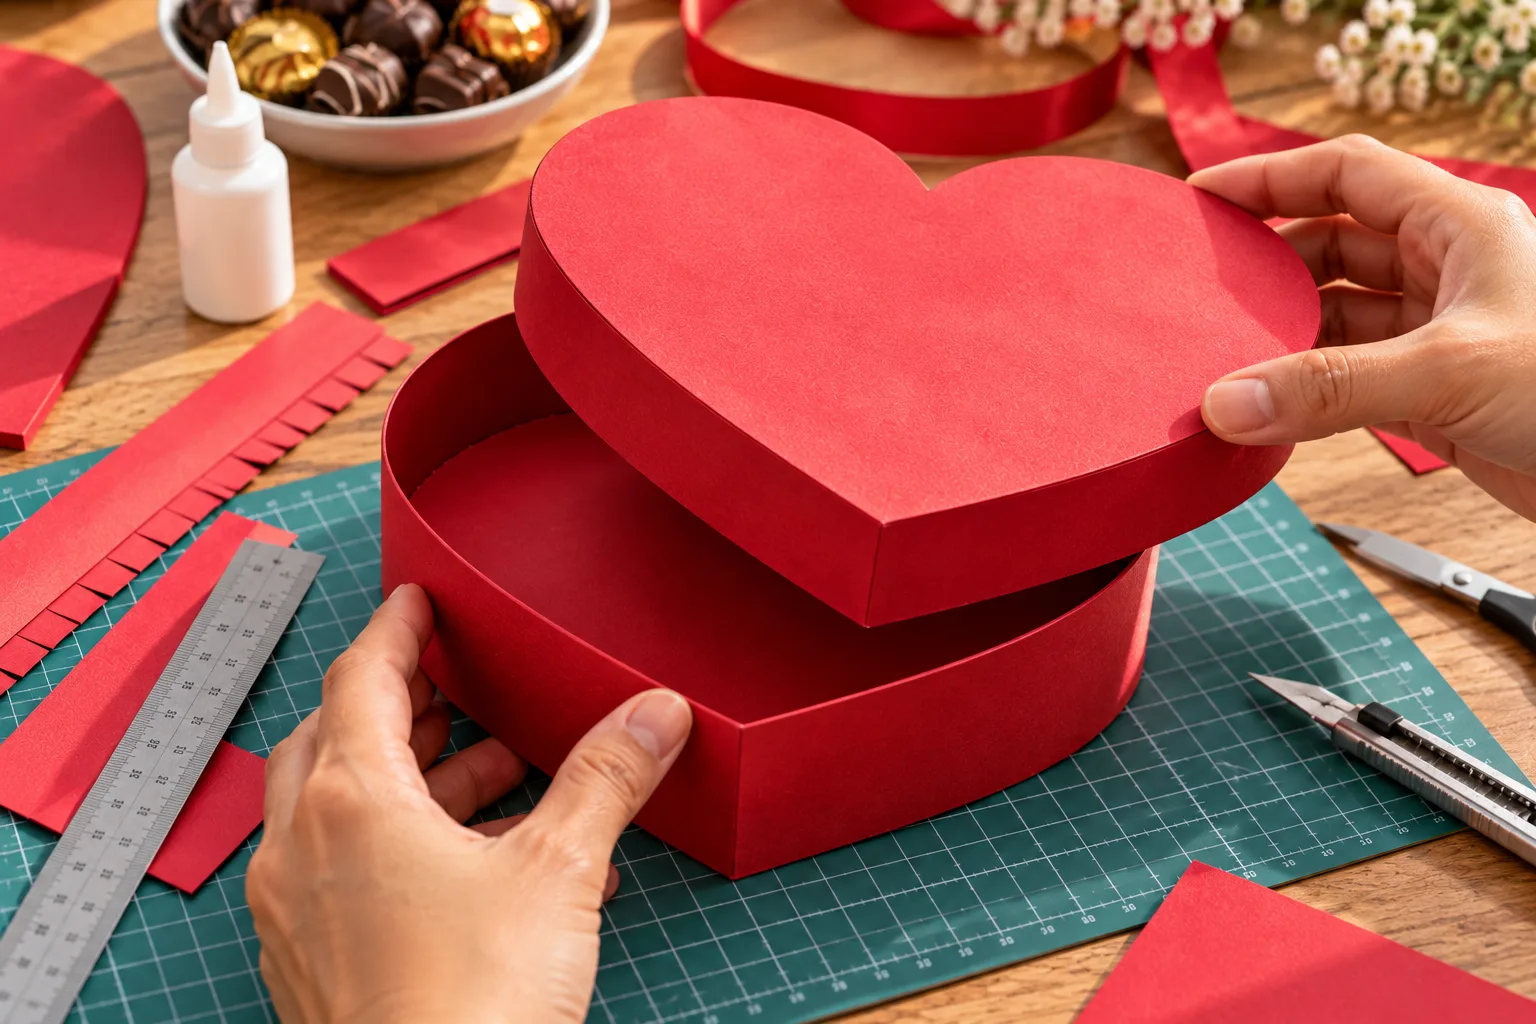
Step 3: Construct the Matching Lid
A well-fitting lid gives the finished box a polished, gift-shop appearance.
Cut the second heart shape slightly larger than the base.
Create another wall strip, approximately 2–3 cm high, for the lid.
Score and cut small tabs along one edge of the strip.
Attach the strip around the lid's perimeter, keeping the decorative side facing outward.
Test the lid against the base before the adhesive fully sets.
The lid should slide over the base without crushing the walls or falling off too easily. If it is too tight, carefully trim or reposition the wall strip. If it is too loose, add a thin internal strip of cardstock to improve the fit.

Step 4: Decorate the Box Exterior
Now you can transform the simple structure into an attractive personalized gift.
Trace the heart-shaped lid onto decorative paper.
Cut the paper slightly smaller than the surface to avoid bulky edges.
Attach the paper using an even, thin layer of suitable adhesive.
Cover the side walls with matching paper, smoothing from the center outward to remove wrinkles.
Add a satin ribbon around the box or create a bow for the lid.
Attach a small gift tag with a handwritten message.
Red and pink create a traditional romantic look, while cream, burgundy, or blush pink can give the box a more sophisticated finish. Keep the decoration balanced so the heart shape remains the main visual feature.
Allow all adhesives to dry completely before placing any food inside the box.

Step 5: Arrange the Chocolates and Finish the Gift
The final step is to prepare the interior and arrange the chocolates neatly.
Place a clean, food-safe liner or fitted food-grade insert inside the box.
Arrange the individually wrapped chocolates in a balanced pattern, leaving enough room to close the lid.
Add suitable food-safe paper cups or dividers if you want to separate different chocolate varieties.
Close the lid gently and check that no chocolates are being crushed.
Finish with a ribbon and a handwritten message.
Store the completed gift in a cool, dry place according to the chocolate manufacturer's recommendations. Avoid direct sunlight, excessive heat, and humid environments.
Component
Measurement
Quantity
Heart-shaped base
20 × 18 cm overall
1
Heart-shaped lid
20.4 × 18.4 cm overall
1
Base side-wall strip
4 cm wide
1 long strip
Lid side-wall strip
2.5 cm wide
1 Long Strip
Folding tabs
0.5–0.7 cm along one edge
Both Strips
Ribbon
60–100 cm long, 1–2 cm wide
1
Free Download Gift Box Size Chart & Material List PDF Here!
Pro Tips and Troubleshooting
A few professional techniques can make your handmade chocolate gift box look much more refined.
Expert Tips
Test with a paper prototype: Make a quick version from scrap paper before cutting expensive cardstock or chipboard.
Score before folding: Light scoring produces cleaner edges and reduces cracking, especially with thicker material.
Use thin adhesive layers: Too much glue can create bumps, stains, and warped paper. Apply it evenly and allow sufficient drying time.
Coordinate your colors: Use two or three complementary colors rather than mixing too many patterns and decorations.
Common Problems and Solutions
Problem 1: The side walls wrinkle around the curves.
This usually happens when the wall strip is too stiff or the relief cuts are too far apart. Add more small cuts to the margin, keeping them within the folded tab area, and work around the heart gradually.
Problem 2: The lid does not fit properly.
A lid that is too tight may need slightly wider clearance, while a loose lid may require a thin internal reinforcement strip. Always test the fit before decorating the final surfaces.
For the cleanest finish, remove visible glue residue before it dries, and use a fresh cutting blade when working with thick material. Take your time around the pointed bottom and rounded lobes of the heart.
Styling, Variations, and Care
One of the best features of this DIY heart-shaped chocolate gift box is how easily you can customize it for different occasions and personal tastes.
Creative Design Variations
1. Classic Romantic Box: Combine deep-red cardstock, a cream interior, and a satin ribbon. Add a small handwritten love note for Valentine's Day or an anniversary.
2. Minimalist Luxury Box: Use matte burgundy or blush-pink paper with a narrow gold-colored ribbon. Keep the exterior simple and let the chocolates become the main attraction.
3. Personalized Celebration Box: Decorate the lid with the recipient's initials, a special date, or a small printed message. You can also adjust the size to accommodate fewer premium chocolates or a larger assortment.
Alternative Uses
After the chocolates have been enjoyed, the box can be reused to store greeting cards, small keepsakes, jewelry packaging, or other lightweight accessories. Remove any food residue and make sure the box is completely dry before reuse.
Cleaning and Storage
Because most handmade paper boxes are not washable, clean them gently with a dry, soft cloth or brush. Avoid water and household cleaning products, which may stain the paper or weaken the adhesive.
Store the empty box away from moisture, direct sunlight, and heavy objects that could deform its shape. If you plan to reuse it for food, replace the liner with a clean, suitable food-safe insert every time.
Conclusion: Create a Sweet Gift with a Personal Touch
Making a handmade DIY heart-shaped chocolate gift box is a simple way to turn an ordinary chocolate assortment into a memorable present. With carefully cut edges, coordinated decorations, and a thoughtful selection of treats, you can create a beautiful gift without spending a fortune.
Ready to start crafting? Gather your materials, choose your favorite colors, and make a heart-shaped chocolate box for someone special. Share your finished creation on Pinterest or Instagram, and leave a comment describing your favorite design idea!
Important: The base and lid dimensions refer to the complete heart outline, not a rectangular piece of cardstock. The side-wall strips must be long enough to follow the entire heart perimeter, including both rounded lobes and the bottom point. Add approximately 1–2 cm to each strip for joining.
The lid's extra 4 mm in overall width and height is a starting allowance, not a guarantee of a perfect fit. Test the lid against the assembled base and adjust the clearance if necessary.
How to calculate the side-wall length
Don't guess the strip length. Use this method:
Cut out your heart-shaped base.
Stand a flexible measuring tape on its edge and follow the entire perimeter, or place a narrow strip of paper around the outline and mark the length.
Measure the marked strip.
Add 1–2 cm for the joining overlap.
Cut the side-wall strip to that total length.
For example, if the measured perimeter is 58 cm, cut a strip approximately 59–60 cm long. Your actual perimeter will depend on the heart's exact shape.
Recommended material thickness
Base: 1–2 mm chipboard for a rigid box, or 300–350 GSM cardstock for a lightweight version.
Walls: 1–2 mm chipboard or sturdy cardstock that can bend around the curves.
Decorative covering: 120–200 GSM paper.
Tabs: Score a line 5–7 mm from the edge, then make small cuts so the strip can follow the heart's curves.
For the easiest construction, make a paper prototype first. Assemble the base and walls, then use that prototype to determine the final lid clearance before cutting your decorative material.