
DIY Project Scopes and Material Planning: A Complete Beginner’s Guide
DIY projects are a wonderful way to improve your home, explore your creativity, and save money while developing practical skills. Whether you are building a wooden shelf, creating handmade decorations, renovating a small space, or making personalised gifts, successful results begin with proper planning.
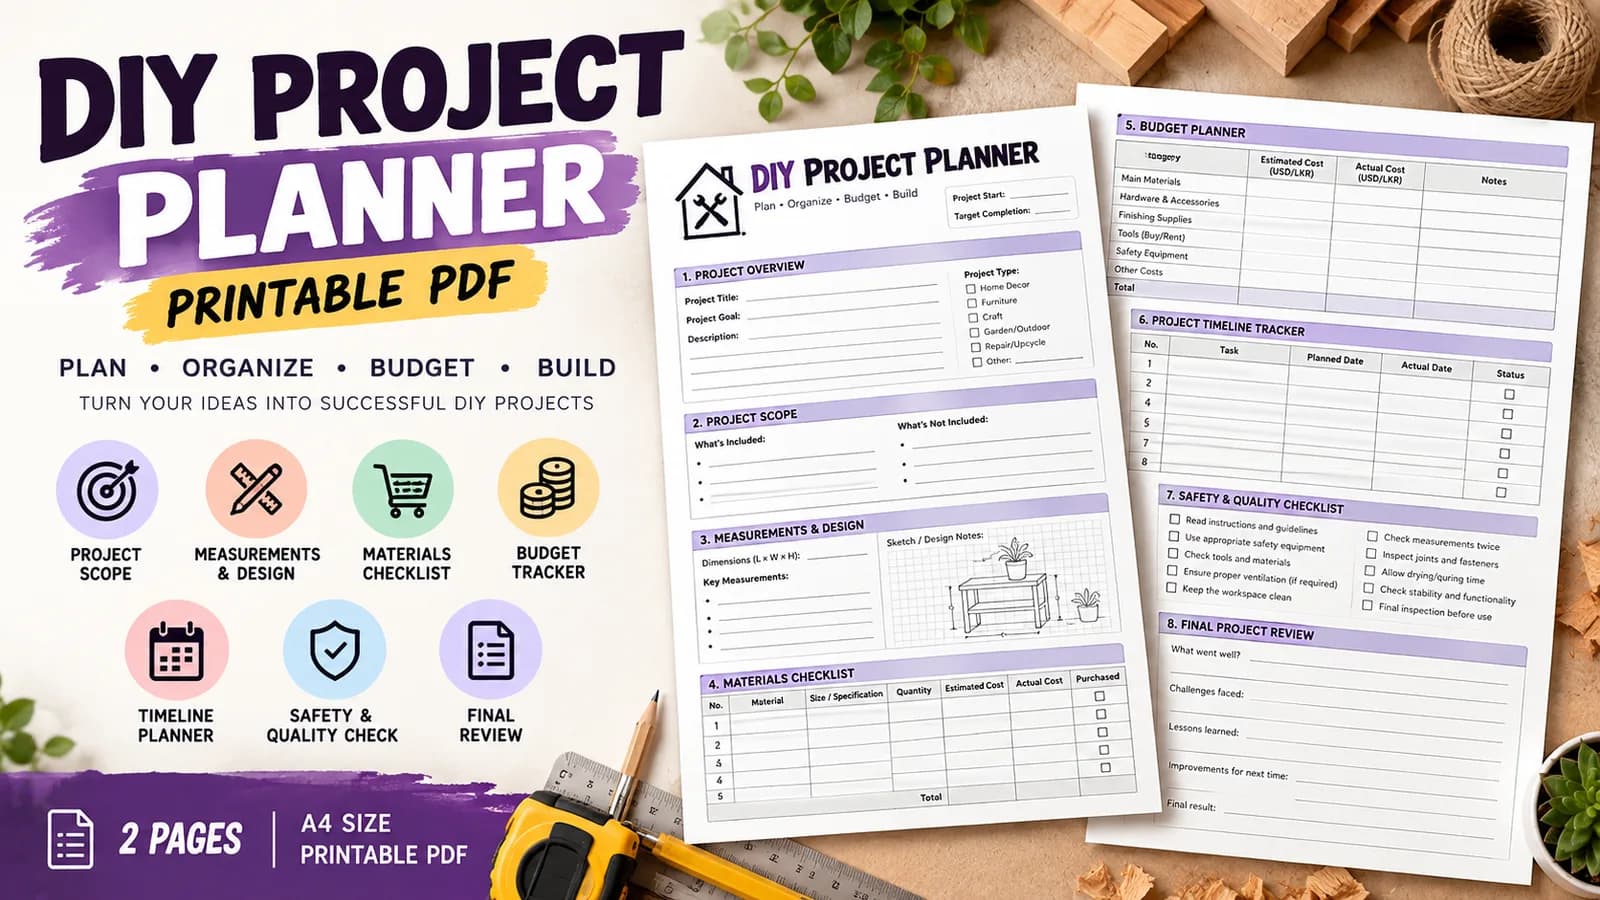
Two of the most important steps in any DIY project are defining the project scope and planning the materials. These steps help you understand what you want to achieve, what resources you need, and how much time and money you should invest.
In this guide, we will explore how to plan DIY projects efficiently, choose suitable materials, manage your budget, and avoid common mistakes.
1. What Is a DIY Project Scope?
A DIY project scope defines the purpose, boundaries, requirements, and expected results of your project. It explains exactly what you intend to create and what is necessary to complete it.
For example, if you plan to build a wooden wall shelf, your project scope might include:
Designing a shelf that fits a specific wall space.
Selecting suitable wood and supporting brackets.
Measuring, cutting, sanding, and assembling the pieces.
Applying paint, stain, or a protective finish.
Installing the completed shelf securely.
Defining your scope before starting helps prevent unnecessary changes, wasted materials, and unexpected expenses.
How to Define Your Project Scope
Step 1: Identify your goal. Decide what you want to accomplish. Are you making something decorative, functional, or both?
Step 2: Determine the project size. Measure the available space and establish the dimensions of your finished item.
Step 3: List the required tasks. Break the project into manageable stages, from preparation and construction to finishing.
Step 4: Set limitations. Consider your budget, available tools, skill level, and the time you can dedicate to the project.
Step 5: Define the final result. Decide how the completed project should look and function.
A clear scope gives your project direction and makes the remaining planning decisions much easier.
2. Create a Realistic DIY Budget
Budget planning is essential, particularly when working with materials such as timber, metal, fabric, paint, or decorative hardware.
Start by estimating the total cost of everything required to complete the project. Include materials, consumables, tool purchases or rentals, and finishing products.
Your budget should account for:
Main materials: Wood, fabric, paper, glass, metal, or other essential components.
Hardware and accessories: Screws, nails, hinges, brackets, hooks, and fasteners.
Finishing supplies: Paint, varnish, glue, sandpaper, and sealants.
Tools and equipment: Measuring tapes, saws, drills, brushes, and protective equipment.
Contingency allowance: Additional funds for offcuts, mistakes, price changes, or unexpected requirements.
For beginners, setting aside approximately 10–15% of the estimated project cost as a contingency can provide a useful buffer.
Compare prices from different suppliers before purchasing. However, avoid choosing materials based on price alone. Durability, safety, quality, and suitability for the intended purpose are equally important.
3. How to Plan Your DIY Materials
Material planning involves identifying, measuring, and organizing everything needed to complete a project.
A well-prepared material list reduces unnecessary shopping trips, prevents shortages, and helps you use your resources efficiently.
Start With Accurate Measurements
Before purchasing materials, measure the project area and determine the dimensions of each component.
For example, a rectangular wooden shelf measuring 80 cm long and 20 cm deep requires a board with a surface area of:
80 cm × 20 cm = 1,600 cm², or 0.16 m².
If your design includes multiple shelves, side panels, or supports, calculate each component separately. Remember to account for material thickness, cutting allowances, joints, and the dimensions of the finished assembly.
Choose Materials Based on Their Purpose
Different materials offer different benefits.
Wood: Suitable for shelves, furniture, frames, planters, and decorative objects.
Fabric: Ideal for cushions, curtains, soft toys, bags, and textile decorations.
Cardboard: Useful for prototypes, lightweight organizers, models, and temporary decorations.
Metal: Appropriate for durable brackets, frames, supports, and selected outdoor projects.
Glass: Useful for decorative panels, vases, and certain furniture applications.
Recycled materials: Excellent for budget-friendly crafts, upcycling, and environmentally conscious projects.
Consider strength, weight, moisture resistance, appearance, ease of use, and maintenance requirements before making your selection.
For example, untreated timber may not be suitable for a constantly damp outdoor environment. A moisture-resistant material and appropriate protective finish may be a better choice.
Prepare a Material Checklist
Organize your supplies into categories so that nothing important is overlooked.
CategoryExample materialsMain materialsTimber, fabric, cardboardFastenersScrews, nails, staplesAdhesivesWood glue, craft glueFinishing productsPaint, varnish, sandpaperToolsDrill, ruler, scissors, measuring tapeSafety equipmentGloves where appropriate, safety glasses, dust mask
Check your existing supplies before buying anything new. You may already have useful materials and tools stored at home.
4. Calculate Material Quantities Before Buying
Estimating quantities accurately is one of the most useful DIY planning skills.
For simple projects, you can calculate material requirements using basic measurements.
For a rectangular surface:
Area = Length × Width
For a rectangular box:
Volume = Length × Width × Height
For multiple identical components:
Total quantity = Quantity per item × Number of items
For example, if a project requires four wooden pieces measuring 60 cm each, the minimum combined length is 240 cm. You will need additional material if cutting creates waste or if the design requires joints and overlaps.
For paint, divide the total paintable surface area by the manufacturer's stated coverage per litre, then account for the number of coats and the surface's condition.
Always check product specifications rather than relying on rough estimates alone.
Plan for Waste
Some materials cannot be used completely because of cutting, shaping, defects, or design requirements.
A small waste allowance is often helpful, but the appropriate amount depends on the material and project. Fabric patterns, timber grain direction, tile layouts, and irregular shapes can all affect how much material you need.
Plan your cuts before purchasing whenever possible. Efficient cutting layouts can reduce waste and lower the total project cost.
5. Organize Your Project Timeline
Material planning and scheduling work best together.
Break your DIY project into stages and estimate how long each stage will take.
A typical project might follow this sequence:
Research and design.
Measurements and material calculations.
Purchasing and preparation.
Cutting, shaping, or assembly.
Painting, decorating, or finishing.
Final inspection and installation.
Remember that some tasks require drying or curing time. Paint, varnish, adhesives, and sealants may need several hours or longer before the next stage can begin.
Check the manufacturer's instructions and include this waiting time in your schedule.
6. Common DIY Planning Mistakes to Avoid
Even a simple project can become expensive or frustrating when planning is overlooked.
Buying materials before finalizing the design: This can lead to unsuitable sizes, unnecessary purchases, and material shortages.
Ignoring measurements: Small measurement errors can cause components to fit incorrectly or create unnecessary waste.
Choosing the cheapest option automatically: Low-quality materials may wear out quickly or require additional repairs.
Forgetting finishing supplies: Paint, glue, sandpaper, screws, and protective coatings can add significant costs.
Underestimating the project timeline: Cutting, assembly, troubleshooting, and drying often take longer than expected.
Ignoring safety: Use tools according to their instructions, wear appropriate protective equipment, and follow safety guidance for dust, fumes, sharp edges, and electrical equipment.
The best way to avoid these problems is to review your scope, budget, material list, and timeline before beginning construction.
7. Practical Example: Planning a DIY Wooden Plant Stand
Imagine you want to build a small wooden plant stand for your living room.
Project goal: Create a simple, attractive stand that supports a potted plant.
Proposed design: A square top supported by four wooden legs and suitable cross-bracing.
Material requirements:
Timber for the top and legs.
Additional timber for cross-bracing, if required by the design.
Appropriate screws or other fasteners.
Wood glue, if suitable for the joints.
Sandpaper and a protective finish.
Measuring and cutting tools.
Planning process:
First, measure the plant pot and determine the required stand height and top dimensions. Next, sketch the design and calculate the dimensions and quantities of each wooden component.
Then, prepare a cutting list, check the load capacity and stability of the design, and compare material prices. Once everything is ready, cut and assemble the components, sand the surfaces, and apply a suitable finish.
Finally, inspect the stand for wobbling, sharp edges, loose fasteners, and stability before placing the plant on it.
This simple example demonstrates how defining the scope and planning materials in advance can make a DIY project more manageable.
8. Make Your DIY Projects More Sustainable
Thoughtful material planning can reduce waste and make your projects more environmentally friendly.
Consider reusing suitable offcuts, repurposing old furniture, repairing existing items, or choosing durable materials that will last longer.
Store leftover materials properly so they remain useful for future projects. Keep timber dry, seal containers of paint and adhesives according to their storage instructions, and organize small hardware in labeled containers.
You can also create a dedicated DIY storage area with separate sections for tools, fasteners, paints, fabrics, and reusable materials.
Good organization saves money and makes future projects easier to start.
Conclusion
Successful DIY projects begin long before the first cut or brushstroke. By defining a clear project scope, setting a realistic budget, calculating material quantities, and organizing your timeline, you can complete projects with greater confidence and fewer unexpected expenses.
Start with a manageable idea, measure carefully, choose materials suited to your needs, and prepare a checklist before you begin. As your experience grows, you will become better at estimating costs, reducing waste, and finding creative ways to transform everyday materials into useful and beautiful creations.
Remember: Good planning is not just about saving money. It is about turning a creative idea into a finished project that works as intended.