
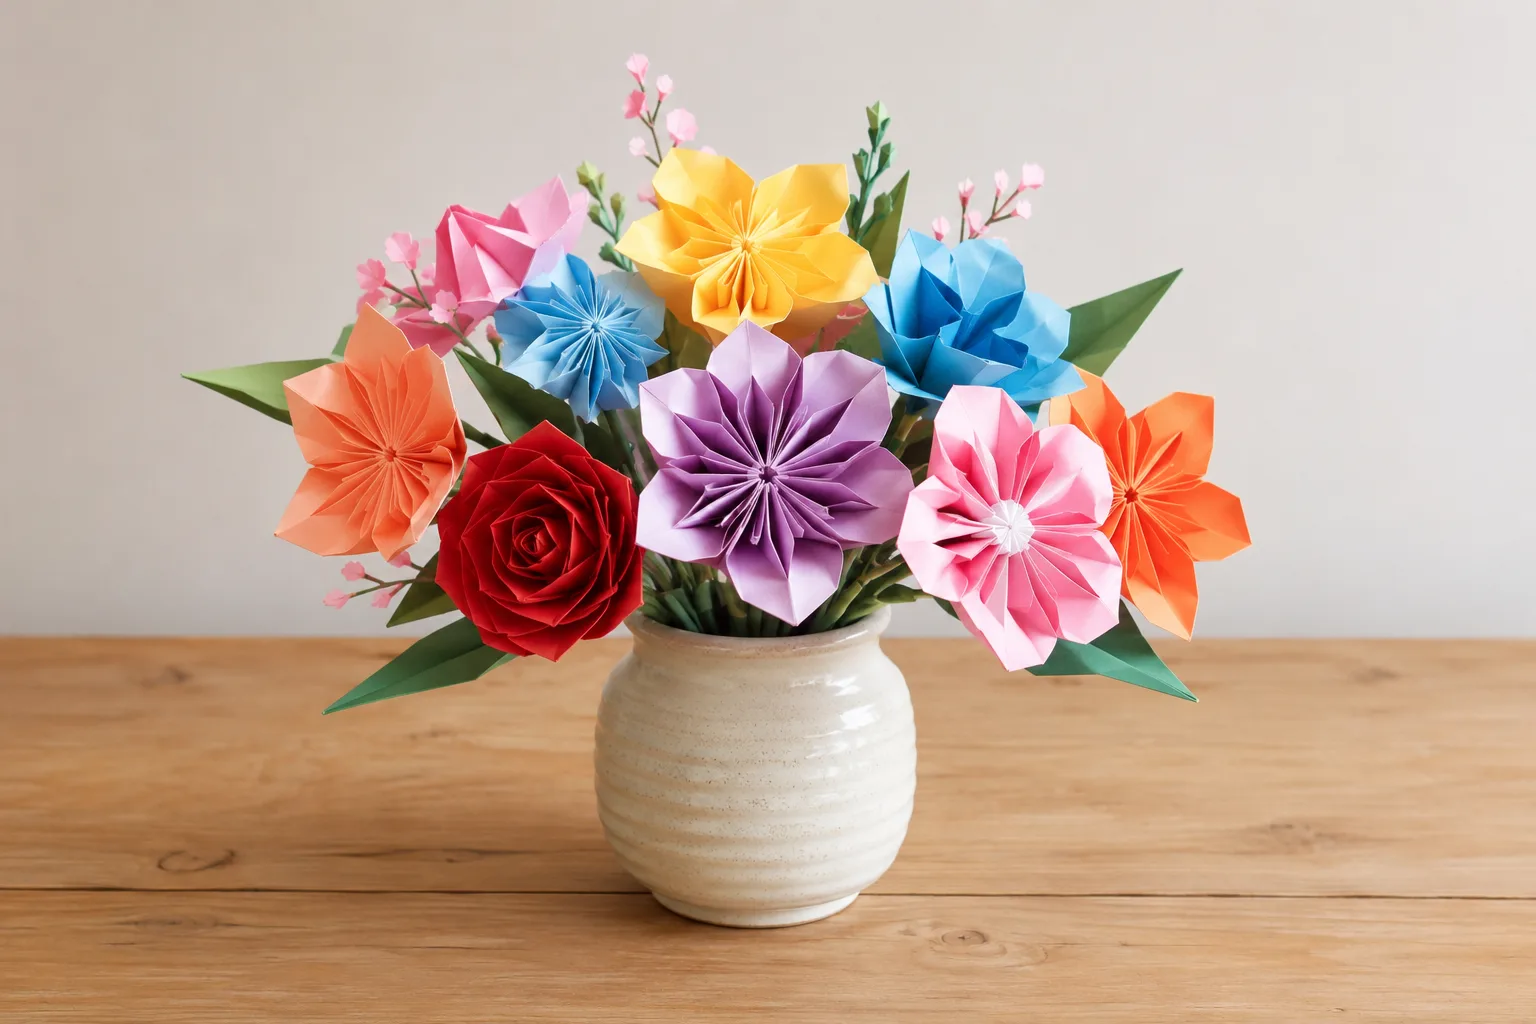
Are you looking for a fun, creative, and relaxing paper craft idea? Learning how to make origami flowers is one of the easiest and most rewarding DIY projects you can try at home!
Whether you want to decorate your room, add a personal touch to a gift wrap, or create a lovely handmade bouquet, these simple paper flowers are perfect for beginners. In this quick step-by-step tutorial, you will learn how to fold a beautiful paper flower in just a few minutes using basic paper.
✂️ Materials Needed
Before you begin, gather these simple supplies:
Square Origami Paper (15cm x 15cm works best) or any colored paper cut into a square
Paper Glue or Craft Tape (Optional, for assembling a bouquet)
Wooden Skewers or Paper Straws (Optional, to use as stems)
Scissors (Only if you need to cut paper into squares)
🌸 Step-by-Step Guide: How to Fold an Easy Origami Flower
Follow these simple steps to fold your very first paper blossom:
Step 1: Create the Base Triangles
Take your square piece of paper with the colored side facing down. Fold the paper in half diagonally to form a triangle, crease it well, and unfold it. Repeat the same process with the other diagonal side. Unfold the paper completely so you see an "X" crease in the middle.
Step 2: Fold into a Smaller Square
Flip the paper over to the colored side. Fold it in half horizontally and vertically to create "+" creases, then unfold it again. Using these crease lines, push the outer corners inward to collapse the paper into a small square (also known as a square base).
Step 3: Form the Flower Petals
With the open ends of the square pointing down, fold the front left and right corners inward to meet the center line. Flip the paper over and repeat this step on the back side. These folds will form the basic shape of your petals.
Step 4: Open and Shape the Blossoms
Gently pull open the top flaps and press them down to flatten each petal. Carefully shape the edges outward using your fingers or by rolling them slightly around a pencil to give the flower a natural, blooming look.
Step 5: Add a Stem (Optional)
If you wish to create a full flower arrangement, attach a green paper straw or wooden skewer to the bottom of the flower using a dab of craft glue or tape.
💡 Pro Tips for Beautiful Origami Flowers
Use Dual-Sided Paper: Paper with different colors on each side makes the petals stand out beautifully.
Experiment with Sizes: Make a mix of small and large flowers to create a dynamic centerpiece or wall art.
Add Fragrance: Lightly spritz your paper bouquet with essential oils to give your room a sweet aroma!
📌 Save This Idea for Later!
Did you enjoy this quick paper craft tutorial? Don't forget to Save this Pin to your favorite Paper Crafts or DIY Projects board on Pinterest so you can try it whenever you have free craft time!
Happy folding! ✂️🌸