
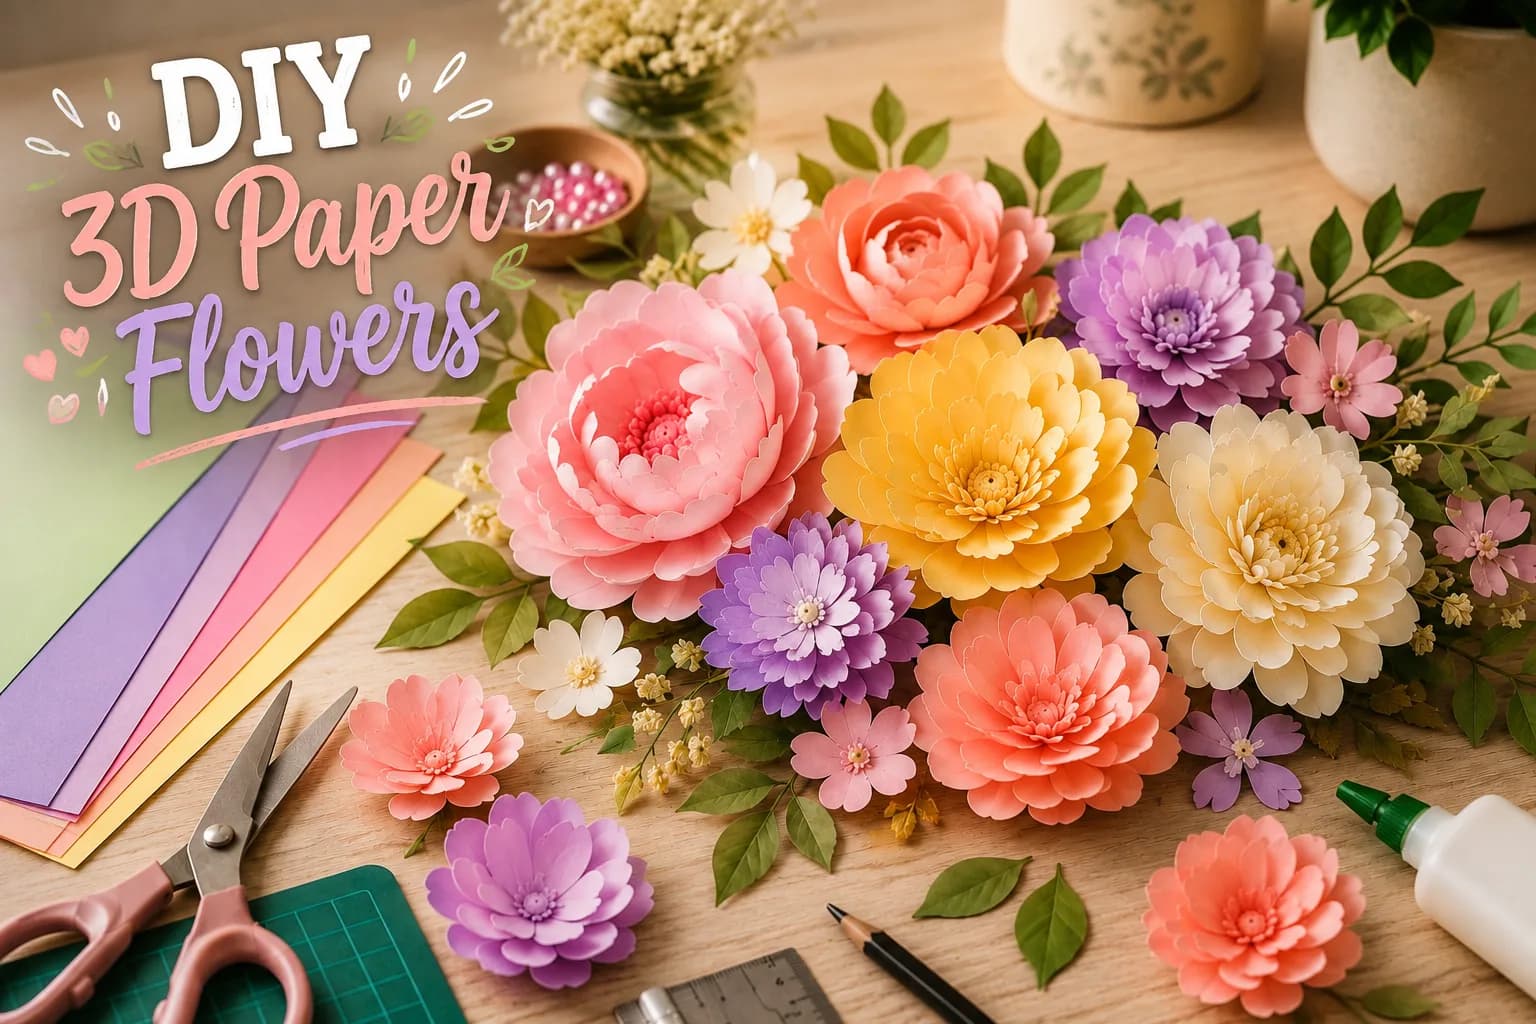
f you're looking for an easy craft project that can make a big impact, 3D paper flowers are a wonderful place to start. With just a few sheets of colored paper and some basic craft supplies, you can create beautiful handmade flowers without spending much money.
These paper flowers are perfect for decorating walls, bedrooms, parties, gift boxes, greeting cards, and special events. You can also experiment with different colors and sizes to create a flower arrangement that matches your personal style.
The best part? You don't need to be an experienced crafter. This beginner-friendly project uses simple cutting, shaping, and gluing techniques that are easy to learn.
In this tutorial, you'll learn how to make 3D paper flowers step by step, along with useful tips, creative variations, and ideas for displaying your finished flowers.
Let's get crafting! 🌸
Materials You'll Need
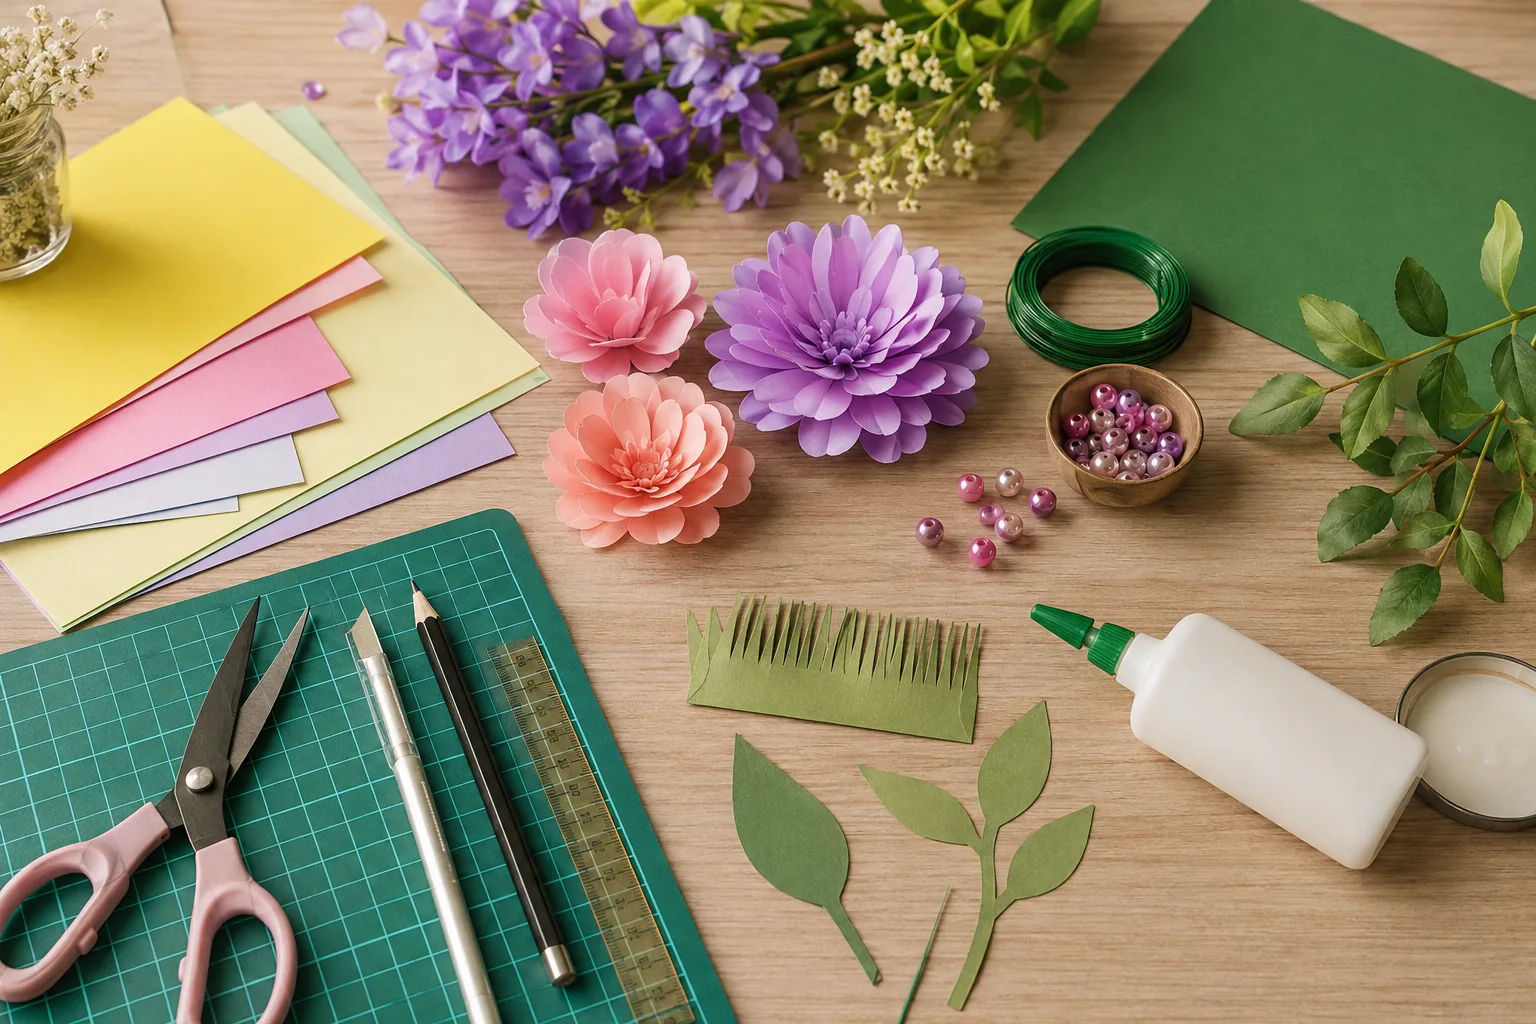
Before starting your DIY paper flowers, gather the following materials:
• Colored craft paper or cardstock
• Scissors
• Pencil
• Ruler
• Craft glue
• Double-sided tape, optional
• Green paper for leaves
• Small beads, pearls, or buttons for decoration
• Floral wire or wooden sticks, optional
• Compass or round object for tracing circles
• Cutting mat, optional
Choosing the Right Paper
For beginners, lightweight colored craft paper is easy to cut and shape. If you want your flowers to be stronger and more durable, cardstock is a good option.
You can use one color for the entire flower or combine several shades. For example, light pink, medium pink, and dark pink can create a beautiful layered effect.
Before You Start
Set up a clean, flat workspace where you have enough room to cut and assemble your flowers.
Difficulty: Beginner
Preparation Time: 10 minutes
Crafting Time: 30–45 minutes
Total Time: Approximately 40–55 minutes
If you're using scissors, work carefully and keep your fingers away from the cutting path. If you decide to use a hot glue gun instead of craft glue, use appropriate caution because the glue and nozzle can cause burns.
Step-by-Step Instructions
Step 1: Choose Your Paper Colors
Start by choosing two or three colors for your flower.
A classic combination could be.
• Light pink for the large petals
• Dark pink for the smaller petals
• Yellow for the center
• Green for the leaves
You can also experiment with white and cream for an elegant look or bright colors for party decorations.
Try using different shades of the same color. This gives your finished flower more depth and makes the individual layers easier to see.
Step 2: Draw the Petal Shapes
Place your colored paper on a flat surface.
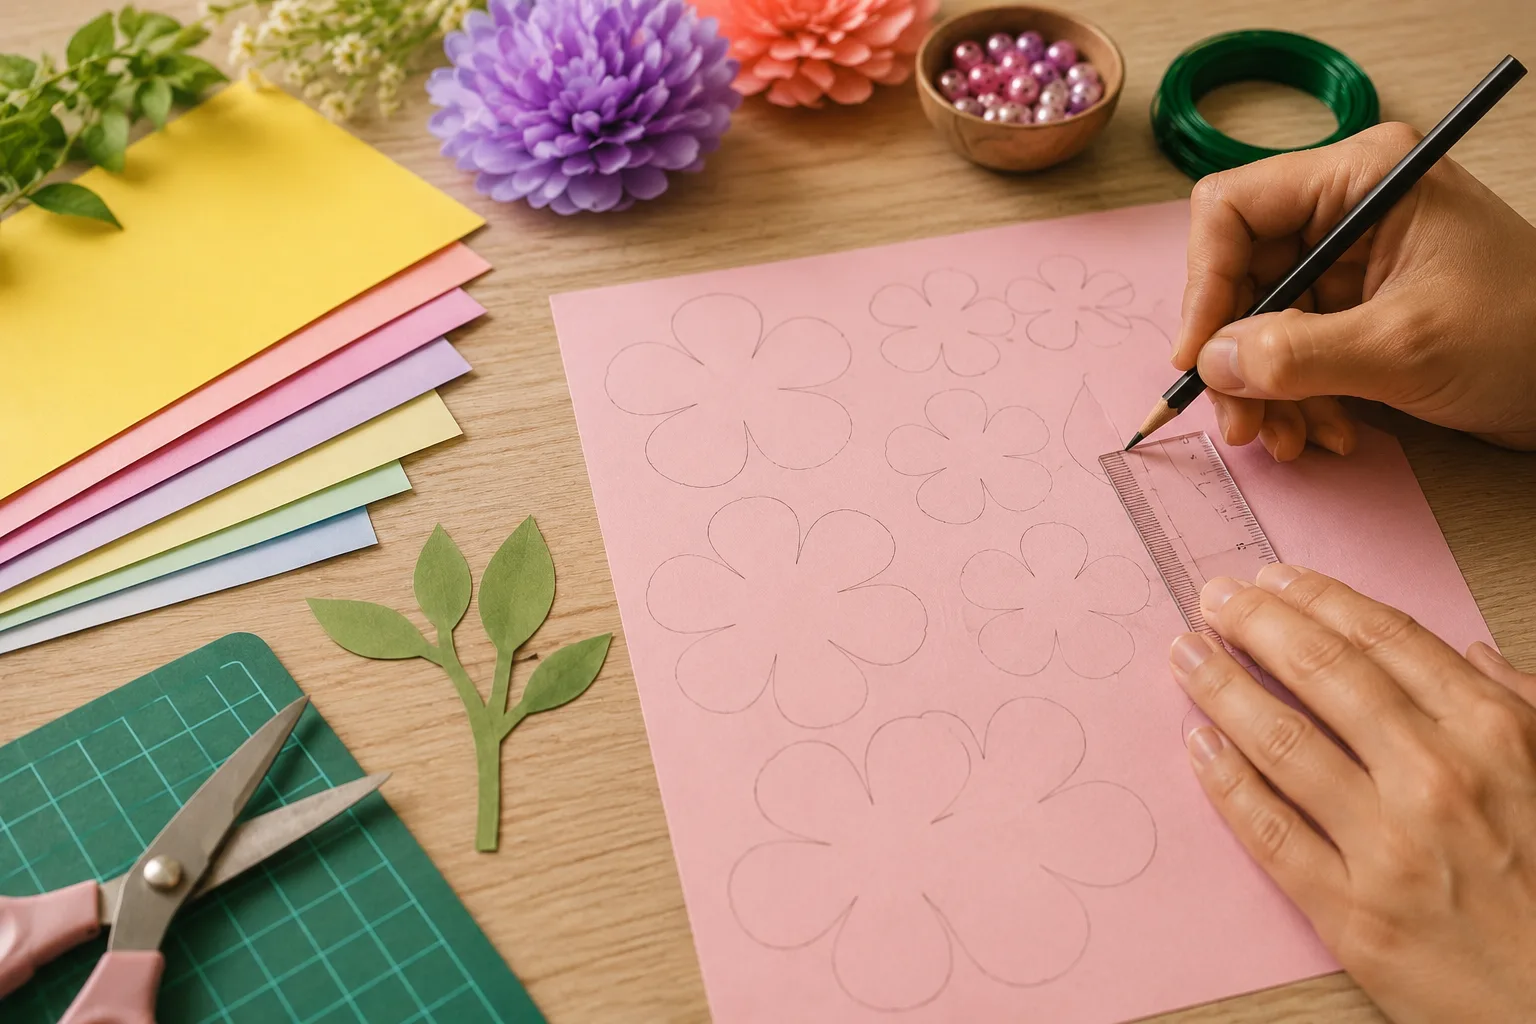
Using a pencil, draw several simple petal shapes. Rounded petals are easiest for beginners.
Create three different sizes.
• Large petals for the outer layer
• Medium petals for the middle layer
• Small petals for the center
Aim for around 5–8 petals per layer, depending on how full you want your flower to look.
The petals don't have to be perfectly identical. Slight differences can actually make the finished flower look more natural.
Step 3: Cut Out the Petals
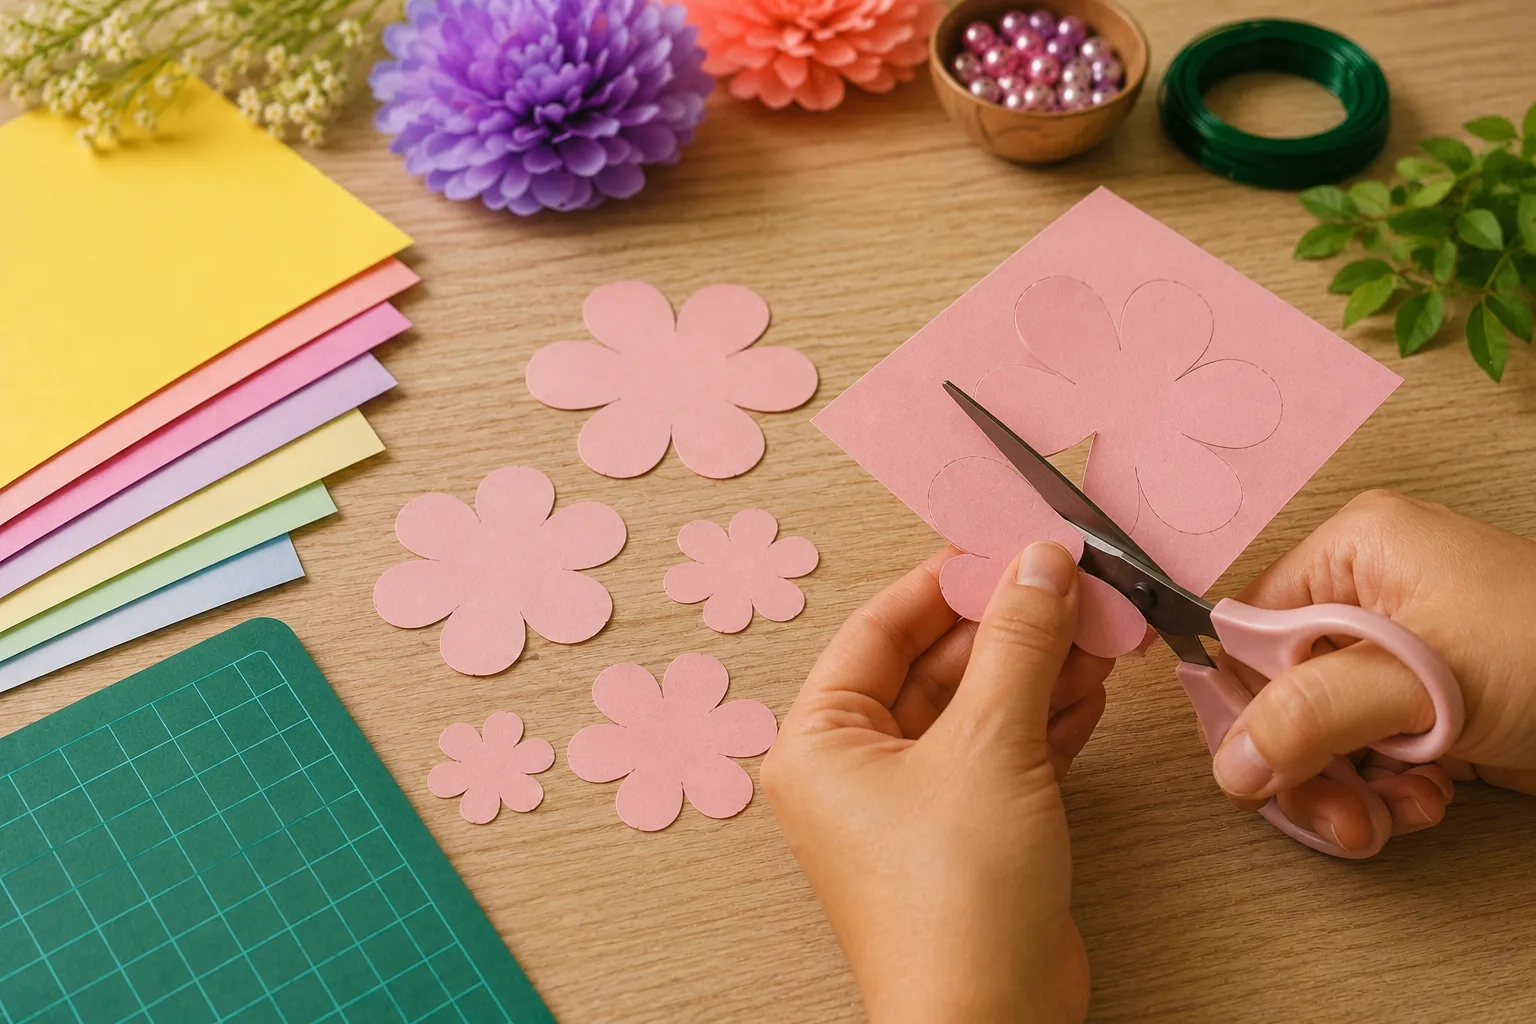
Carefully cut around each petal using scissors.
Take your time and try to keep the edges smooth. Clean cuts will make your finished flower look more polished.
If you're making several identical flowers, you can create a simple paper template first. Place the template over your paper, trace around it, and repeat.
This makes it much easier to produce multiple flowers with consistent shapes.
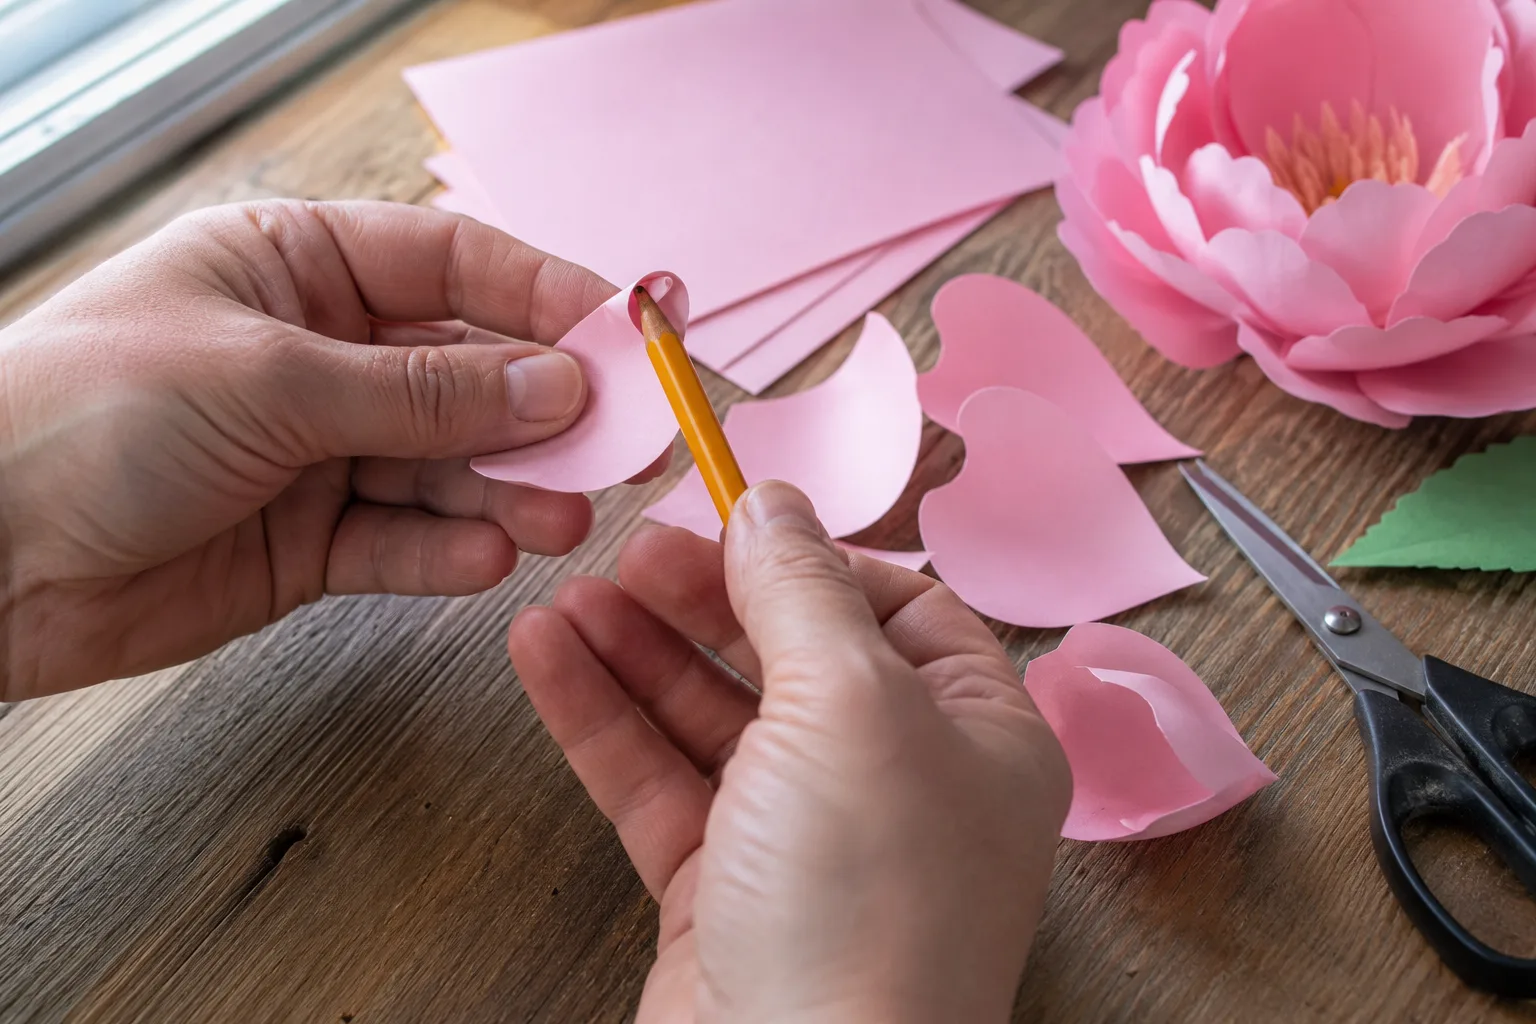
Step 4: Shape the Petals
Now it's time to turn the flat paper pieces into dimensional petals.
Take each petal and gently curl it using your fingers.
You can also wrap the petal lightly around a pencil to create a soft curve.
Don't make the folds too sharp. Gentle curves usually create a more natural-looking flower.
For extra dimension, slightly fold the bottom of each petal inward. This will help the petals stand upward when you assemble the flower.
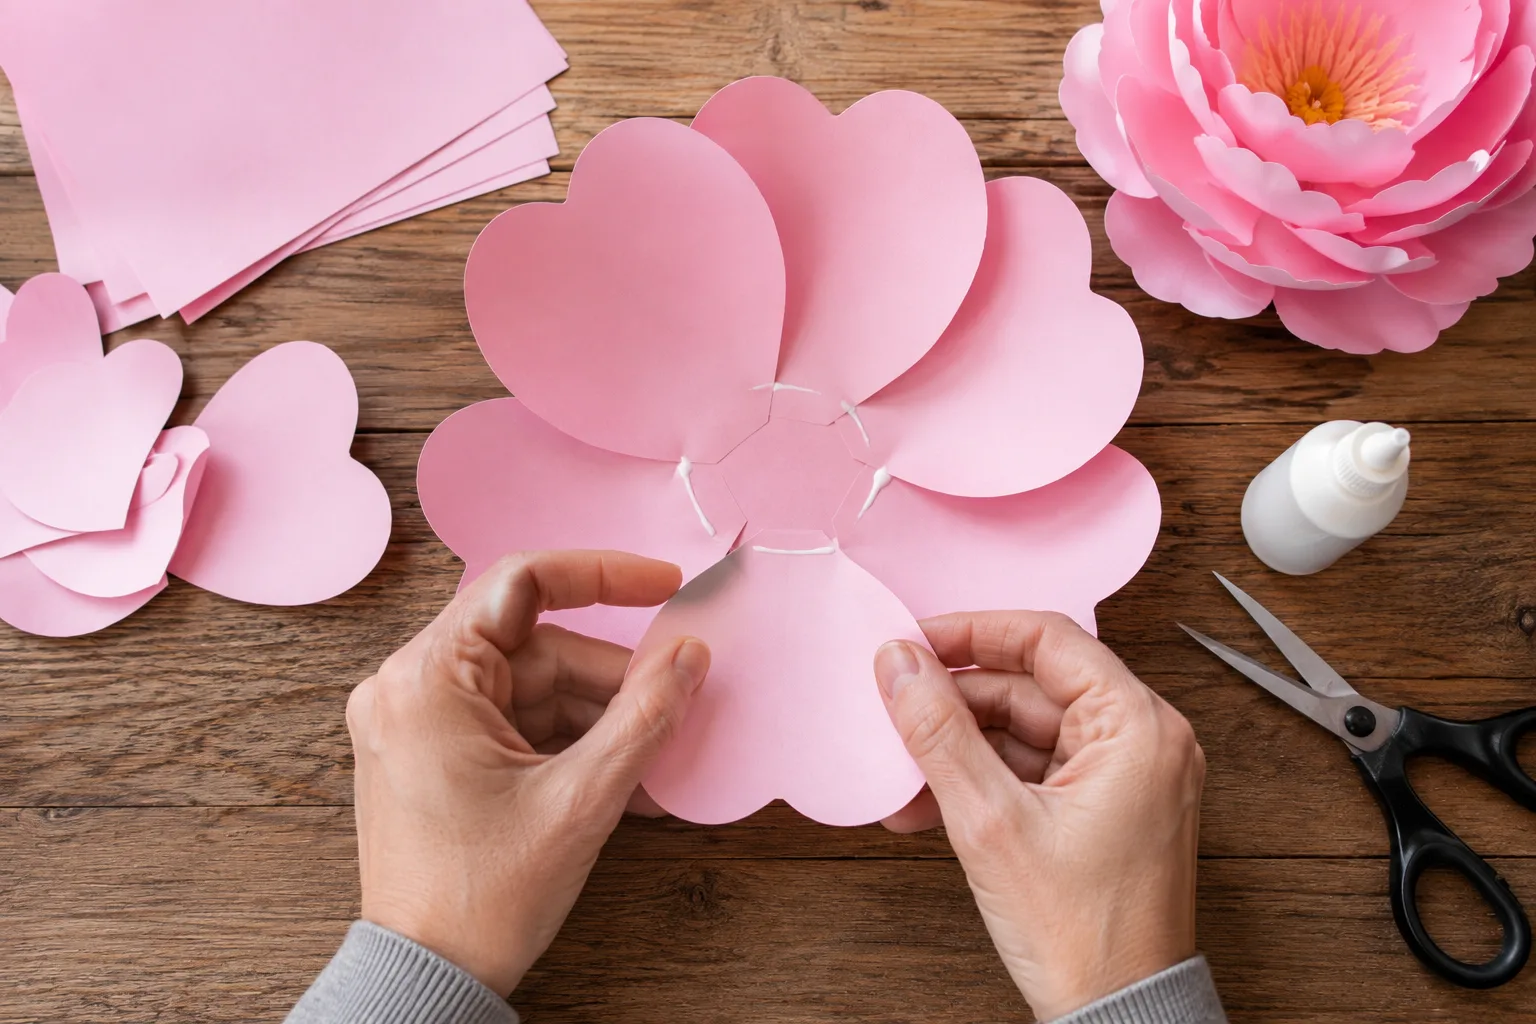
Step 5: Create the First Petal Layer
Arrange your large petals in a circle. Place one petal slightly over the next and apply a small amount of glue to the overlapping areas. Continue around the circle until all the large petals are connected. Leave enough space in the center for the smaller layers. Allow the glue to set before moving on to the next layer.
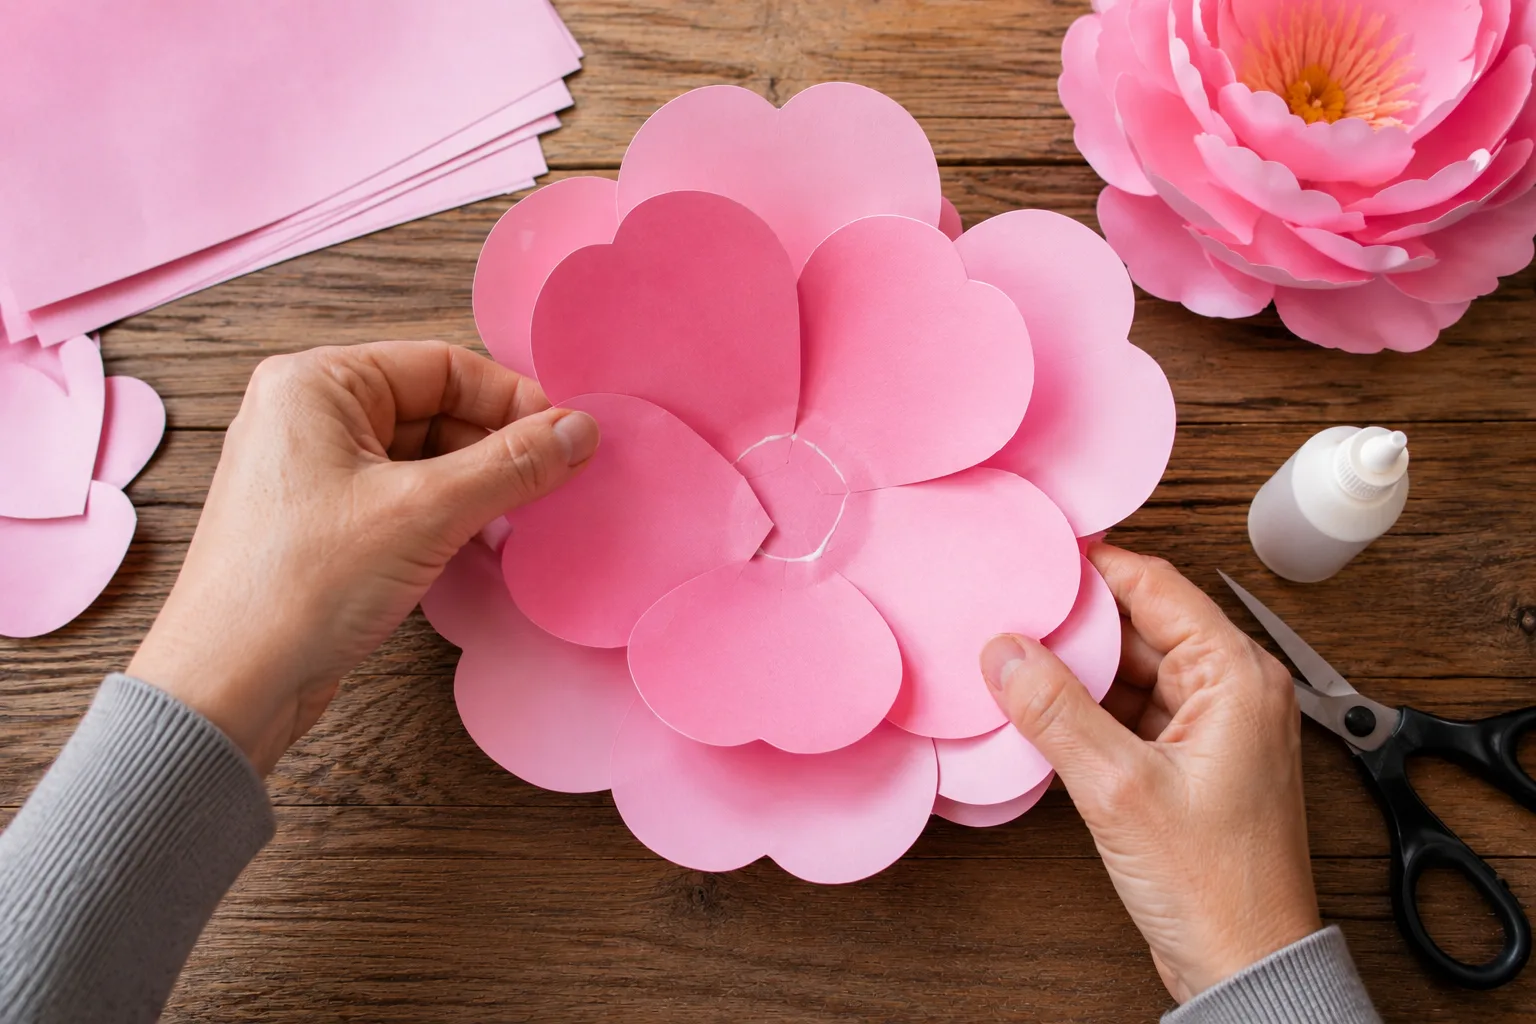
Step 6: Add the Middle Layer
Take your medium-sized petals and arrange them over the first layer.
Rotate the arrangement slightly so the middle petals don't line up directly with the large petals underneath. This simple trick helps fill empty spaces and gives the flower a fuller appearance. Apply small amounts of glue to secure the petals.
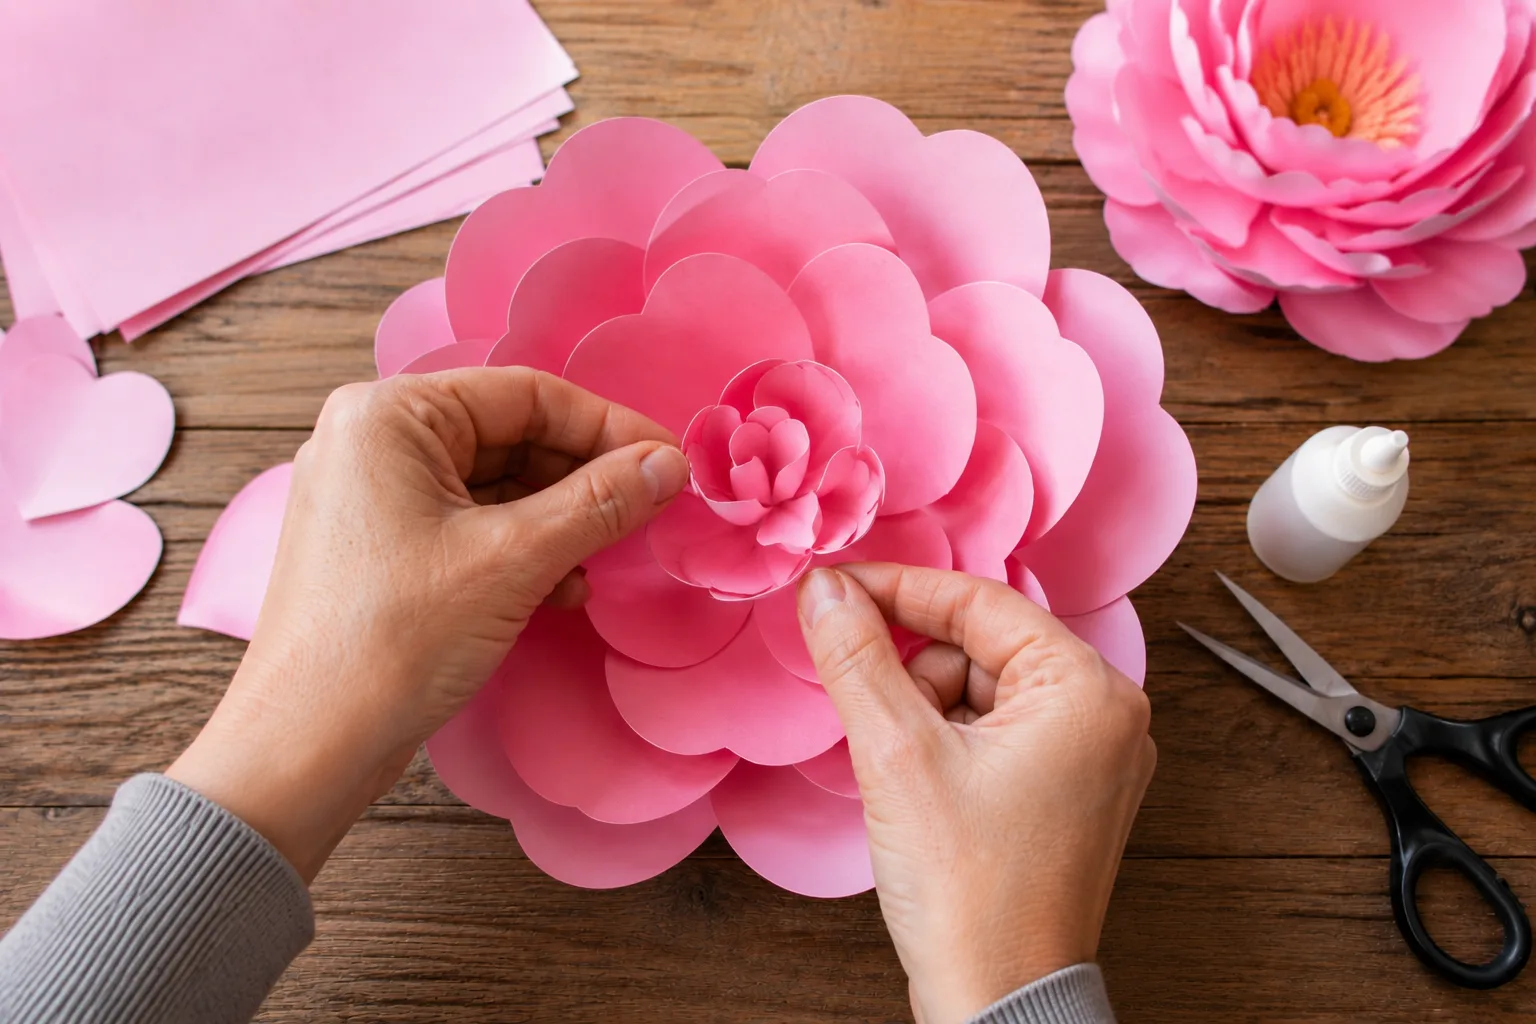
Step 7: Add the Small Center Petals
Next, arrange the smallest petals around the center. Curl these petals slightly more than the outer petals to create a raised center. Glue them carefully into place.
At this point, your flower should begin to look three-dimensional rather than flat.
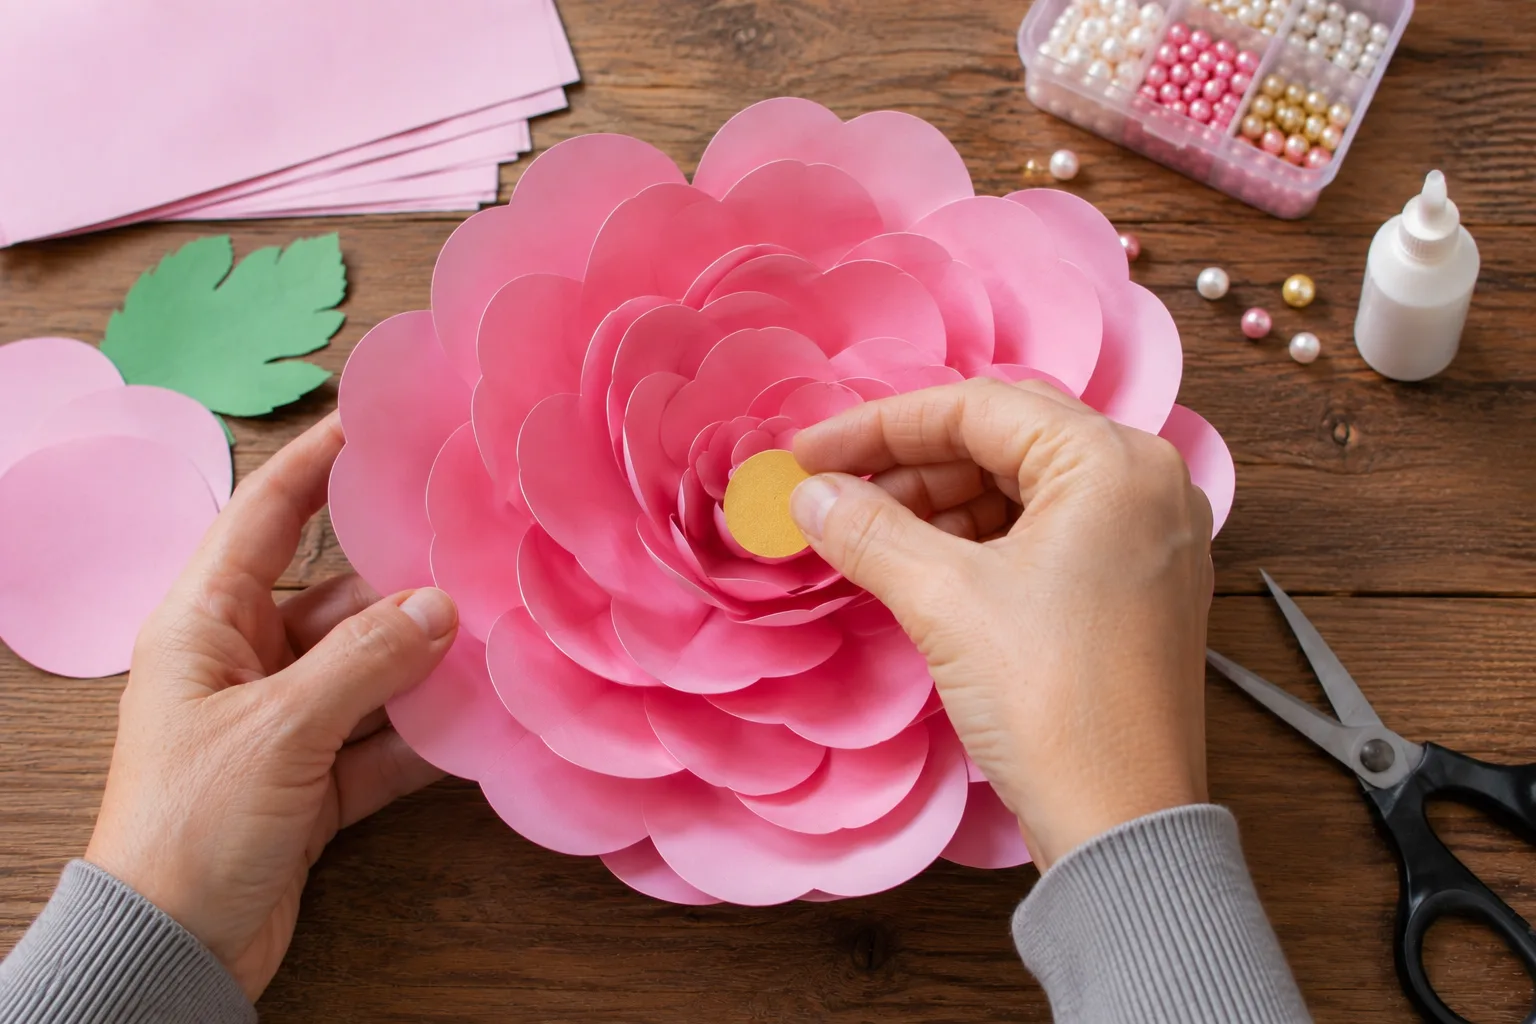
Step 8: Create the Flower Center
Cut a small circle from yellow or another contrasting color.
Place it in the middle of the flower. For a more decorative finish, you can add.
• A small bead
• A pearl
• A button
• Tiny paper circles
• A small amount of glitter
A contrasting center can make the entire flower stand out.
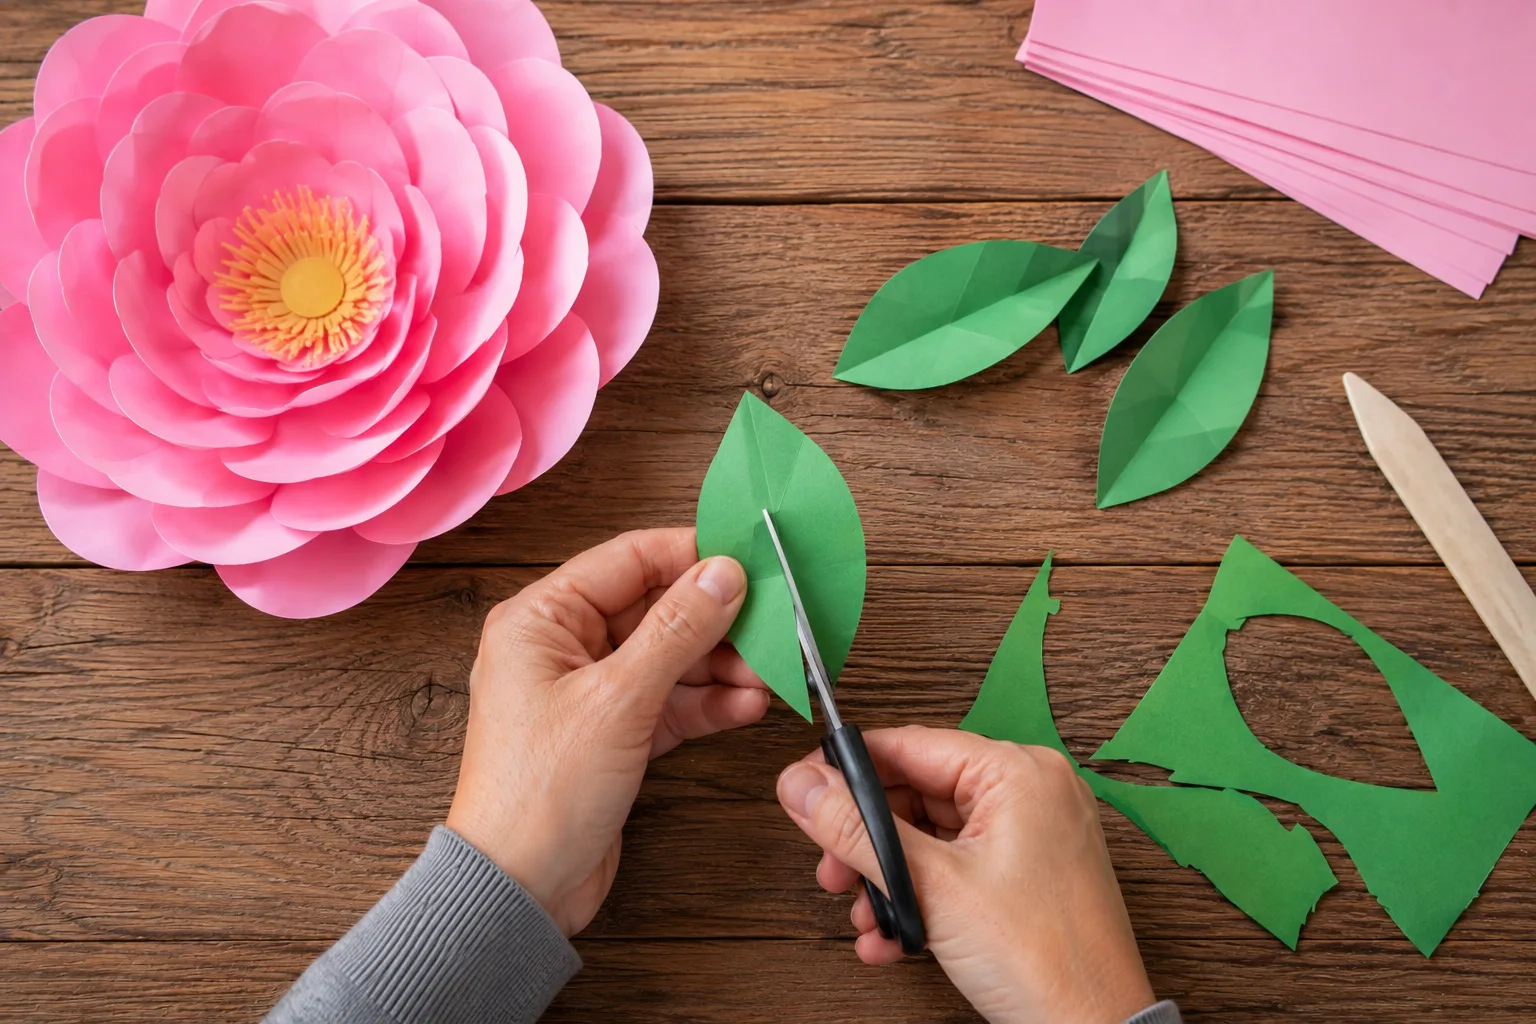
Step 9: Make the Paper Leaves
Take a sheet of green paper and draw several leaf shapes.
Cut them out carefully. For a more realistic appearance, fold each leaf gently along the center to create a vein. You can also make tiny cuts around the edges to create a textured appearance.
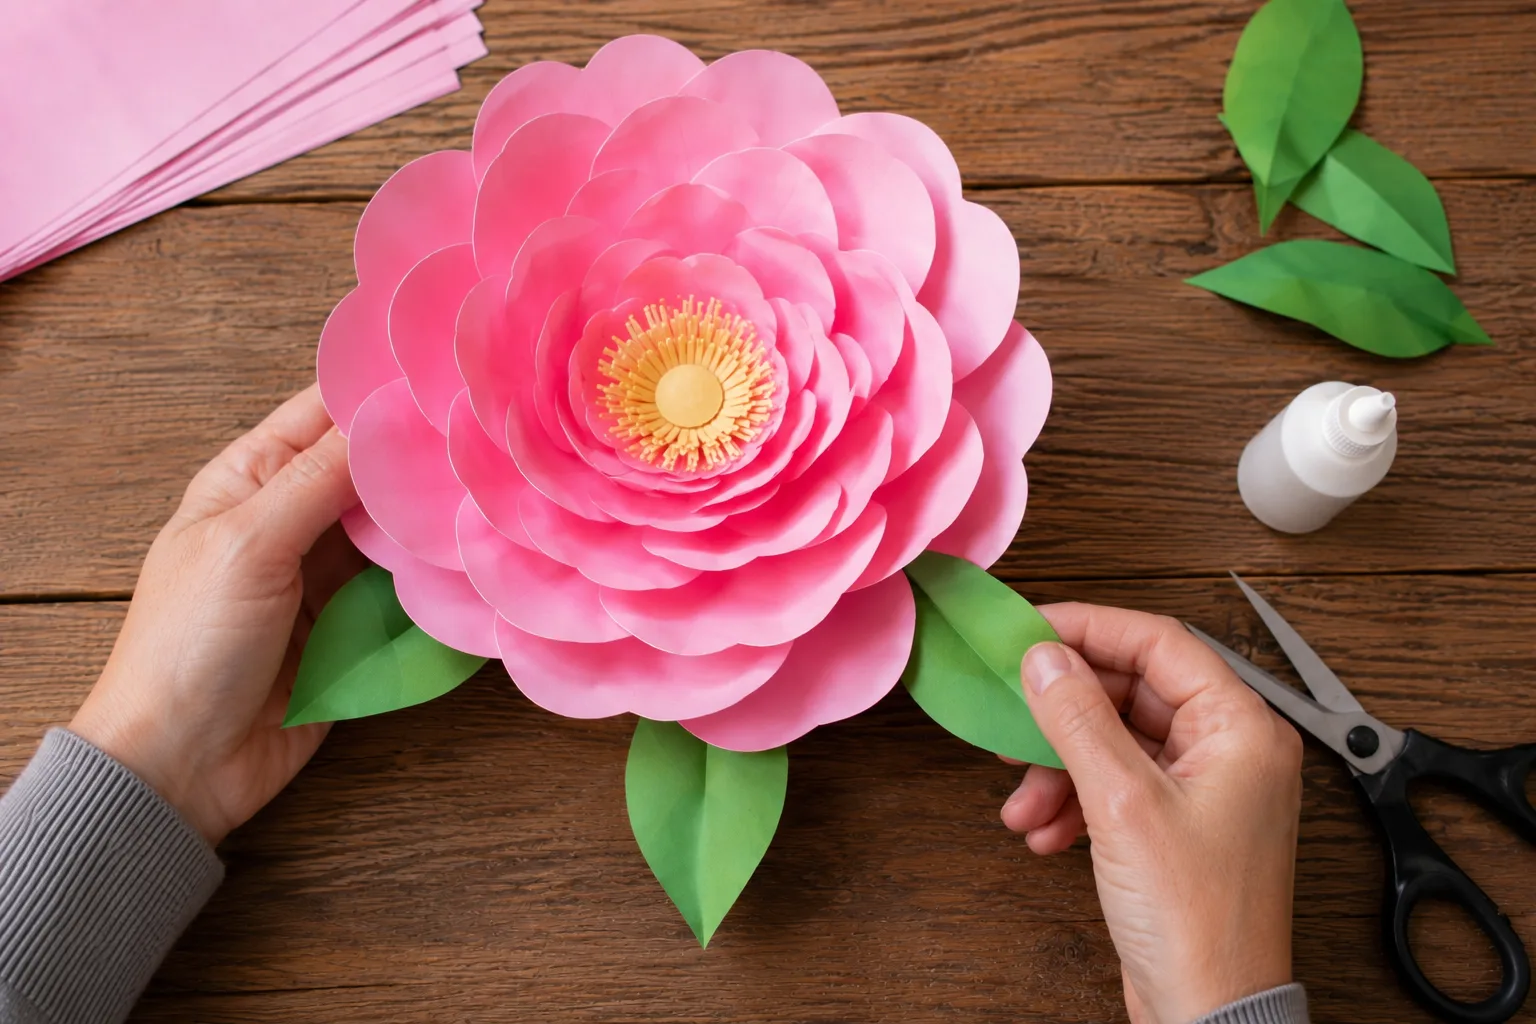
Step 10: Attach the Leaves
Turn your flower over and arrange the leaves underneath it.
Apply a small amount of glue to the base of each leaf and attach them to the flower.
Try positioning the leaves at slightly different angles instead of making them perfectly symmetrical. This gives the finished flower a more natural appearance.
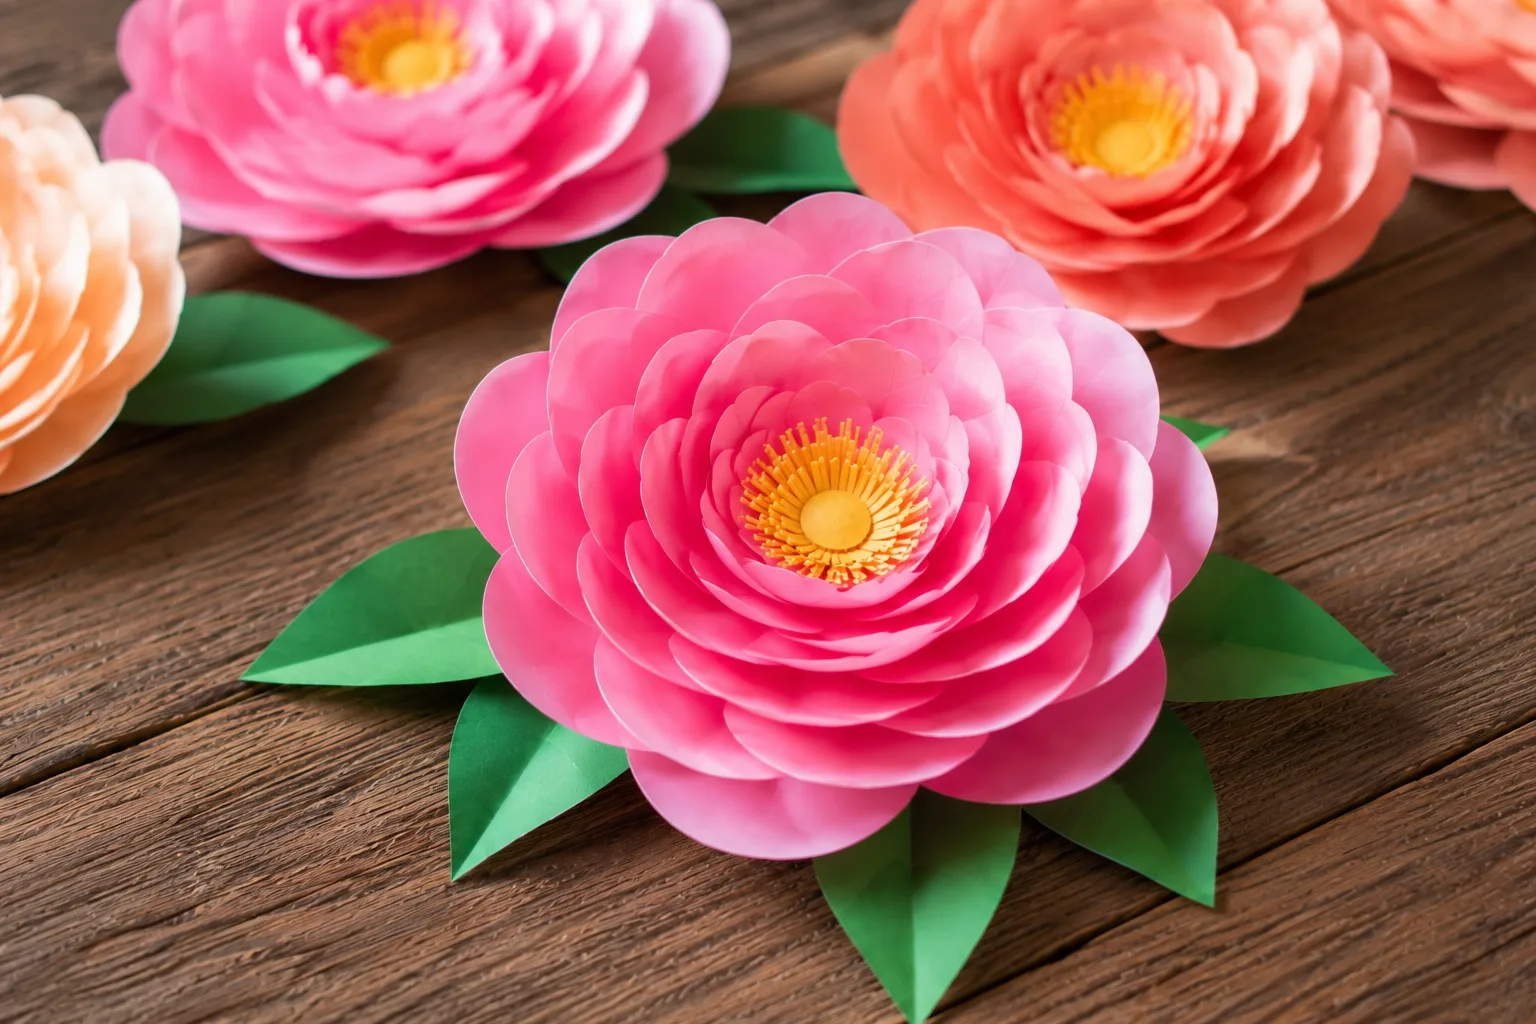
Step 11: Let the Flower Dry
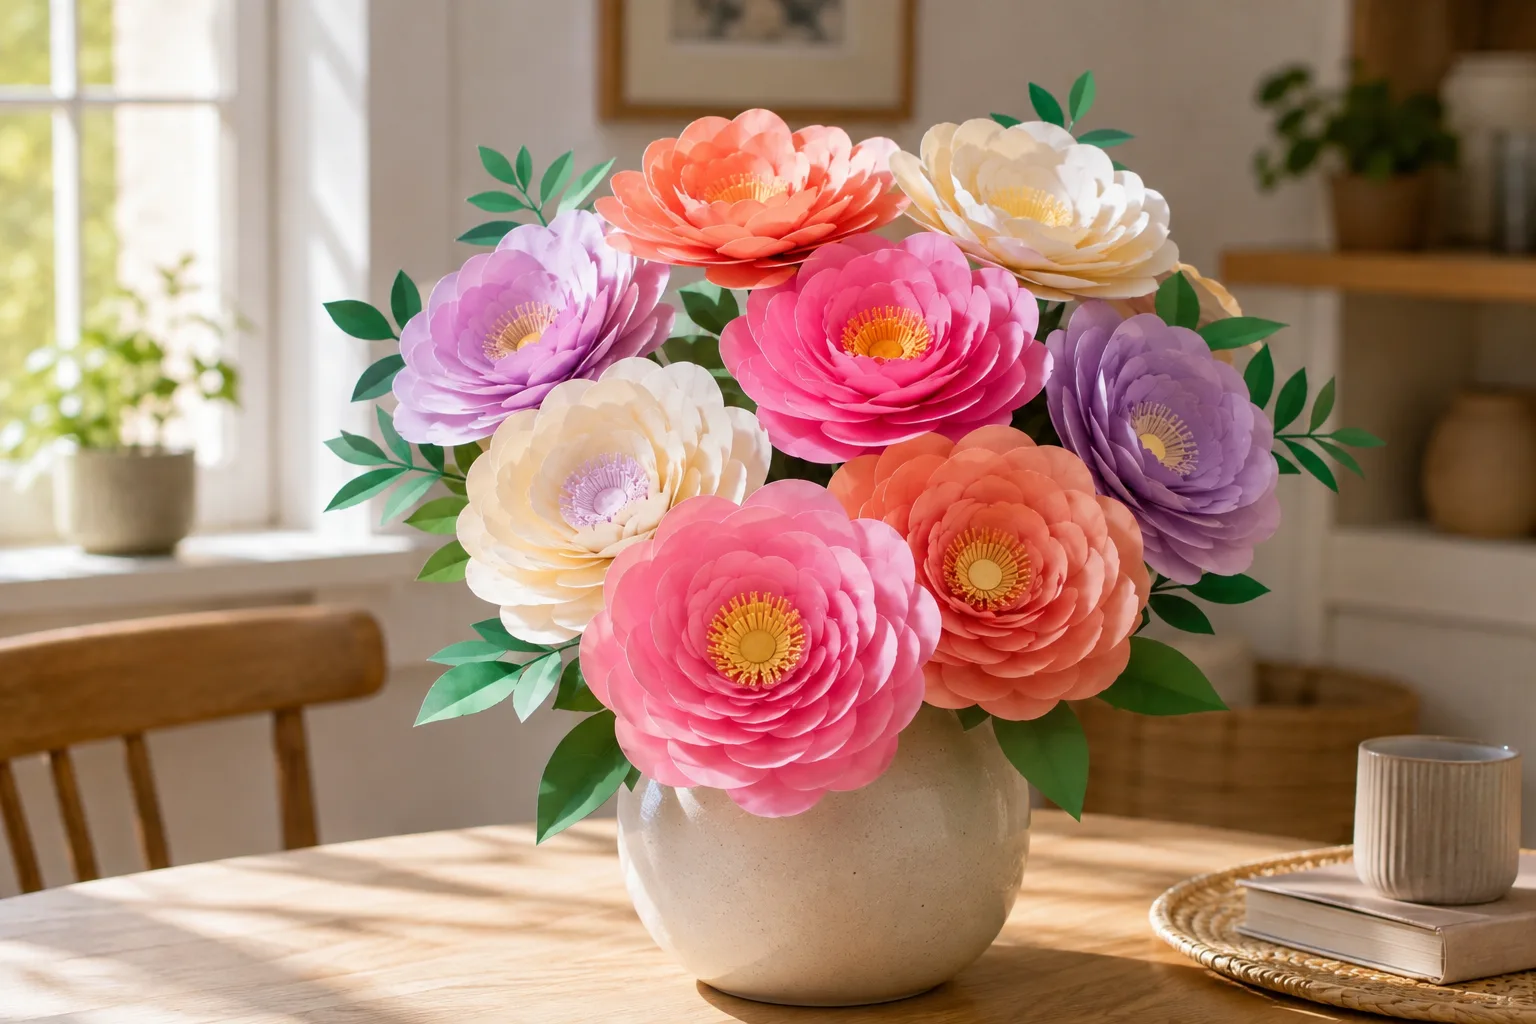
Allow the glue to dry completely. Once the flower is secure, gently adjust the petals with your fingers. You can curl individual petals upward or outward until you're happy with the shape. Your beautiful 3D paper flower is now finished! 🌸
Tips & Tricks for Better 3D Paper Flowers
1. Use Different Shades
Combining light and dark shades creates more depth and makes the flower look more interesting.
2. Use Cardstock for Large Flowers
Large flowers need more structure. Cardstock will usually hold its shape better than very thin paper.
3. Don't Overuse Glue
Too much glue can make paper soggy, wrinkled, or difficult to shape. Use small amounts where needed.
4. Curl the Petals Gently
Avoid creating extremely sharp folds unless the design specifically requires them. Soft curves generally produce a more natural result.
5. Make Different Sizes
Create small, medium, and large flowers and combine them into one arrangement.
6. Create a Template
If you're making multiple flowers, create one reusable petal template. This saves time and helps keep the flowers consistent.
7. Add Texture
Use a pencil, embossing tool, or the edge of a ruler to create subtle lines on the petals.
8. Experiment With the Center
A paper center is simple, but beads, buttons, pearls, or layered paper circles can give the flower a completely different appearance.
9. Let Each Layer Set
If the petals start moving while you're working, allow the glue to set before adding another layer.
10. Don't Aim for Perfect Symmetry
Real flowers aren't perfectly symmetrical. Slight variations can actually make handmade paper flowers look more realistic.
Common Mistakes to Avoid
Making Every Petal Identical
Perfectly identical petals can make the flower look artificial. Small differences in shape and angle create a more natural result.
Using Too Much Glue
Excess glue can wrinkle paper and make the flower difficult to shape.
Choosing Paper That Is Too Thin
Very thin paper may struggle to hold the shape of larger flowers. Use cardstock when creating oversized designs.
Making the Layers Too Flat
The defining feature of a 3D flower is its depth. Curl and angle the petals rather than gluing everything flat.
Rushing the Assembly
Allowing glue to set between important stages makes the finished flower much stronger.
Overloading the Center
A very large center can cover the inner petals. Use a small decorative element that complements the flower instead.
Creative Variations
Once you've mastered the basic technique, try creating different styles.
Paper Roses
Use curved petals and wrap them progressively around the center to create a handmade paper rose.
Paper Daisies
Use white petals with a yellow center for a simple and cheerful flower.
Paper Sunflowers
Combine bright yellow petals with a dark brown center to create a sunflower-inspired design.
Giant Paper Flowers
Make oversized petals and use cardstock to create dramatic flowers for wall decorations and event backdrops.
Mini Paper Flowers
Reduce the petal size to create tiny flowers for greeting cards, gift boxes, and scrapbook projects.
Ombre Paper Flowers
Use several shades of the same color, gradually moving from light to dark across the flower layers.
Glitter Paper Flowers
Add a small amount of glitter to the edges or center for party and celebration decorations.
Paper Flower Bouquet
Attach flowers to floral wire or wooden sticks and arrange them into a handmade bouquet.
Where to Use 3D Paper Flowers
One of the best things about this project is its versatility.
Home Decor
Arrange several flowers on a wall to create a colorful handmade feature.
Bedroom Decor
Use soft pastel colors to create a relaxing floral arrangement above a desk, bed, or dresser.
Party Decorations
Create colorful flowers for birthday parties, baby showers, bridal showers, and other celebrations.
Wedding Decor
Paper flowers can be used for backdrops, photo areas, table decorations, and other decorative elements.
Gift Wrapping
Attach a small paper flower to a wrapped gift instead of using a traditional bow.
Handmade Cards
Small flowers can add a beautiful three-dimensional element to birthday cards, thank-you cards, and other handmade stationery.
Photography Backdrops
Large paper flowers can create an attractive background for portraits, product photography, and social media content.
Handmade Gifts
Create a small bouquet or decorative arrangement as a thoughtful handmade gift.
Frequently Asked Questions
What paper is best for making 3D paper flowers?
Lightweight craft paper is easy to cut and shape, while cardstock provides more strength. For large flowers, cardstock is generally the better choice.
Are 3D paper flowers easy for beginners?
Yes. The basic technique involves drawing, cutting, shaping, and gluing petals, making it suitable for beginners.
How long does it take to make a paper flower?
A basic flower can take around 30–45 minutes, depending on its size, number of layers, and level of decoration.
Can I make paper flowers without a template?
Yes. You can draw the petals freehand. However, a template can make it easier to create multiple flowers with consistent shapes.
Can I make giant paper flowers?
Yes. Simply enlarge the petal shapes and use a stronger paper such as cardstock. Giant flowers are particularly useful for backdrops and wall decorations.
How can I make paper flowers look more realistic?
Use different petal sizes, combine several shades of color, gently curl the petals, and add leaves and subtle texture.
Can I use recycled paper?
Yes. Clean paper from magazines, old packaging, newspapers, or unused paper can sometimes be repurposed for creative variations.
How should I store paper flowers?
Keep them in a dry place away from excessive moisture and direct sunlight. A covered storage container can help protect them from dust.
Can children make these paper flowers?
Yes, although younger children should have adult supervision when using scissors or hot glue.
How do I clean paper flowers?
Use a soft, dry brush or gently remove dust with a light stream of air. Avoid using water because it can damage the paper.
Final Result
Making 3D paper flowers at home is an inexpensive and creative way to turn ordinary paper into beautiful handmade decorations.
With a few basic supplies and simple techniques, you can create flowers in almost any color, size, and style. Once you've mastered the basic design, try experimenting with roses, daisies, sunflowers, giant flowers, mini flowers, and colorful bouquets.
Whether you're decorating your home, preparing for a party, creating handmade gifts, or simply looking for a relaxing weekend craft, these paper flowers are a fun project to try.
So gather your paper and scissors, choose your favourite colors, and start creating your own paper flower garden! 🌸✂