
How to Upcycle Glass Bottles into Chic Textured Vases
Have you ever looked at an empty glass wine bottle, an elegant olive oil container, or a unique soda bottle and felt it was simply too pretty to toss into the recycling bin? You are not alone. Transforming everyday glassware into high-end home decor is one of the most rewarding, budget-friendly ways to practice sustainable living.
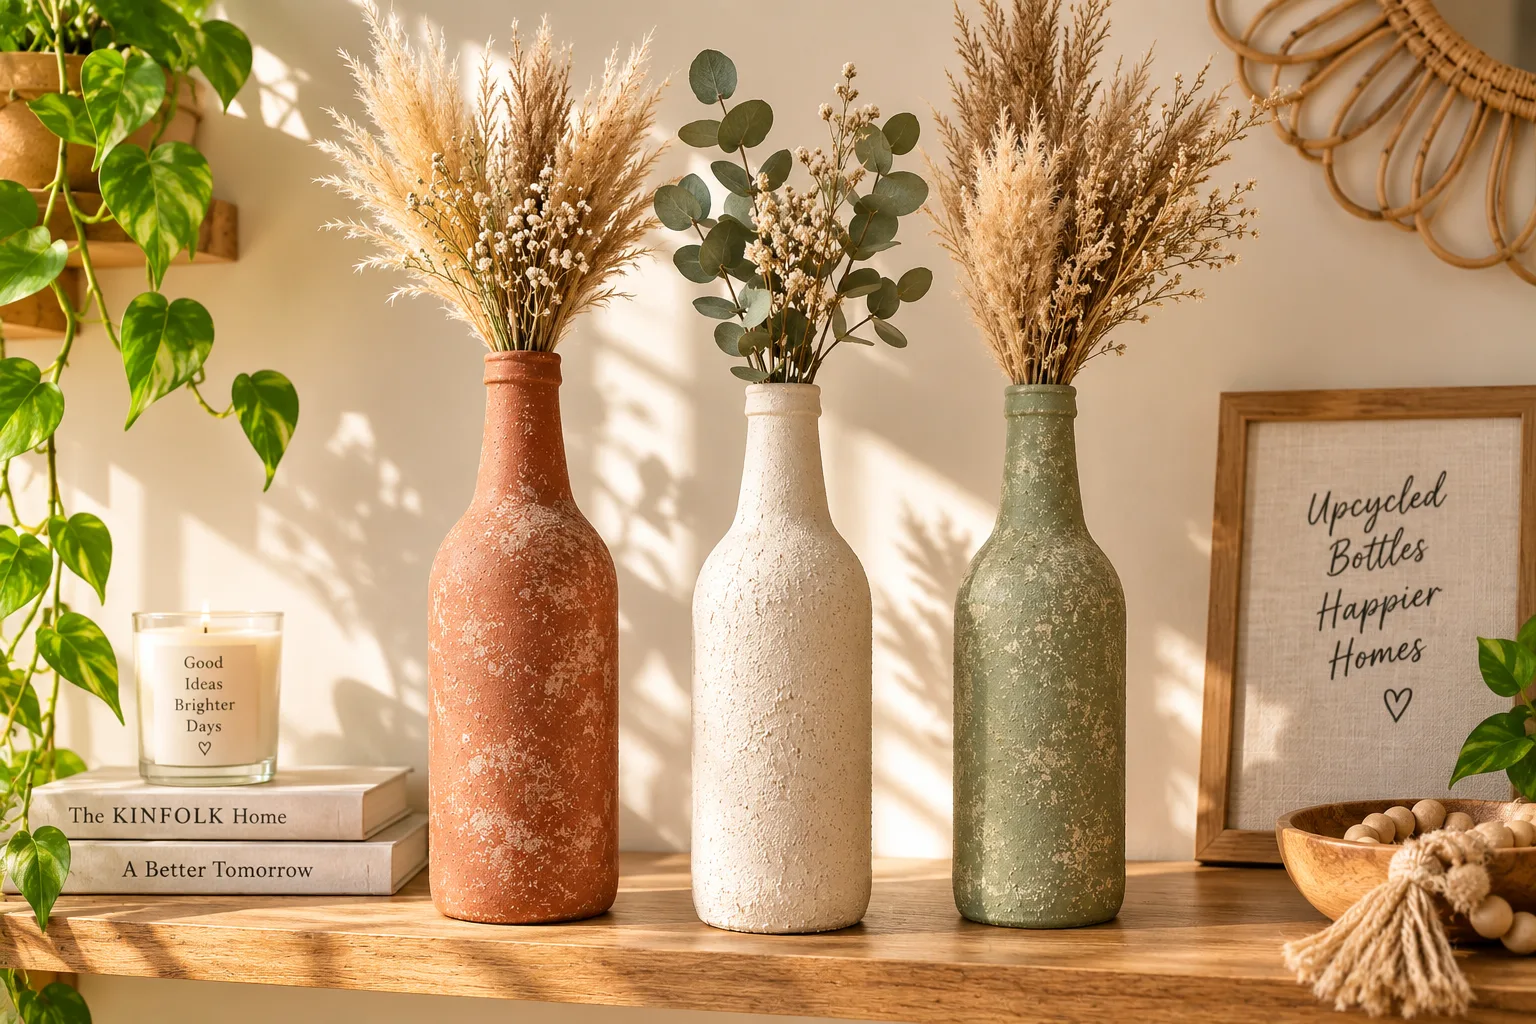
Upcycling glass bottles into textured, bohemian-inspired vases allows you to breathe new life into discarded items while creating custom decor pieces that rival boutique home stores. In this comprehensive guide, we will walk you through transforming ordinary clear glass bottles into stunning matte, textured focal points using an easy, non-toxic faux-ceramic technique. Whether you want to style dry pampas grass on your entryway table or add an artisanal touch to your living room bookshelf, this beginner-friendly project takes less than two hours of active crafting time and yields breathtaking results.
Essential Materials & Tools List
Before diving into the creative process, assemble your supplies. Sourcing the right materials ensures proper paint adhesion to the slick glass surface and creates that coveted, tactile stone texture.
Materials Needed
Clean Glass Bottles: 2–3 empty glass bottles of varying shapes and heights (wine, cider, or specialty vinegar bottles work wonderfully).
Acrylic Craft Paint: 1–2 colors of your choice. Muted neutrals like terracotta, warm cream, sage green, or charcoal black give the most modern, ceramic-like finish.
Baking Powder or Baking Soda: The secret ingredient! Adding baking powder/soda creates a chemical reaction with acrylic paint, giving it a thick, porous texture that mimics stoneware.
Clear Matte Sealer Spray: Protects the textured paint from moisture and chipping.
Painter's Tape (Optional): Needed if you plan to create color-blocked or geometric line designs.
Tools Required
Flat Paintbrush or Sponge Brush: A stiff-bristled flat brush adds rich strokes, while a sea sponge provides a stippled, pitted stone texture.
Mixing Bowl & Spoon: A small, disposable container to mix your textured paint mixture.
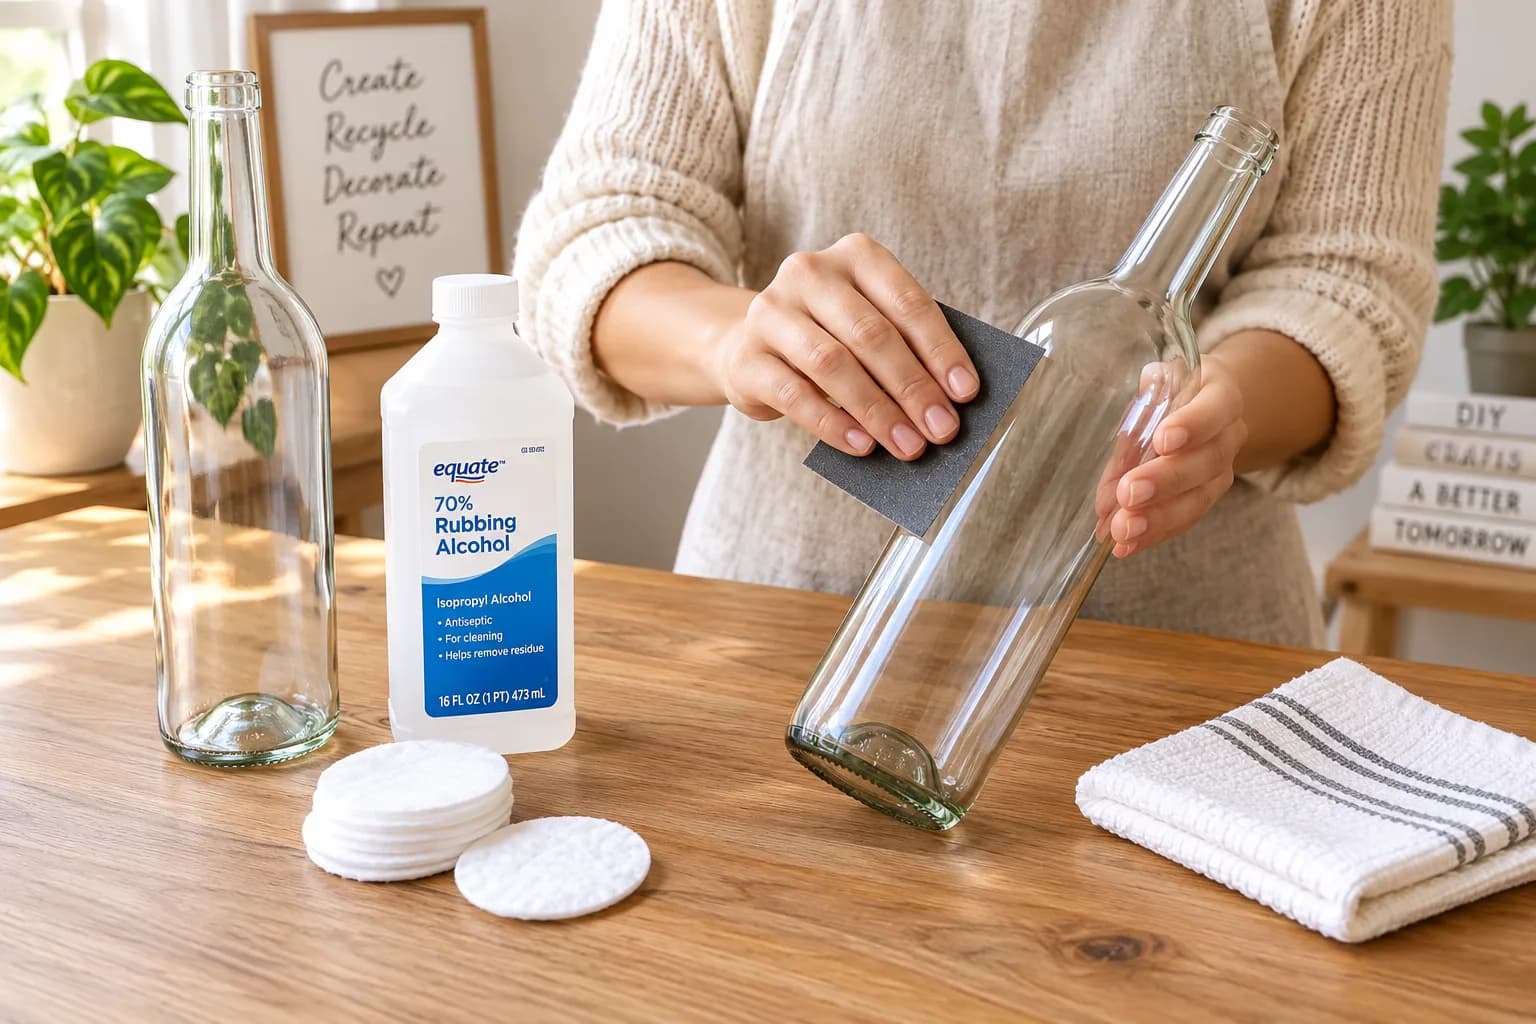
Goo Gone or Rubbing Alcohol: For removing stubborn sticker residue.
Coarse Sandpaper (120–180 Grit): Essential for scuffing the glass surface to improve paint grip.
Drop Cloth or Old Newspaper: To protect your workspace.
Step-by-Step DIY Guide
Follow these sequential steps to craft your custom textured glass vases. Take your time during the preparation phase—proper surface prep is what separates a amateur craft project from a durable piece of home decor.
Step 1: Bottle Cleaning & Surface Preparation
The most common point of failure when painting glass is residual oil or glue, which causes paint to peel over time.
Submerge your empty bottles in warm, soapy water for 30 minutes to loosen the paper labels.
Peel off the labels and scrub away any remaining adhesive using a cotton pad soaked in rubbing alcohol or adhesive remover.
Once clean and completely dry, lightly sand the entire exterior of the glass with coarse sandpaper. You are not trying to scratch the glass deeply, but rather create micro-abrasions that give the paint something to grab onto.
Wipe the bottle down with rubbing alcohol one final time to remove all fine glass dust.
Step 2: Mixing the Textured Faux-Ceramic Paint
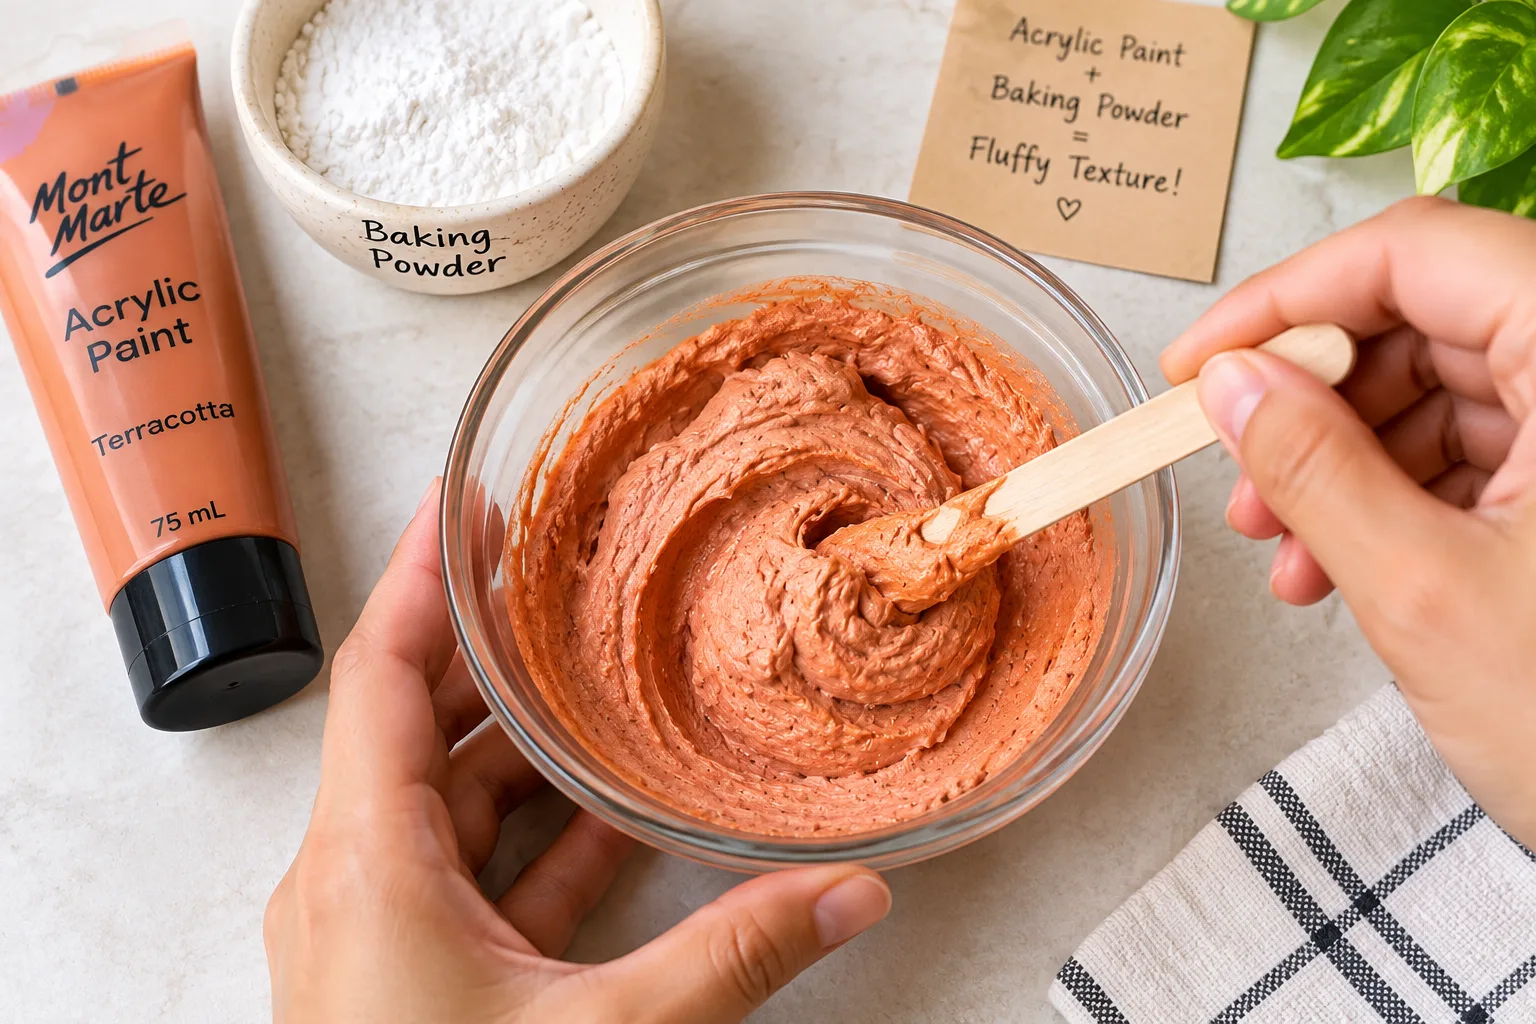
Standard acrylic paint runs off slick glass and looks thin. Creating a thick, micro-foamed paint mixture solves both issues.
1. Pour approximately $1/2\text{ cup}$ of acrylic paint into your mixing container.
2. Add 1 to 2 tablespoons of baking powder or baking soda.
3. Stir the mixture continuously for about 30 seconds. You will notice the paint expand slightly and take on a fluffy, mousse-like consistency.
Craft Note: Use the mixture immediately while it is airy and thick.
Step 3: Applying the First Textured Layer
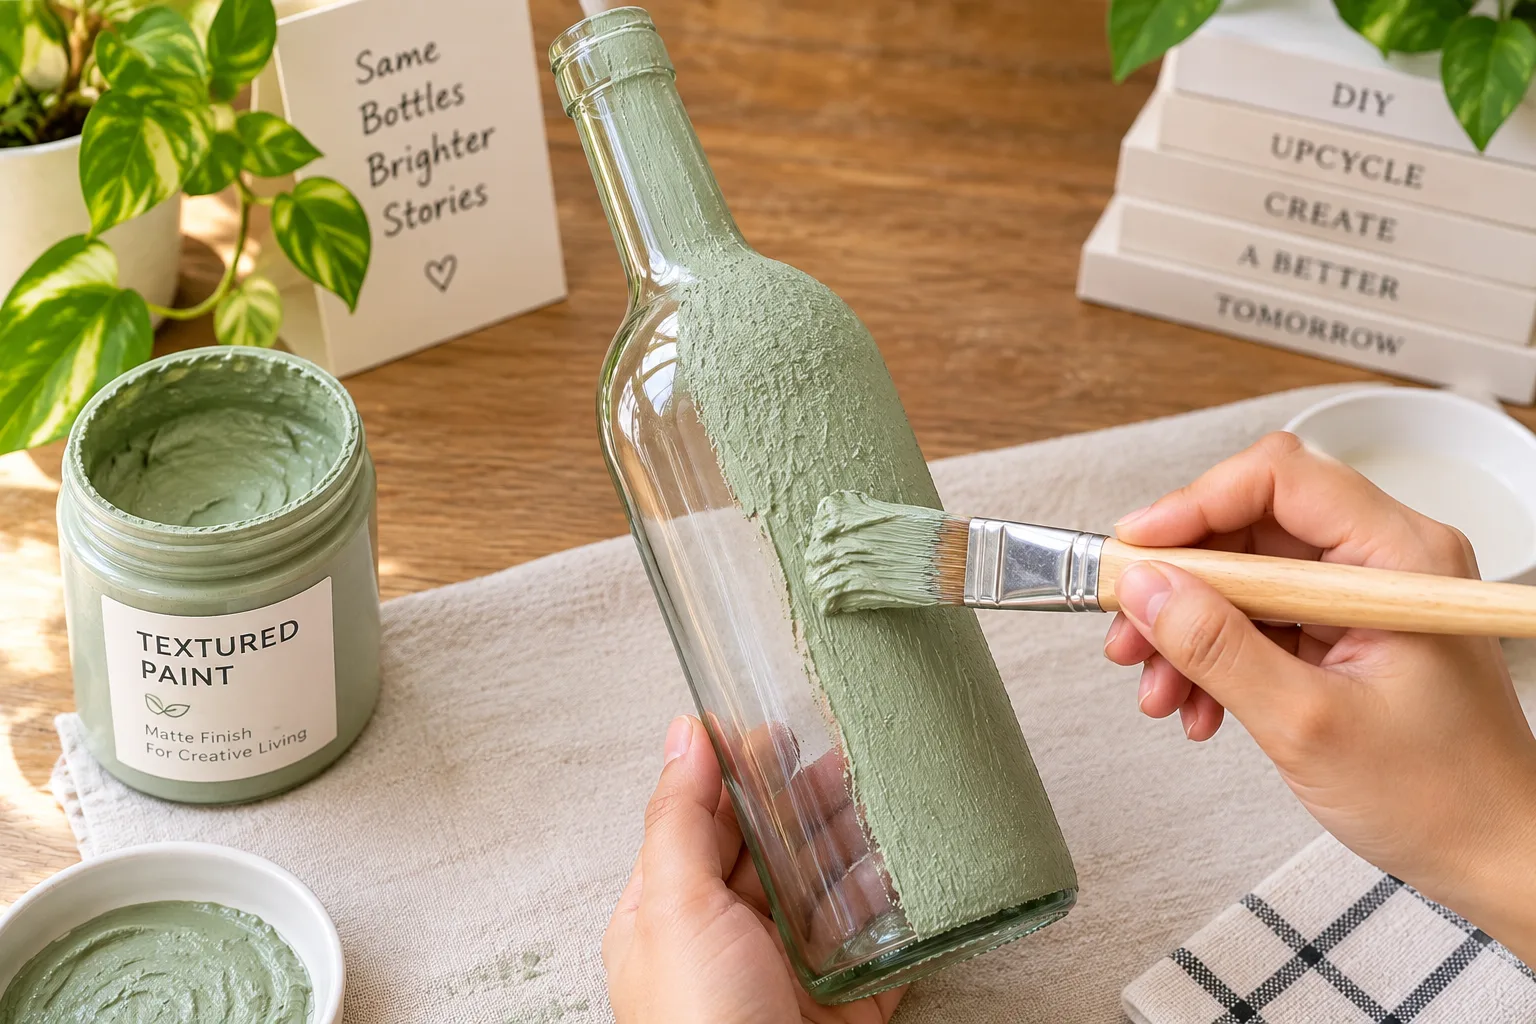
1. Dip your paintbrush into the thick paint mixture, loading a generous amount onto the bristles.
2. Begin applying the paint using short, dabbing strokes rather than long, smooth brush strokes. Dabbing creates micro-peaks that dry into a realistic earthenware finish.
3. Cover the entire outer surface, working from the neck down to the base.
Allow the first coat to dry for at least 45 minutes. It will dry to a matte, powdery finish.
Step 4: Adding Detail & Second Coat
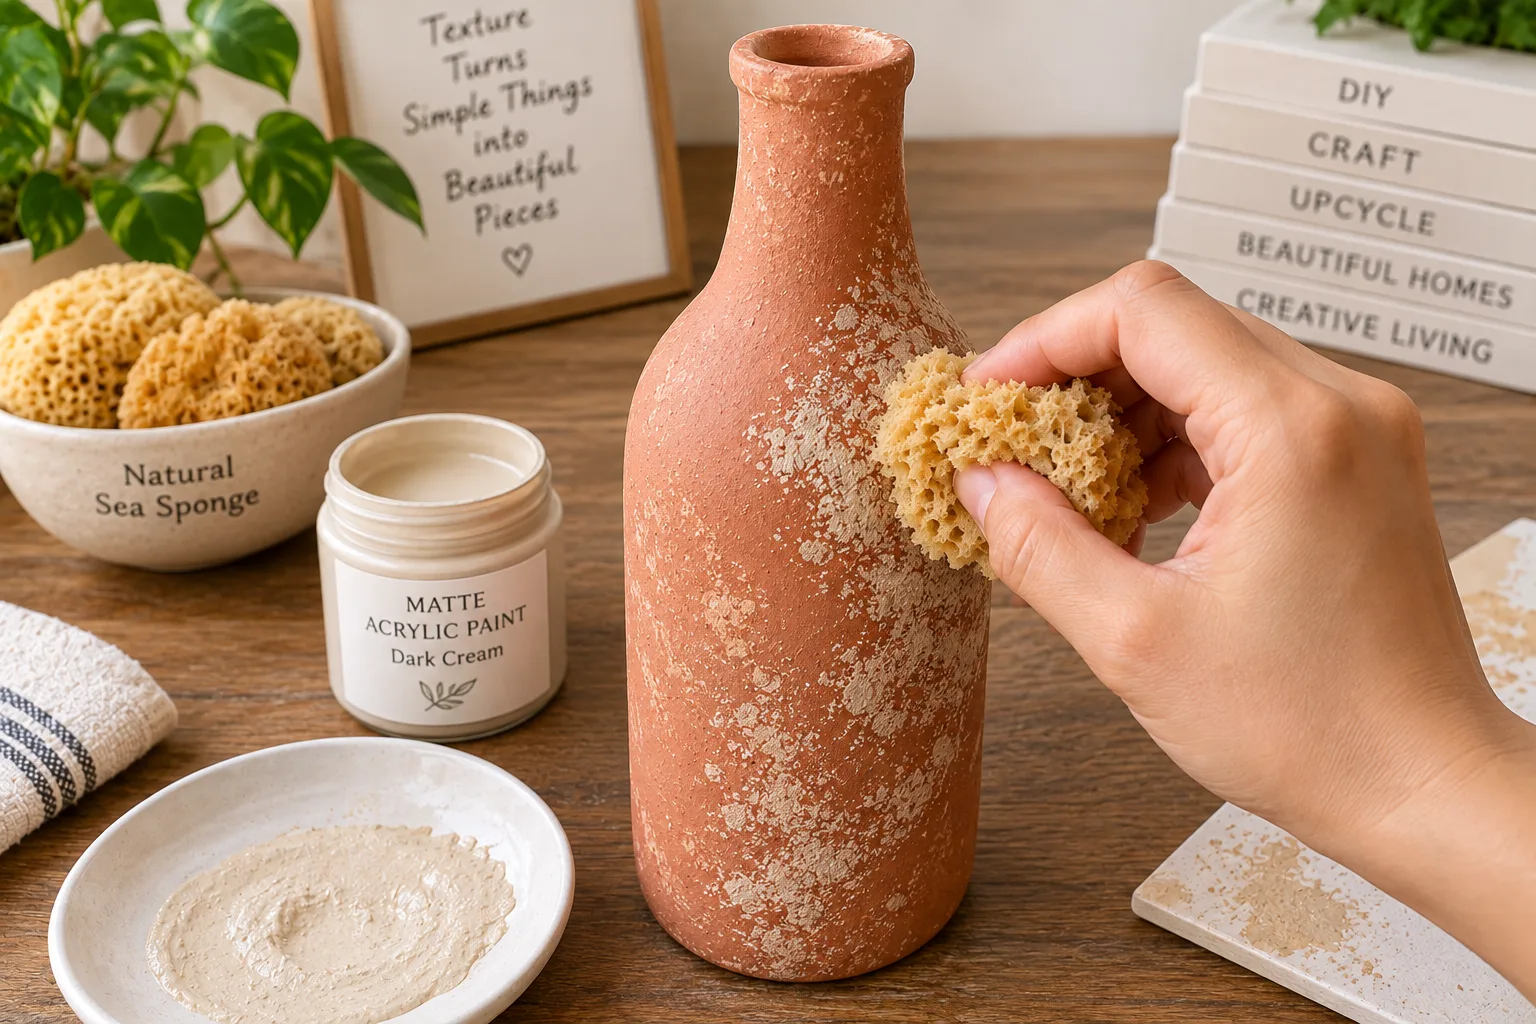
1. Once the base coat is touch-dry, apply a second coat to ensure complete coverage of the glass.
2. If desired, use a sea sponge to lightly press a complementary color or slightly darker shade onto random sections to create dimensional depth.
Allow the finished piece to cure for 2 to 3 hours in a well-ventilated, dry area.
Step 5: Sealing for Longevity
Because baking powder makes the paint porous, moisture or water drops can soften the finish if left unprotected.
1. Take your cured vases to a well-ventilated outdoor area.
2. Hold a can of clear matte acrylic sealer spray approximately 10–12 inches away from the vase.
Apply a light, even coat over the entire surface. Avoid heavy spraying, which can dissolve the chalky texture. Let dry for 1 hour.
Pro Tips & Troubleshooting
· Pro Tip - The Salt Texture Upgrade: If you want an even chunkier, vintage terracotta texture, add 1 tablespoon of coarse sea salt or clean play sand into your paint mixture along with the baking soda.
· Pro Tip - Keep the Inside Clean: Wrap a small piece of painter's tape around the top lip of the bottle opening before painting. This keeps the inner rim crisp and prevents paint from chipping when inserting flower stems.
· Troubleshooting - Paint Peeling or Bead Up: If your paint beads up during Step 3, the glass still has oils from your hands on it. Wipe the glass with rubbing alcohol again and add a pinch more baking powder to thicken the paint further.
· Troubleshooting - Flaking Finish: If the paint flakes off after drying, the layer was applied too thick without sufficient drying time between coats, or the glass was not sanded prior to painting.
Styling, Variations & Care
Creative Variations
· Color Blocking: Use painter's tape to mark off the bottom half of the bottle. Paint the top half in a smooth cream finish and the bottom half in a heavy-textured charcoal paint for a mid-century modern aesthetic.
· Ribbed Glass Effect: Wrap jute twine or thin cotton cord tightly around the middle section of the glass bottle before painting, securing the ends with hot glue. Paint over both the glass and the twine to create a faux-carved ceramic effect.
Care & Display Instructions
Because these vases are finished with water-based acrylics and baking soda, do not submerge them in a dishwasher or soak them in a sink. To clean, gently wipe the exterior with a dry microfiber cloth or a feather duster.
If using these vases for fresh flowers, fill the inside carefully using a narrow-neck funnel or water pitcher to prevent water from splashing onto the painted exterior. They pair exceptionally well with dry botanicals like bunny tails, preserved eucalyptus, or faux floral stems.
Conclusion
Upcycling glass bottles is proof that elevated home decor does not require a large budget—just a bit of creativity and everyday household ingredients. In under an afternoon, you can turn plain glass waste into a trio of textured ceramic-look vases that look right at home in a modern interior.
Did you try this project? We would love to see your unique color choices and texture combinations! Leave a comment below with your favorite craft tricks, or tag us on Pinterest and Instagram to share your finished upcycled creations. Happy crafting!