
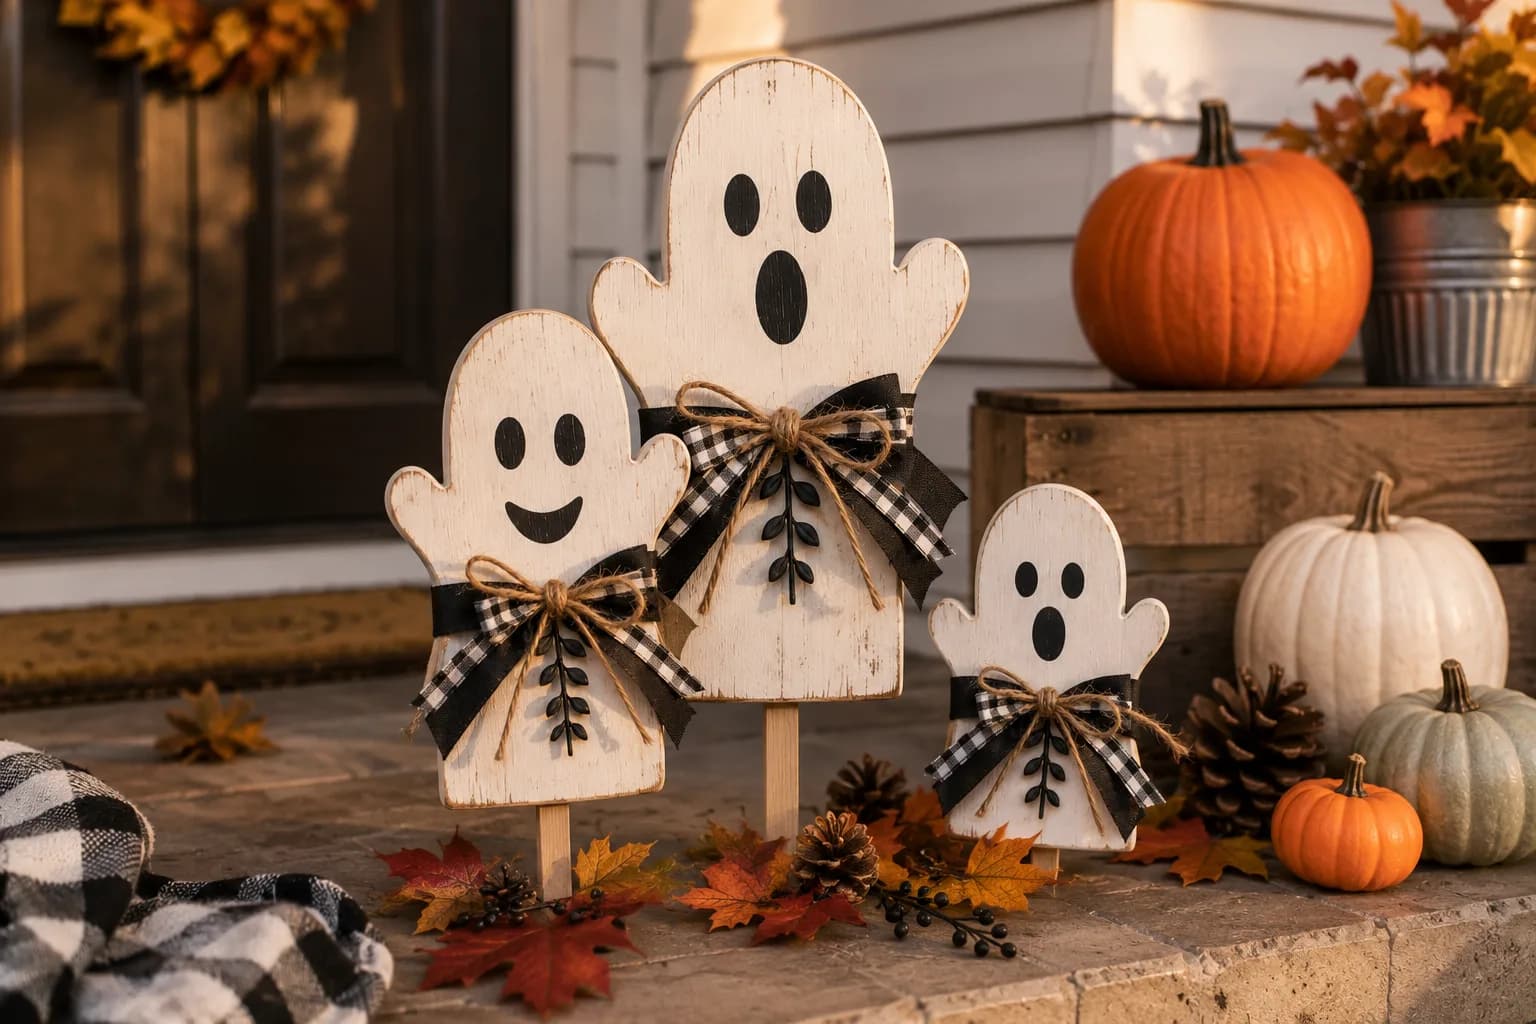
Easy Step-by-Step Decor
Halloween is the perfect time to add a little spooky personality to your home. You don't need expensive store-bought decorations to create an impressive seasonal display. With a few pieces of scrap wood, some paint, and basic tools, you can make charming Halloween wooden ghost signs that look great on a porch, entryway, mantel, or shelf.
These DIY wooden ghost signs combine a rustic handmade appearance with classic Halloween colors. The project is beginner-friendly, inexpensive, and easy to customize.
Whether you prefer cute ghosts, spooky ghosts, farmhouse décor, or a more traditional Halloween look, you can adapt the design to match your home.
In this tutorial, you'll learn how to cut, shape, paint, and finish your own wooden ghost signs from start to finish.
Materials You'll Need
Main Materials
1–3 pieces of untreated wood or scrap lumber
White or off-white acrylic or outdoor paint
Black paint
Gray or dark brown paint for optional details
Wood primer
Clear protective sealer suitable for your intended location
Tools
Pencil
Measuring tape or ruler
Sandpaper, approximately 120–220 grit
Jigsaw or suitable wood-cutting tool
Paintbrushes
Small detail brush
Safety glasses
Work gloves
Optional Decorative Materials
Small wooden stakes
Twine or jute rope
Artificial moss
Small faux spiders
Black ribbon
Decorative leaves
Small wooden lettering or cutouts
You can also use leftover wood from previous projects. Different board widths can create a more interesting group of ghosts.
Before You Start
Difficulty: Easy
Preparation Time: 20 minutes
Crafting Time: 60–90 minutes
Total Time: Approximately 80–110 minutes, excluding extended paint drying time
Choose a stable, well-ventilated workspace before starting. If you're cutting wood, secure the material firmly and wear appropriate eye protection. Keep fingers away from cutting blades and follow the safety instructions for your tools.
For outdoor signs, use paint and sealer designed for exterior use. Indoor craft paint may not withstand rain and changing weather conditions.
The exact size of your ghosts is completely up to you. A useful starting point is approximately 8–18 inches tall, but you can make miniature ghosts for shelves or larger ones for your porch.
Step-by-Step Instructions
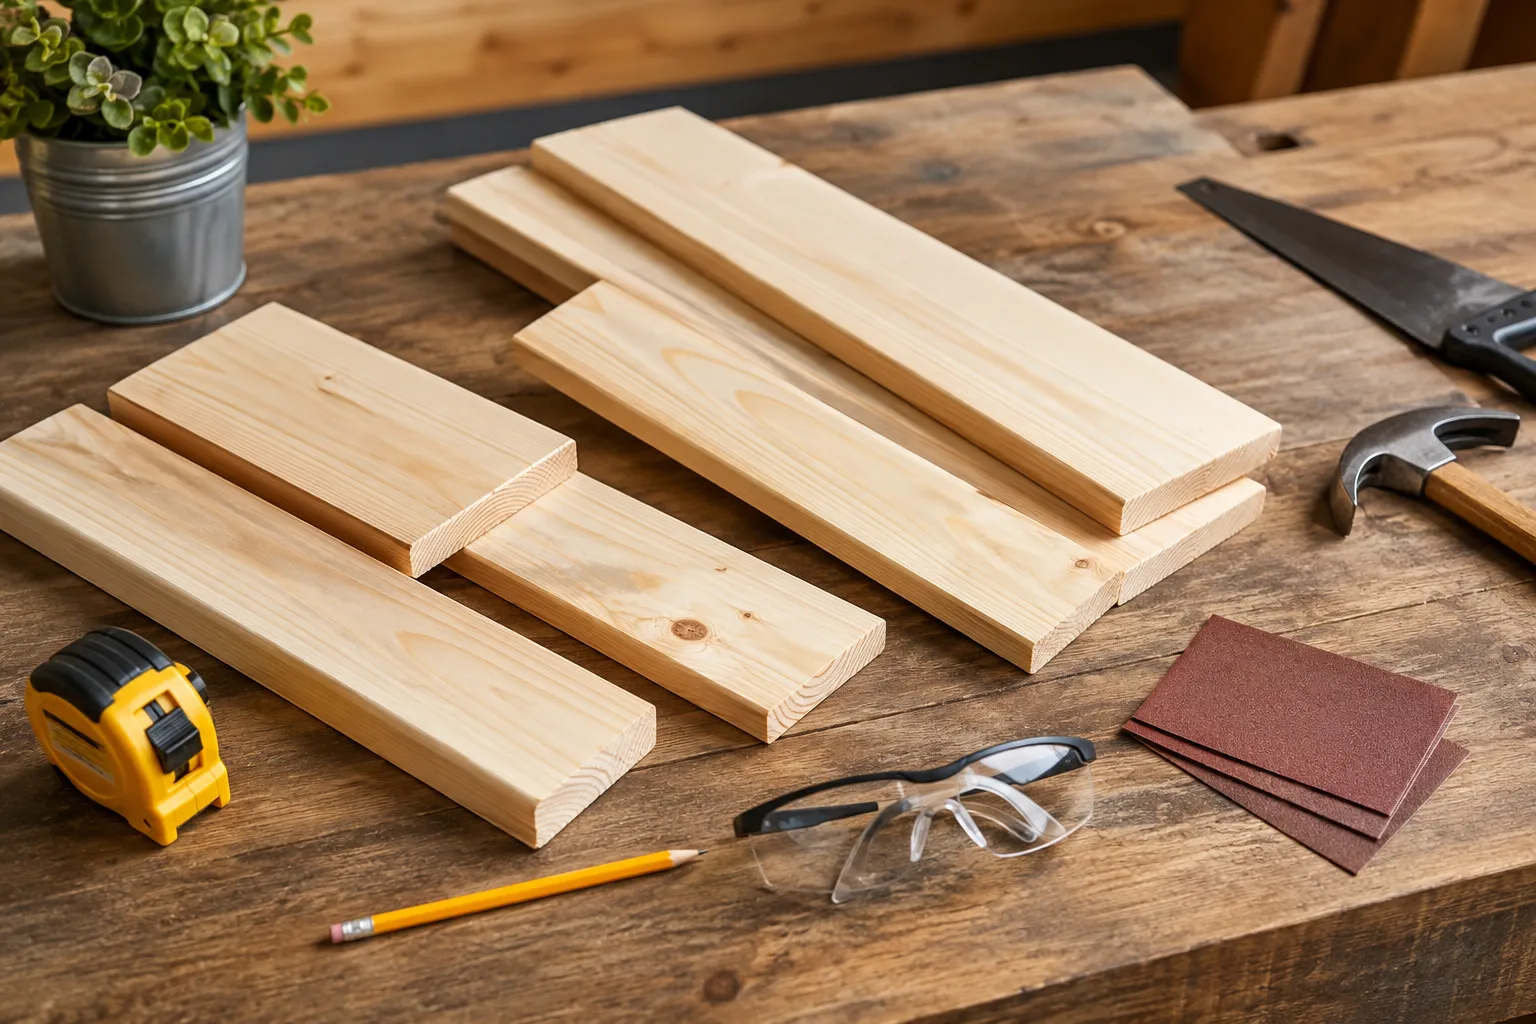
Step 1: Choose and Prepare the Wood
Start with clean, dry pieces of untreated wood.
Boards with a relatively smooth surface are easiest for beginners because they require less preparation. However, small knots and natural imperfections can add character to rustic Halloween decorations.
Remove dirt and loose debris from the boards.
If the wood has rough edges, lightly sand them using medium-grit sandpaper. Follow with finer sandpaper to create a smoother surface.
Wipe away the sanding dust before moving on to the next step.
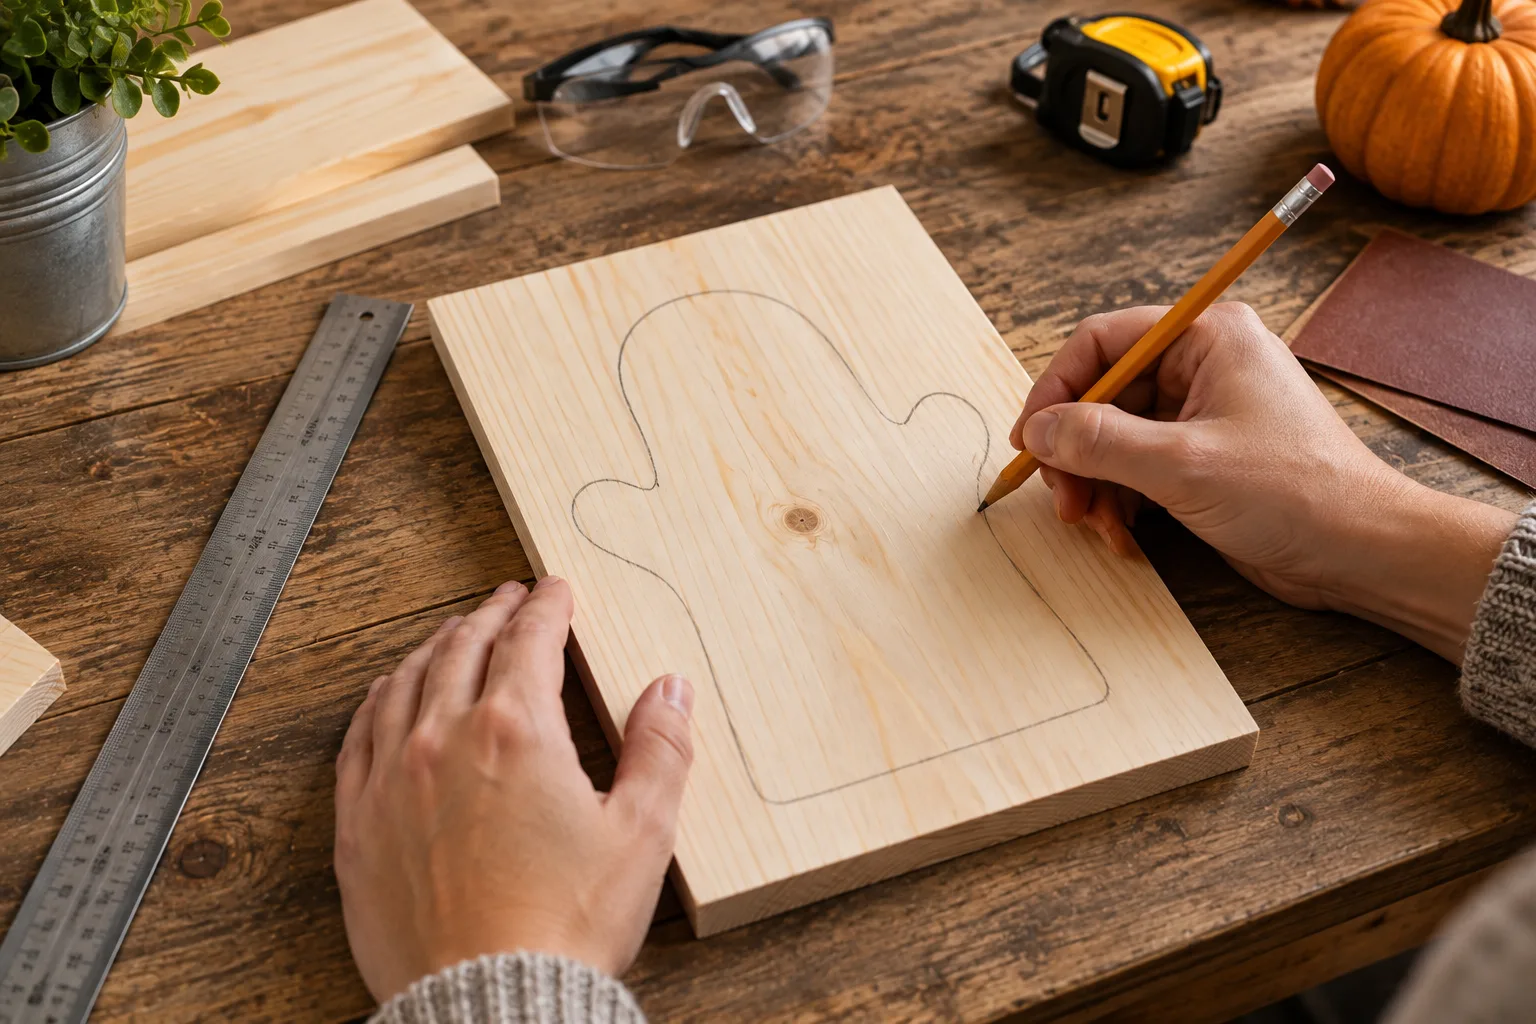
Step 2: Draw the Ghost Shape
Place the prepared board on your work surface.
Using a pencil, sketch a simple ghost outline directly onto the wood.
A basic ghost can have:
A rounded head
Slightly curved shoulders
A wider lower body
A wavy bottom edge
Don't worry about making the shape perfectly symmetrical. Handmade imperfections can actually make the finished ghosts look more charming.
If you're making several signs, vary the shapes slightly. One ghost could be tall and narrow while another is shorter and wider.
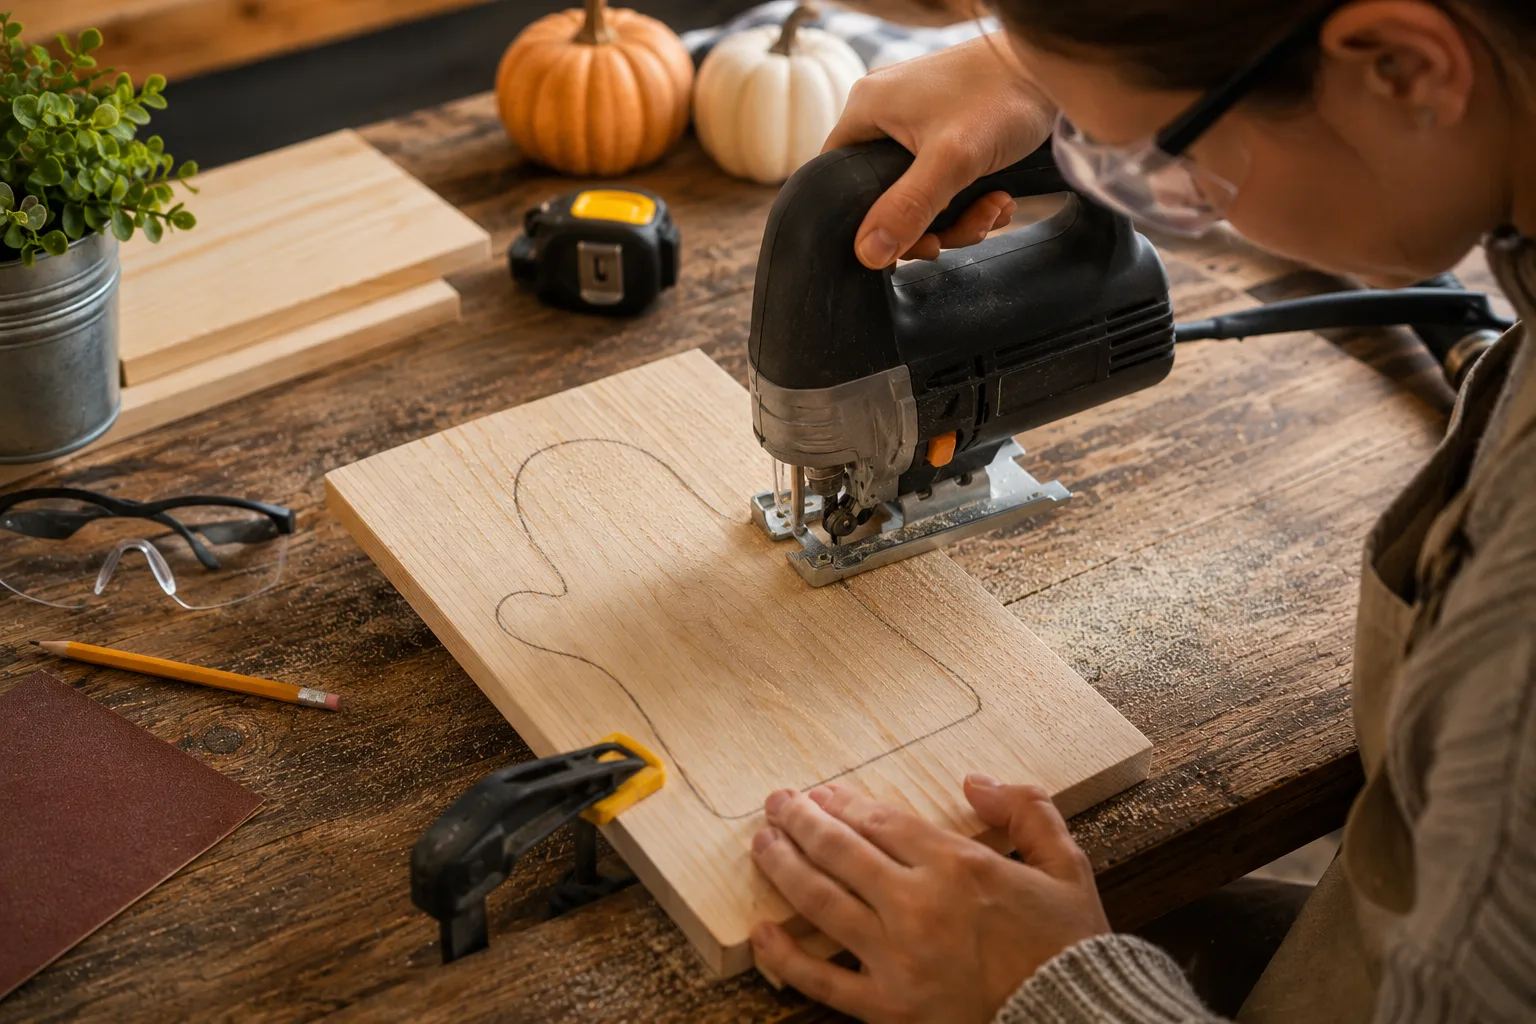
Step 3: Cut Out the Ghost
Secure the wood firmly to your work surface.
Carefully cut around the pencil outline using a jigsaw or another appropriate wood-cutting tool.
Take your time around curves and corners. Trying to cut too quickly can make the edges uneven.
Once the ghost shape has been cut out, inspect the edges for rough areas or splinters.
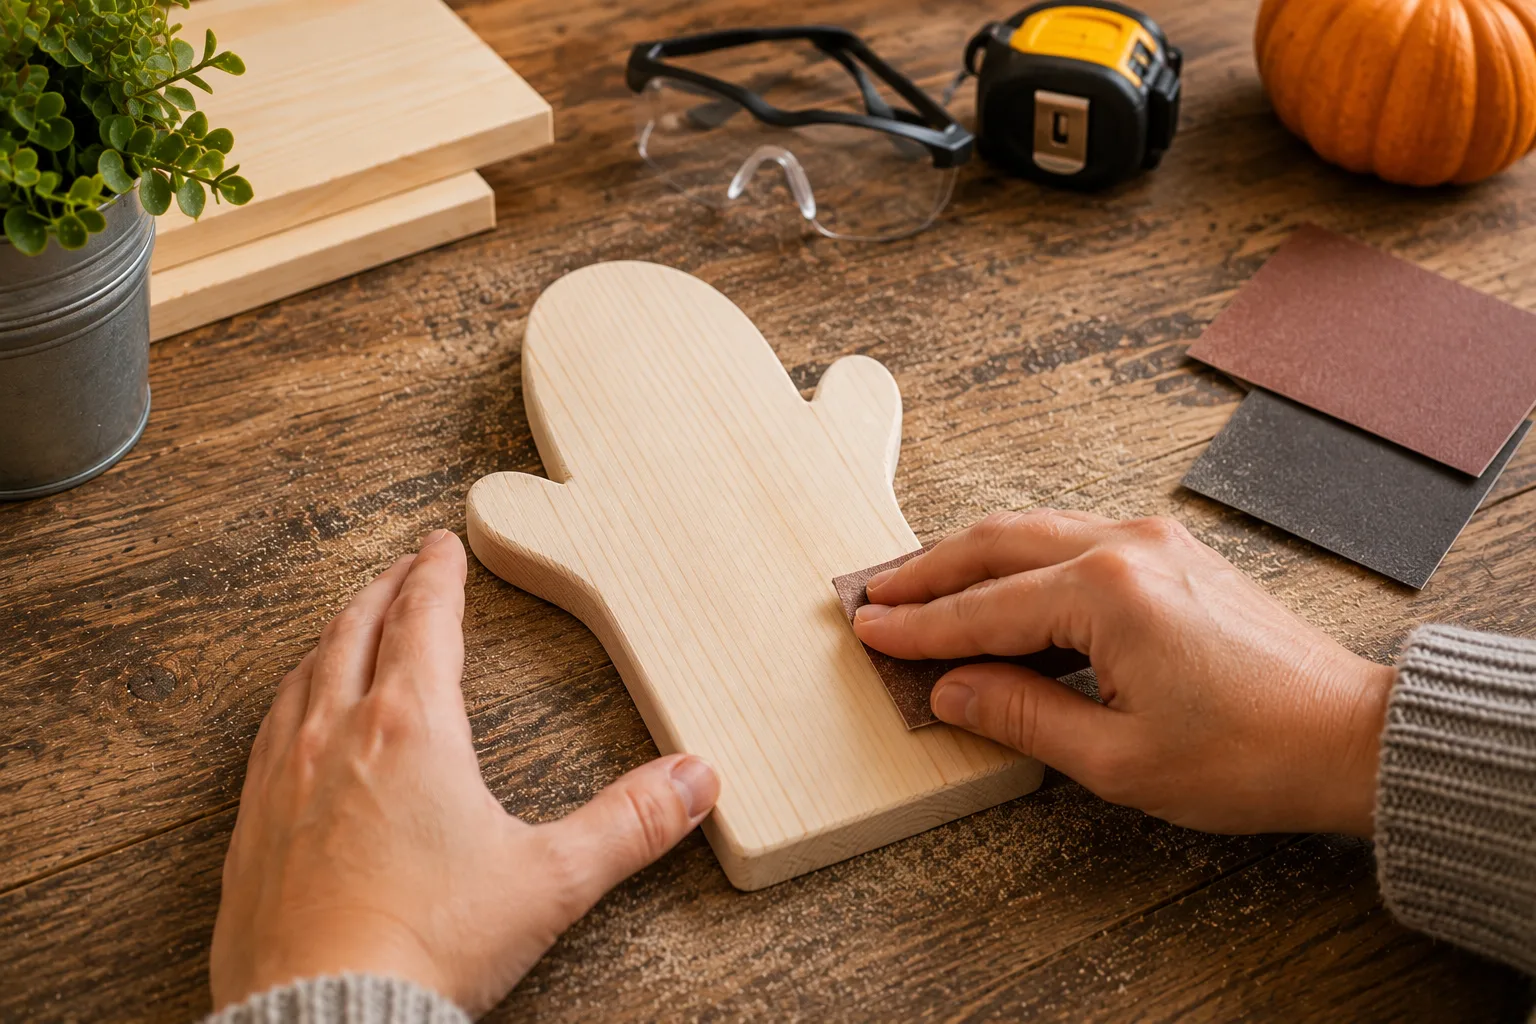
Step 4: Sand the Edges
Use medium-grit sandpaper to smooth the freshly cut edges.
Pay particular attention to curves around the head and the wavy bottom section.
Then use finer sandpaper for a smoother finish.
You don't need to make the surface perfectly polished. A slightly rustic texture works particularly well with Halloween décor.
Remove all remaining sanding dust with a clean, dry cloth.
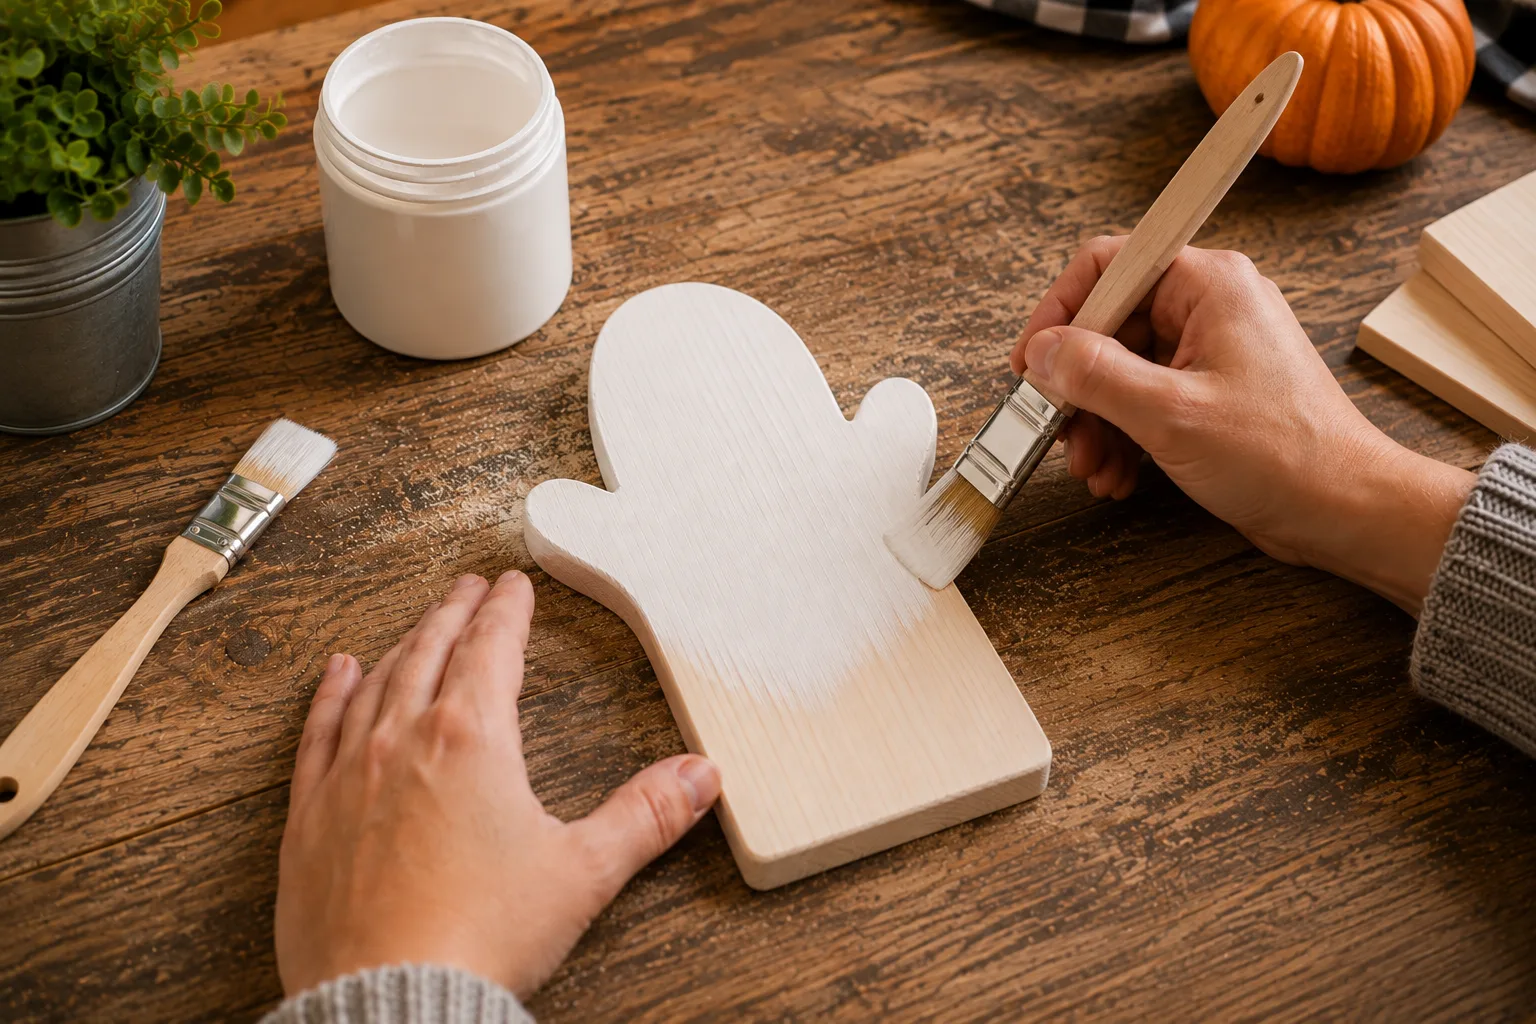
Step 5: Apply Primer
Apply a thin, even coat of wood primer over the front and sides of the ghost.
Primer helps create a more consistent surface for the paint and can make the finished color look cleaner.
Allow the primer to dry according to the manufacturer's instructions.
If the wood is particularly absorbent or rough, a second thin coat may help create a more uniform finish.
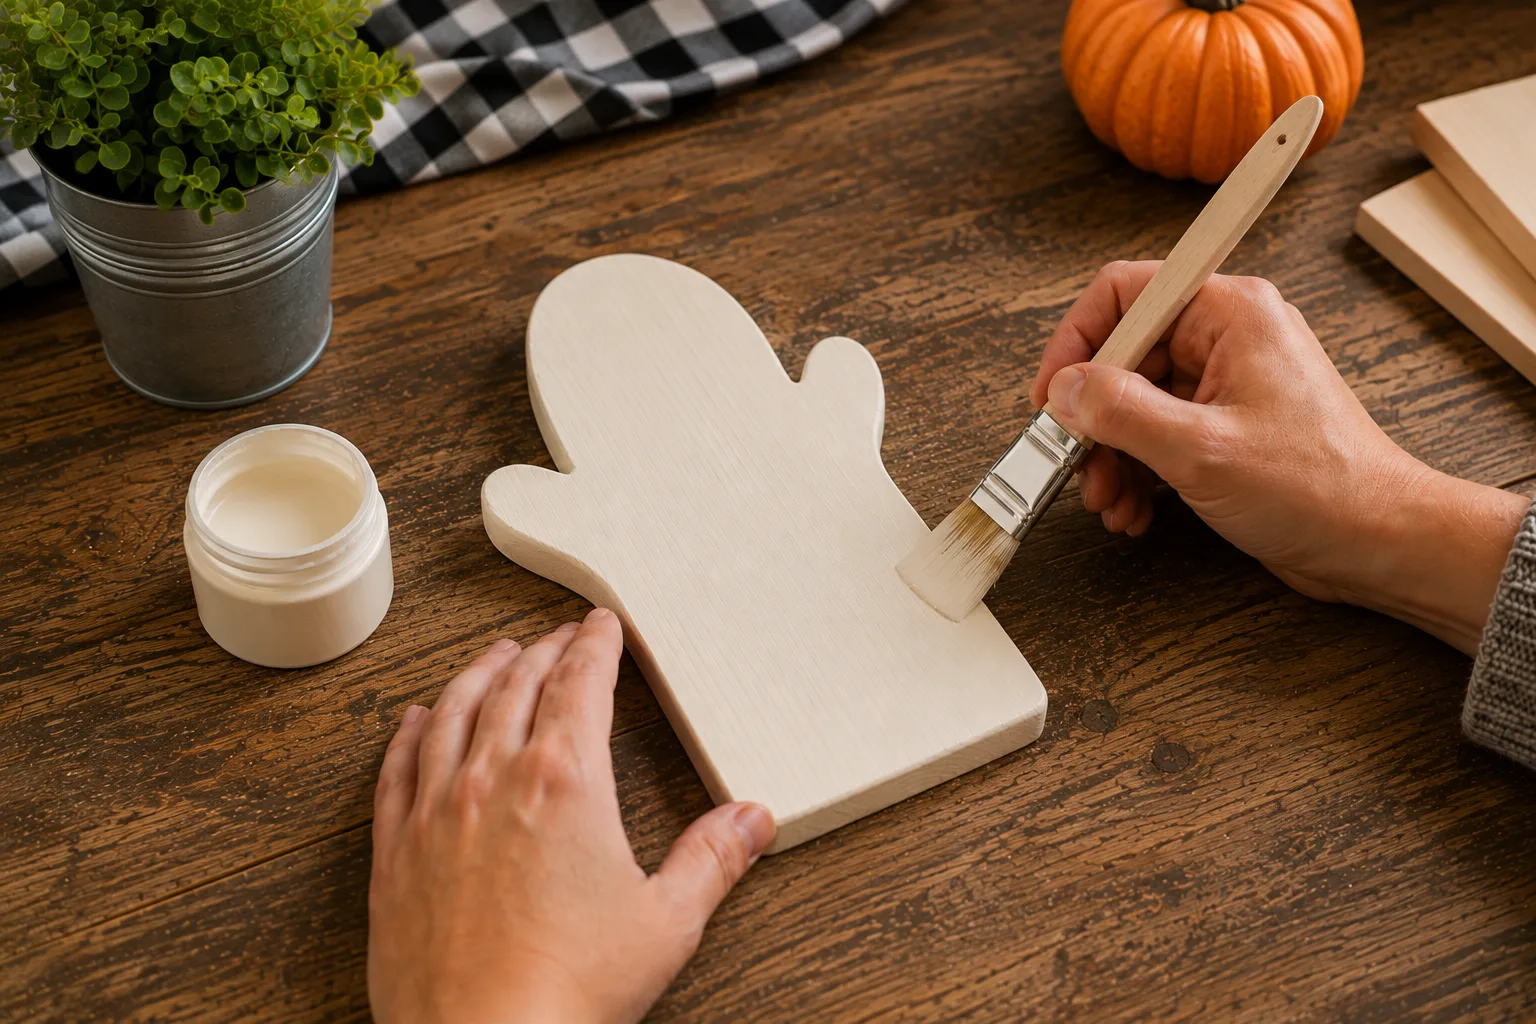
Step 6: Paint the Ghost White
Once the primer is completely dry, apply white or warm off-white paint.
Use several thin coats instead of one very thick coat. Thin layers generally produce a cleaner finish and reduce visible brush marks.
Allow each coat to dry before applying the next.
For a rustic farmhouse appearance, consider using an ivory, cream, or slightly weathered white rather than a bright pure white.
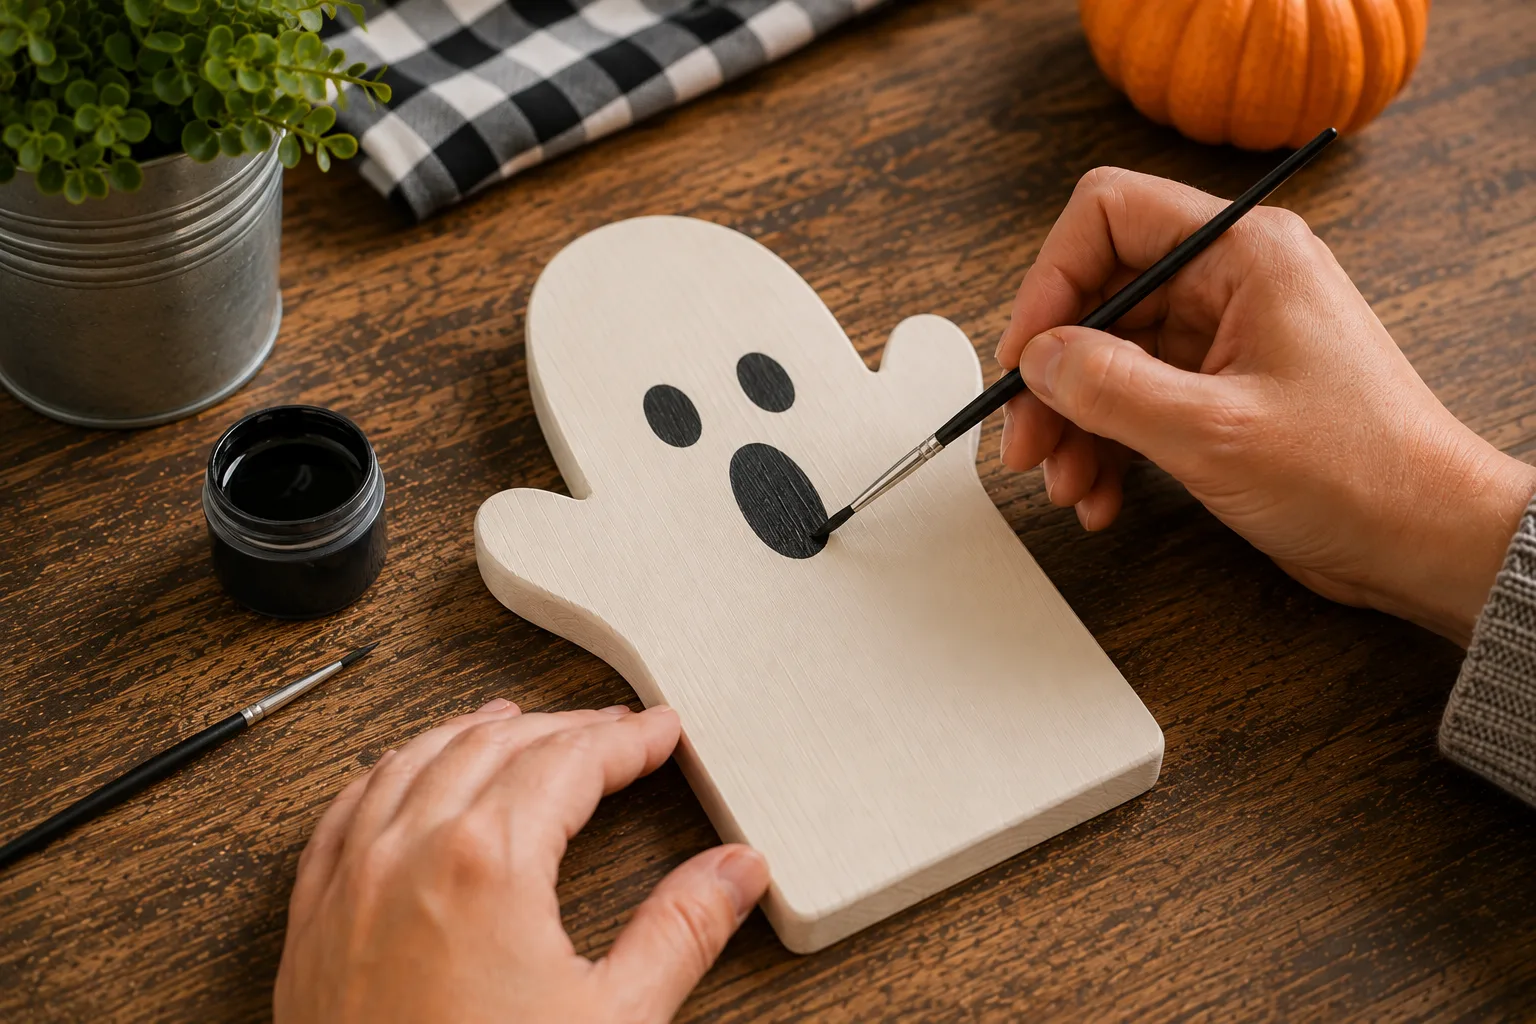
Step 7: Add the Ghost's Face
After the white paint has dried completely, it's time to give your ghost some personality.
Use black paint and a small detail brush to create two simple eyes.
You can add an oval or round mouth underneath.
For a cute Halloween character, keep the features simple and rounded.
For a spooky appearance, make the eyes larger, uneven, or slightly angled.
You can lightly sketch the facial features with a pencil first so you can adjust the placement before painting.
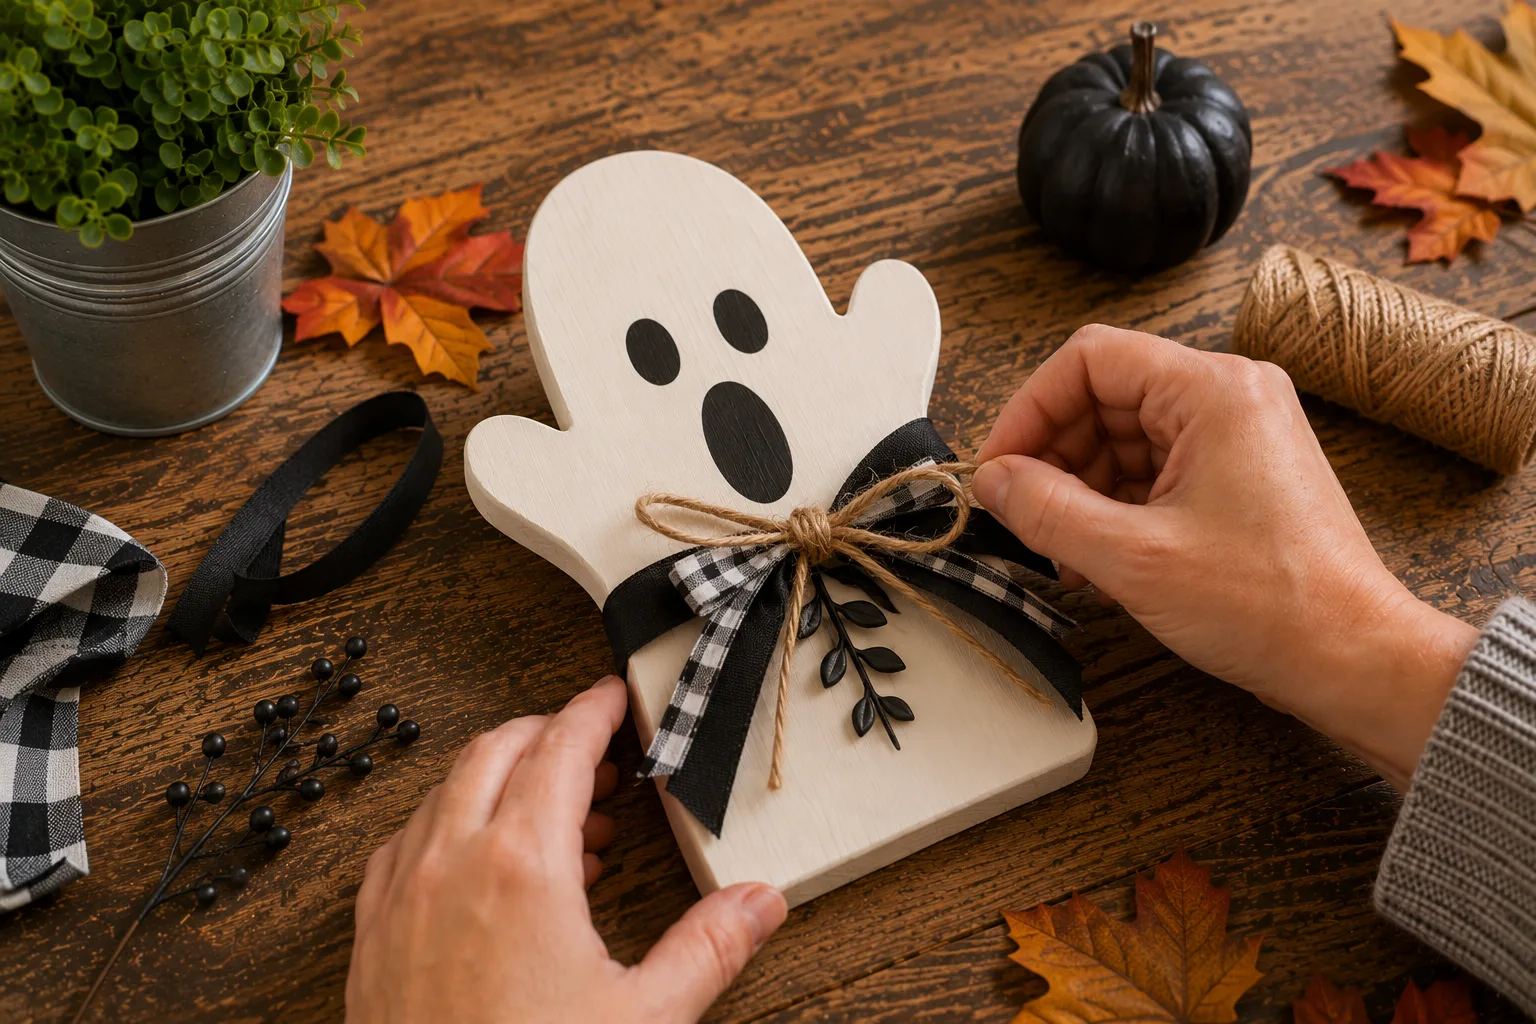
Step 8: Add Decorative Details
Now customise your ghost.
You could add:
Small black stars
Tiny bats
A distressed paint effect
A black border
Orange accents
Small painted lettering
Faux moss around the base
Keep the decoration balanced. The ghost should remain the main visual focus.
For a rustic design, lightly sand selected painted edges after the paint has dried. This exposes small areas underneath and creates a naturally aged appearance.
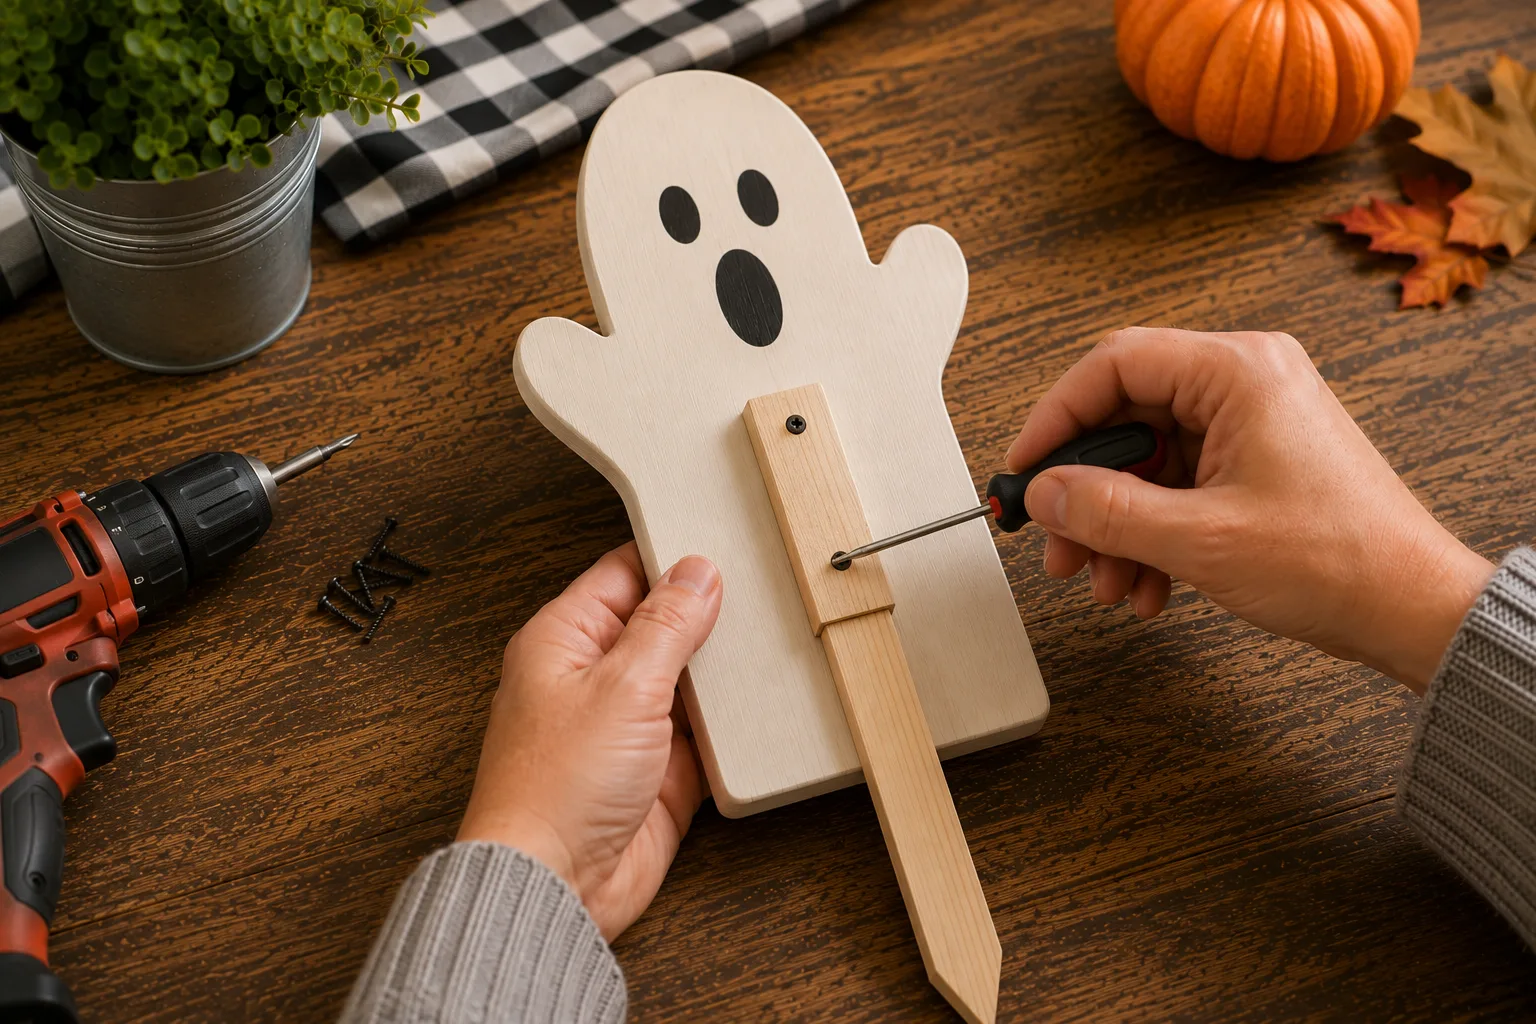
Step 9: Create a Base or Stake
If you want your ghost to stand on a porch, garden, or yard, attach a wooden stake to the back.
The stake should extend far enough below the ghost to provide stability when inserted into the ground.
For indoor décor, you can instead attach a small wooden support block to the back so the ghost can stand on a flat surface.
Make sure any adhesive or hardware you use is appropriate for the weight of the sign and its intended location.
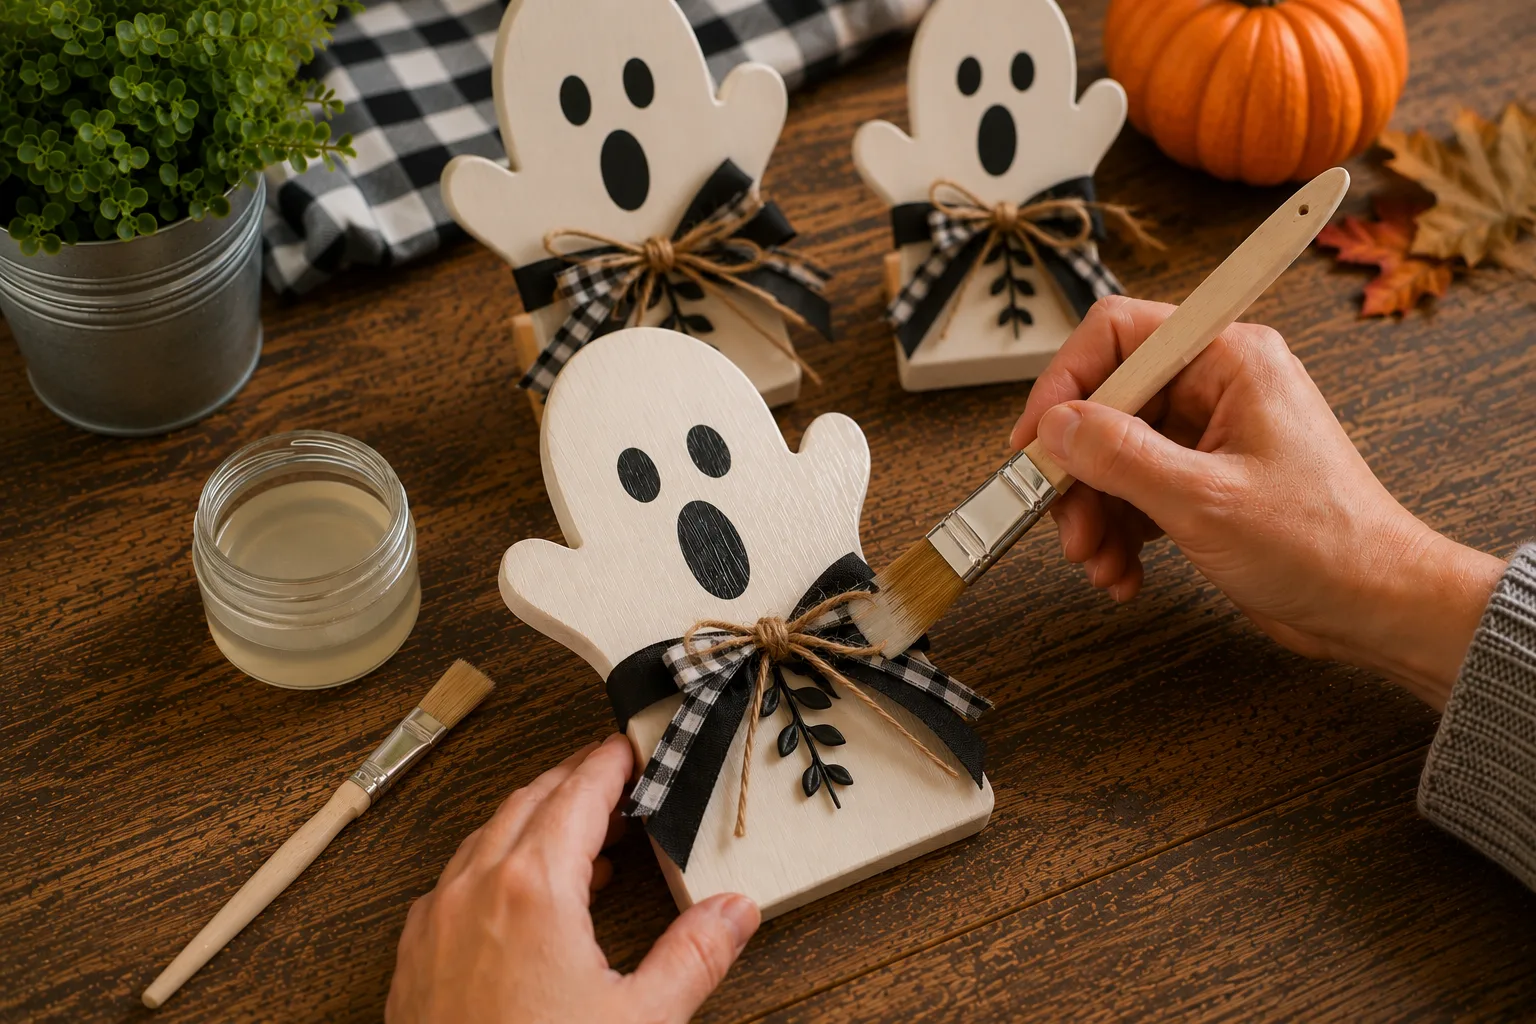
Step 10: Seal the Finished Ghost
Once all paint is completely dry, apply a suitable clear protective sealer.
For indoor decorations, a standard craft sealer can provide additional protection.
For outdoor decorations, choose an exterior-rated sealer and follow its application instructions carefully.
Allow the protective finish to cure fully before exposing the sign to moisture.
Your wooden Halloween ghost is now ready to display!
Tips & Tricks
Use scrap wood when possible. Small leftover boards are perfect for this project and can keep the cost low.
Make a ghost family. Instead of creating one sign, make three different sizes and shapes for a more interesting display.
Use thin paint coats. Several thin coats usually provide a smoother result than applying a large amount of paint at once.
Sand before painting. Smooth edges make the finished sign look much more polished.
Try warm white paint. Cream and ivory tones can give the ghosts a cozy farmhouse appearance.
Don't make every ghost identical. Slight differences in facial expressions and body shapes make the display feel handmade.
Distress carefully. Light sanding around the edges can create an attractive vintage effect without making the decoration look damaged.
Protect outdoor signs. Moisture-resistant paint and an exterior-rated sealer are important if the ghost will be exposed to weather.
Use templates. If you want matching ghost shapes, make a cardboard template before transferring the design to the wood.
Let paint dry properly. Rushing between layers can cause smudging, uneven coverage, and unwanted texture.
Common Mistakes to Avoid
Cutting Too Quickly
Fast cutting can create uneven curves and rough edges.
Fix: Slow down around curves and let the cutting tool do the work.
Skipping Sanding
Freshly cut wood can have sharp edges and splinters.
Fix: Always sand the edges before painting.
Applying Thick Paint
Heavy layers can take longer to dry and may leave visible brush marks.
Fix: Apply several thin coats.
Painting Before the Primer Dries
This can interfere with adhesion and produce an uneven surface.
Fix: Follow the recommended drying time on the primer.
Making the Face Too Complicated
Too many details can make the ghost look cluttered.
Fix: Start with simple eyes and a mouth, then add details only if needed.
Using Indoor Materials Outdoors
Indoor paint and finishes may deteriorate quickly when exposed to rain and sunlight.
Fix: Choose products designed for exterior use when making outdoor décor.
Forgetting Stability
A tall ghost sign can tip over in wind if it has an inadequate base or stake.
Fix: Give freestanding signs a wide base or use a sufficiently long stake.
Creative Variations
1. Cute Ghost Family
Create several ghosts with different facial expressions. Give each one a slightly different shape and personality.
2. Rustic Farmhouse Ghosts
Use cream-colored paint, distressed edges, natural wood accents, and jute rope for a farmhouse-inspired appearance.
3. Spooky Black-and-White Ghosts
Keep the ghost white but use dark black eyes, a black border, and subtle distressed details for a more dramatic Halloween display.
4. Glow-in-the-Dark Ghosts
Add glow-in-the-dark paint to selected areas of the face or body. Follow the product instructions and test the effect before applying it to the finished decoration.
5. Mini Ghost Signs
Use small pieces of wood to create miniature ghosts for bookshelves, mantels, side tables, or Halloween centerpieces.
6. Porch Ghost Collection
Make three to five ghosts in different sizes and arrange them together near your front door.
7. Personalized Ghosts
Give each ghost a unique name or personality using small painted details or decorative accessories.
8. Fall-to-Halloween Design
Combine ghost shapes with autumn leaves, pumpkins, warm neutral colors, and natural wood textures for a seasonal display that transitions smoothly through fall.
Where to Use It
These wooden ghost signs work especially well in:
Front porch displays
Entryways
Halloween party decorations
Fireplace mantels
Bookshelves
Console tables
Covered patios
Seasonal table displays
Halloween photo backgrounds
Craft-room décor
For outdoor use, place the signs somewhere they are appropriately protected from weather, especially if the materials are not specifically designed for prolonged outdoor exposure.
Frequently Asked Questions
Are wooden Halloween ghost signs suitable for beginners?
Yes. The basic design is simple, and the project can be completed with straightforward cutting, sanding, painting, and assembly techniques. Beginners should work carefully when using power tools.
What type of wood should I use?
Untreated pine or other easy-to-cut lumber works well. Scrap wood can also be used as long as it is structurally sound and suitable for the project.
Can I make these ghosts without a jigsaw?
Yes. You can adapt the design to use a pre-cut wooden shape or another suitable material. If you don't have cutting tools, look for thin craft wood that can be cut using appropriate hand tools.
Can I use these wooden ghosts outdoors?
Yes, provided you use materials and finishes appropriate for outdoor conditions. Exterior-rated paint and protective sealer can help, but no finish should be assumed to make wood permanently weatherproof.
How can I make the ghosts more rustic?
Use warm white or cream paint, leave some natural wood visible, lightly distress the edges, and add natural materials such as jute or dried foliage.
Can I make smaller versions?
Absolutely. Smaller ghosts are excellent for shelves, mantels, tables, and Halloween centerpieces.
Can children make this project?
Children can participate in age-appropriate parts such as sanding with supervision, painting, and decorating. Cutting wood with power tools should be handled by a responsible adult.
How should I store the decorations after Halloween?
Allow the decorations to dry and cure completely before storing them. Keep them in a dry location away from excessive moisture and avoid placing heavy objects on top of painted surfaces.
How can I make the ghost stand upright?
For outdoor displays, attach a suitable wooden stake to the back. For indoor displays, a wooden support block or stable stand can help keep the ghost upright.
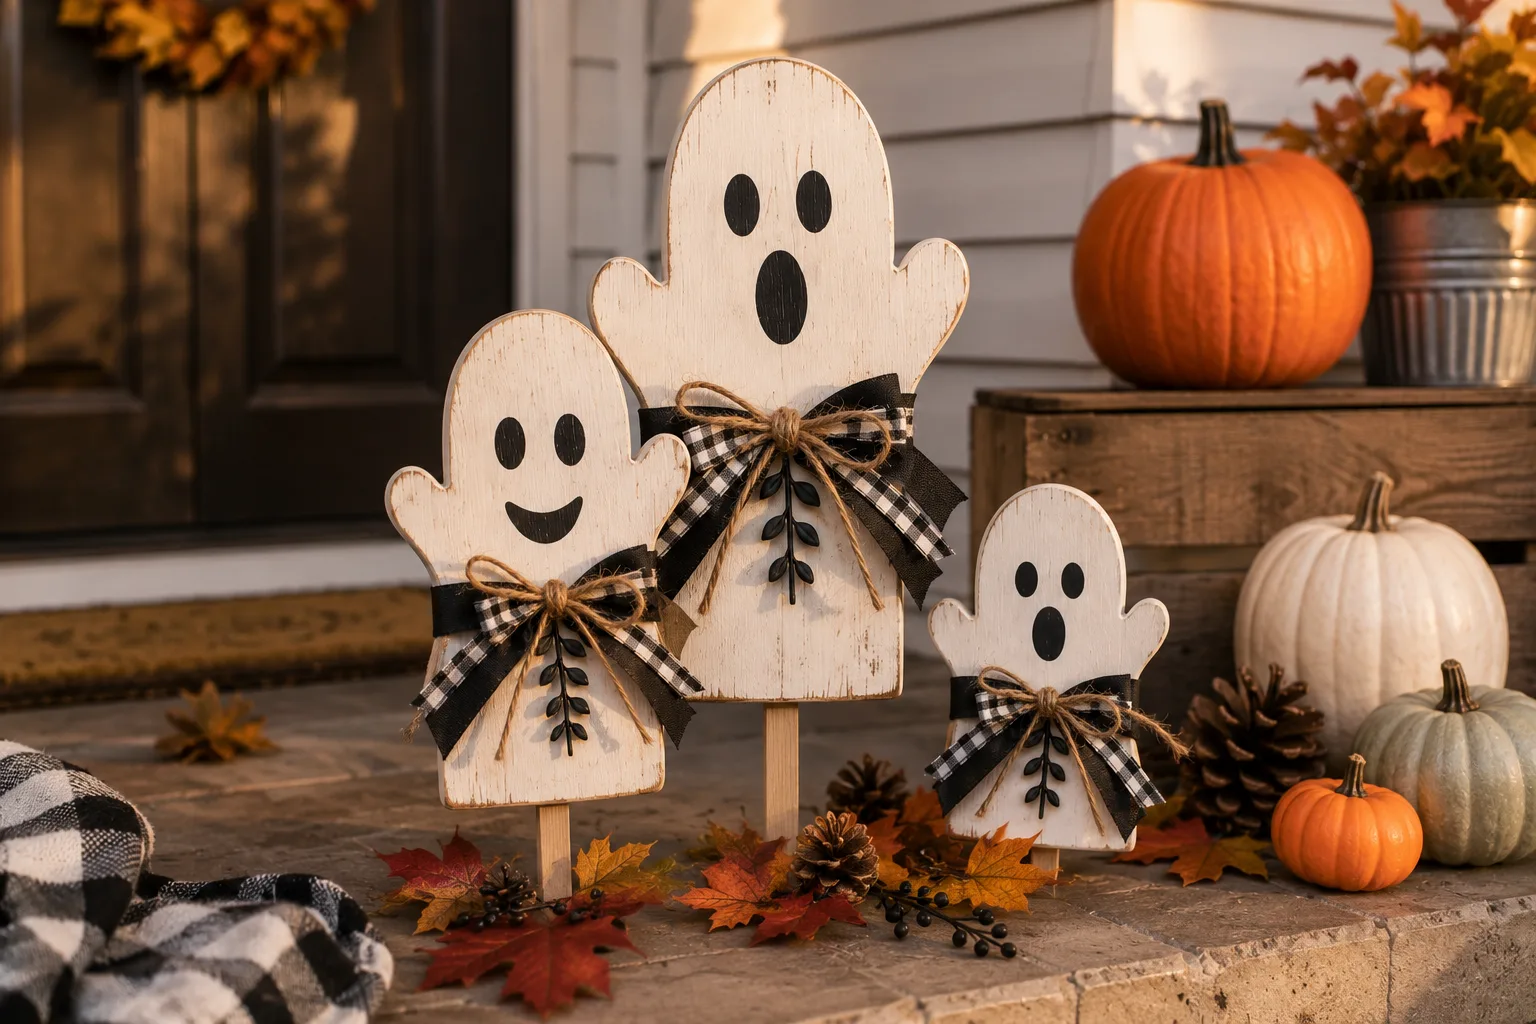
Final Result
With a few basic materials and some creativity, you can turn ordinary pieces of wood into charming DIY wooden Halloween ghost signs for your home.
The best part is that you don't need every ghost to look perfect. Different shapes, expressions, and small imperfections can give the finished display plenty of personality.
Make one ghost for a subtle Halloween accent or create an entire ghost family for your porch. 🎃
Save this project for your next Halloween craft session and experiment with different sizes, colors, and expressions to create a decoration that feels uniquely yours.