

Introduction
There is something wonderfully nostalgic about hanging Christmas stockings by the fireplace, staircase, or Christmas tree. But instead of buying mass-produced stockings this year, why not create your own DIY fabric Christmas stockings? 🎄
Handmade stockings are more than decorations. They can become part of your family's Christmas tradition, especially when you personalize them with names, favorite colors, festive patterns, or small embroidered details. Best of all, you can make them from cotton fabric, linen, felt, fleece, or even fabric scraps you already have at home.
This project is suitable for beginner sewers and takes approximately 1–2 hours per stocking, depending on your sewing experience and how much decoration you add. You don't need an expensive sewing machine either—a basic machine or careful hand stitching will work.
In this tutorial, you'll learn how to make a classic fabric Christmas stocking from start to finish, including choosing fabric, creating the stocking pattern, sewing clean seams, adding a hanging loop, and finishing the cuff.
Let's turn some beautiful fabric into a Christmas keepsake! ✂️🎅
Essential Materials & Tools
Before cutting anything, gather everything you need. Having your materials prepared makes the project considerably easier and helps prevent mistakes.
Materials Needed
Main fabric: Approximately ½ yard (45 cm) of cotton, linen, flannel, or lightweight canvas
Lining fabric: Approximately ½ yard of coordinating cotton fabric
Cuff fabric: About ¼ yard of fleece, faux fur, cotton, or contrasting fabric
Ribbon or twill tape: 5–7 inches for the hanging loop
Matching thread: Choose a strong polyester sewing thread
Fabric marker or tailor's chalk
Paper: For creating your stocking template
Optional decorations: Buttons, embroidery thread, lace, pom-poms, appliqué pieces, bells, or fabric letters
Fabric alternatives: For a rustic stocking, try burlap with a cotton lining. For a soft children's stocking, fleece or flannel works beautifully. Avoid extremely stretchy fabric if you're a beginner because it can be difficult to sew accurately.
Tools Required
Sewing machine or hand-sewing needle
Fabric scissors or rotary cutter
Measuring tape or ruler
Pins or sewing clips
Iron and ironing board
Seam ripper
Safety scissors for trimming threads
Safety note: Keep sharp scissors, pins, needles, and sewing-machine cords away from young children. When ironing, always work on a stable heat-resistant surface.
Detailed Step-by-Step Guide
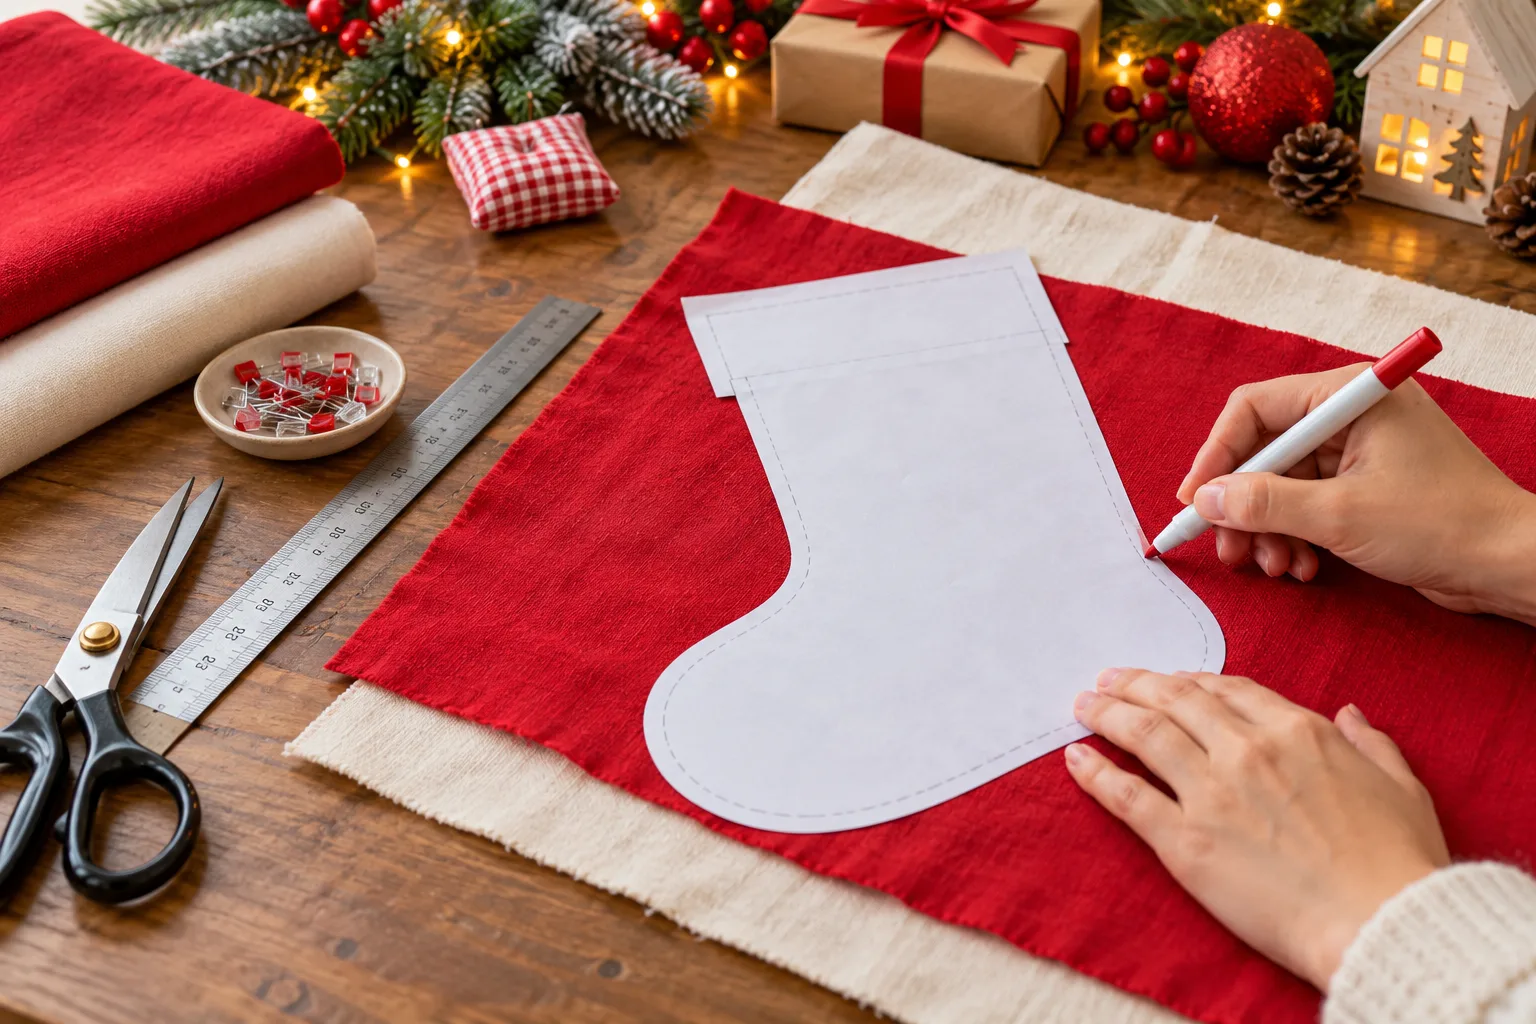
Step 1: Create and Cut Your Stocking Pattern
Start by drawing a classic stocking shape on paper. A finished stocking measuring approximately 15–17 inches (38–43 cm) tall is a useful size for most decorative applications.
Draw a wide opening at the top, a slightly narrower ankle, and a rounded toe pointing toward one side.
Add approximately ½ inch (1.3 cm) seam allowance around the entire pattern. If you plan to make several stockings, transfer the template onto thicker paper or cardboard so you can reuse it.
Place the template on the wrong side of your main fabric and trace around it. You need two main stocking pieces, remembering to create a left and right-facing pair.
Cut carefully along your marked lines.
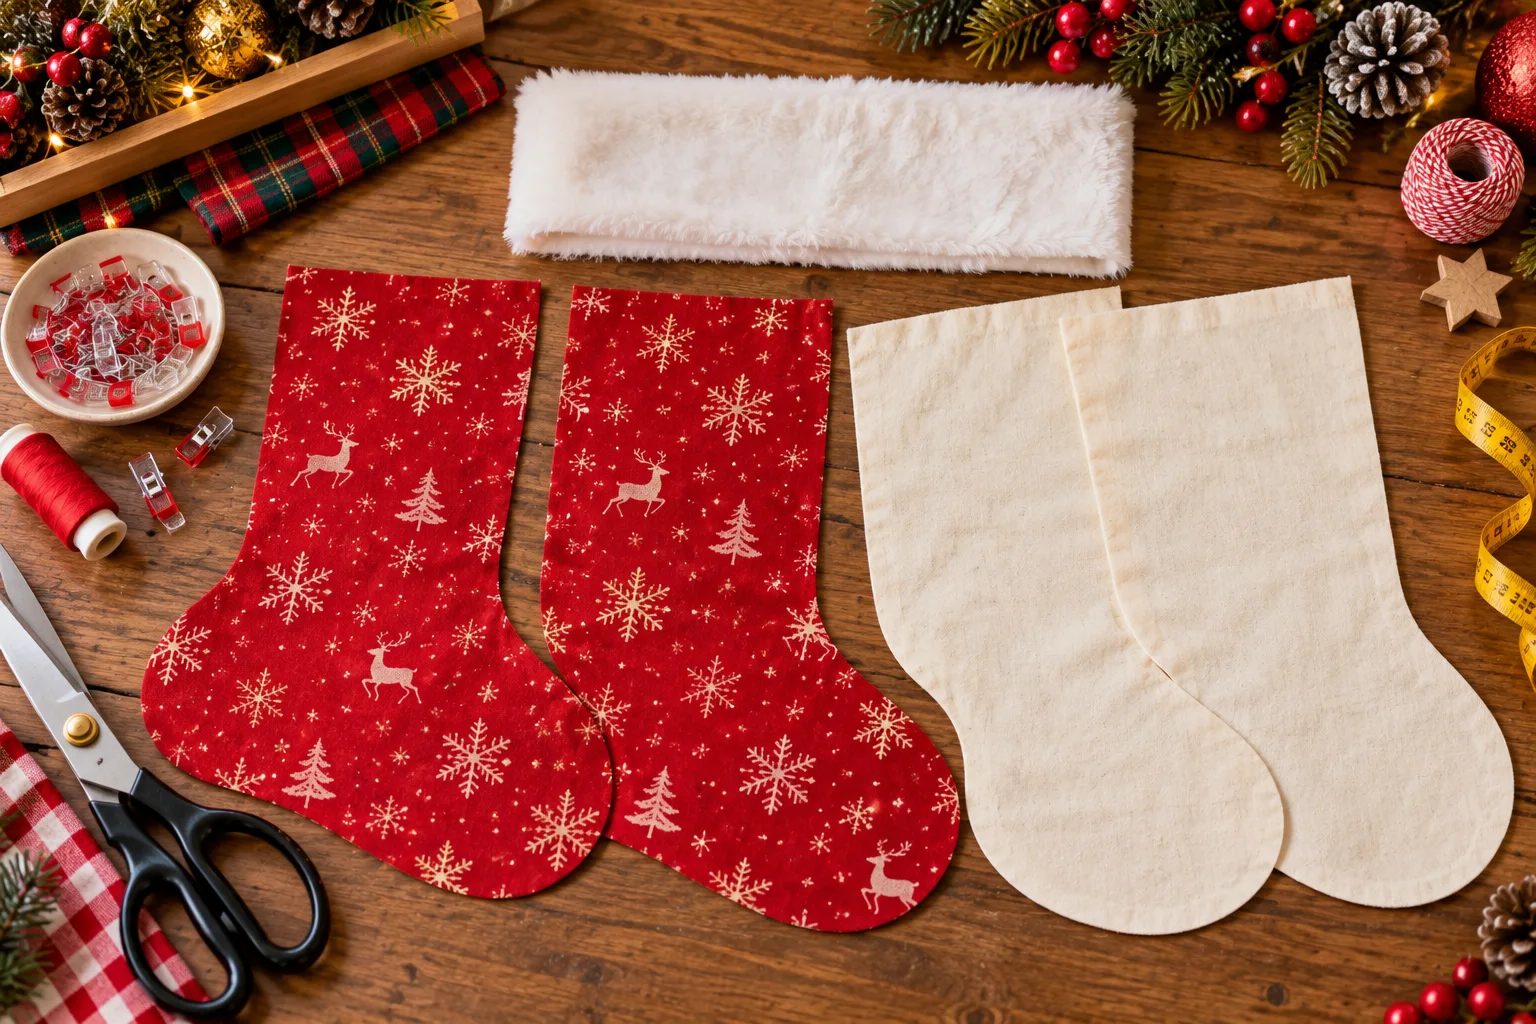
Step 2: Cut the Lining and Cuff
Use your main stocking pieces as a guide to cut two matching lining pieces from your coordinating fabric.
Next, prepare the cuff. Cut a rectangle approximately 10 inches wide × 5 inches tall, adjusting the width according to your stocking opening.
Fold the cuff fabric in half with the right sides together and sew the short edges together. Press the seam flat.
If you're using faux fur, be careful when cutting. Cut through the backing rather than aggressively cutting through the fur fibers. This keeps the finished edge fuller and cleaner.
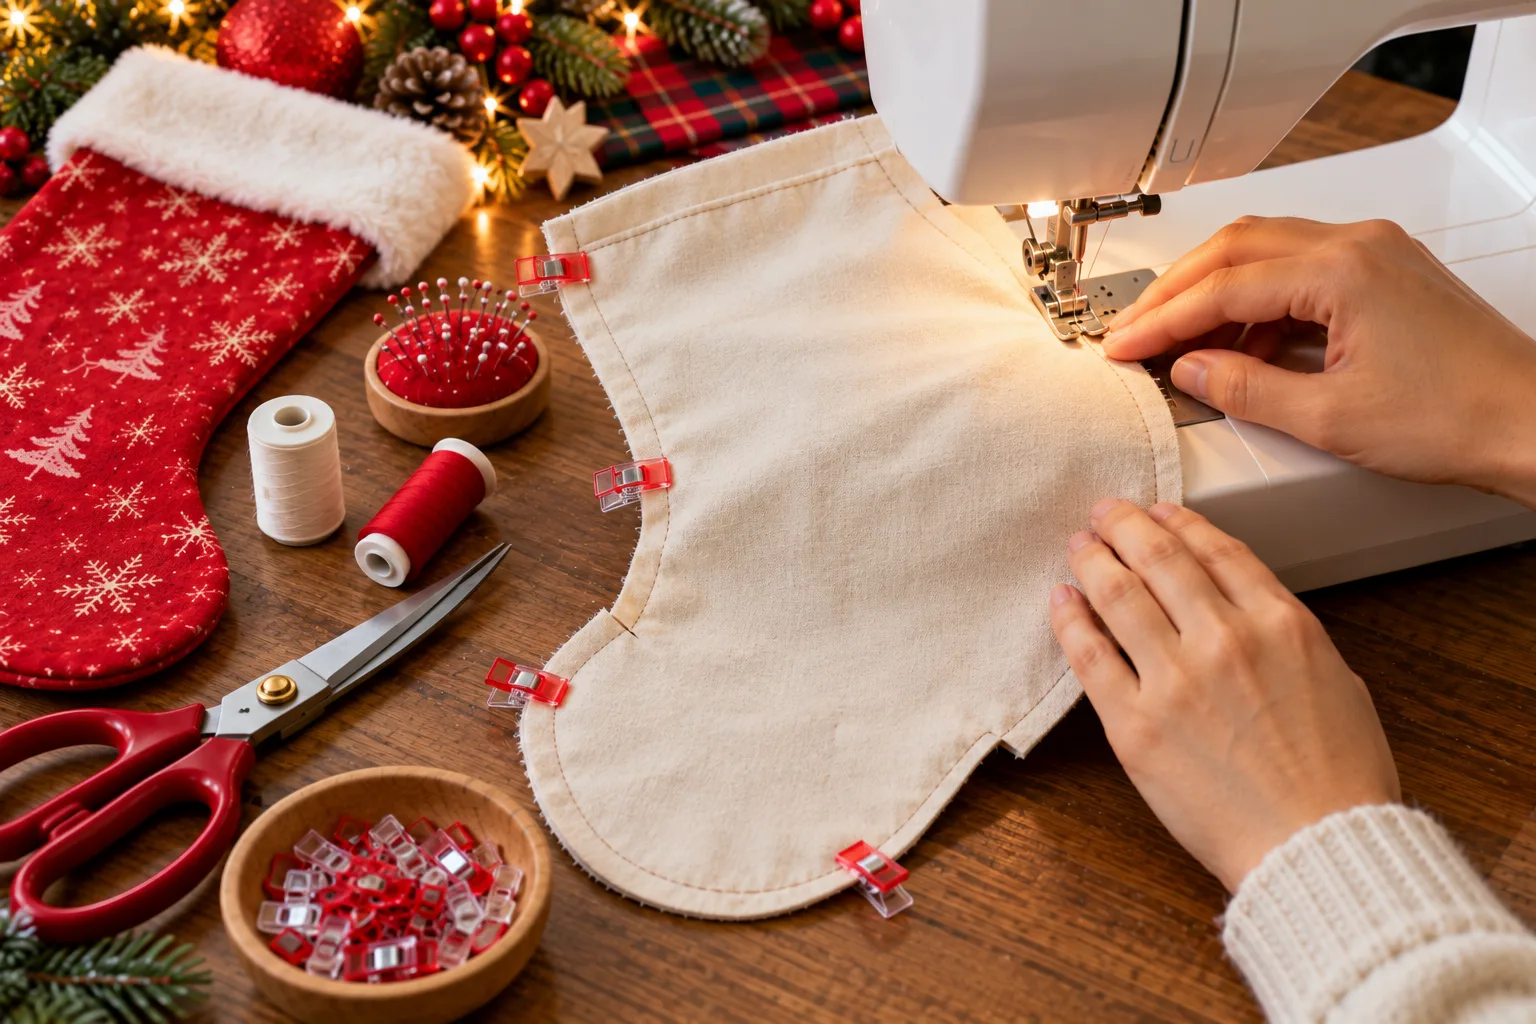
Step 3: Sew the Stocking Pieces
Place the two main stocking pieces right sides together, making sure the toe and heel curves align.
Secure the edges with sewing clips or pins. Sew around the sides and bottom using a ½-inch seam allowance. Leave the top opening completely unstitched.
When sewing around the curves, slow down and gently guide the fabric instead of pulling it. For tighter curves, you can make small notches into the seam allowance after sewing, being careful not to cut through the stitching.
Turn the stocking right side out and press it gently with an iron.
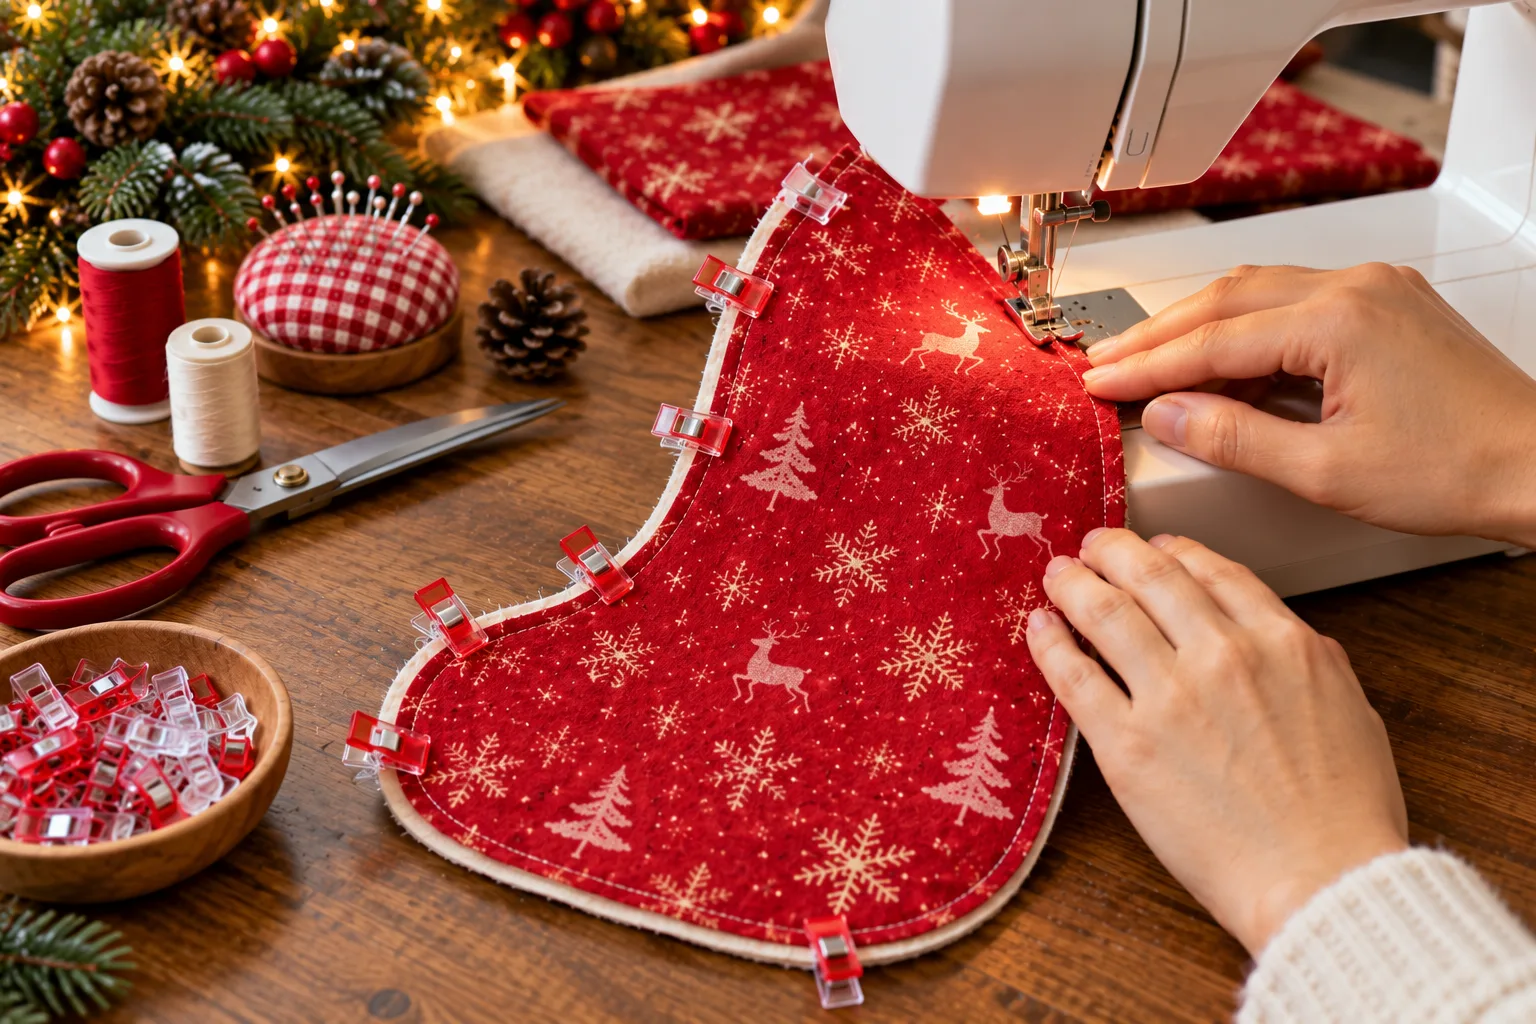
Step 4: Sew the Lining
Place the two lining pieces together with their right sides facing each other.
Sew around the sides and bottom using the same ½-inch seam allowance. Leave a small 3–4 inch opening along one side or bottom edge. This opening will allow you to turn the stocking right side out later.
Do not turn the lining right side out yet.
Instead, keep it inside out and set it aside while you prepare the cuff and hanging loop.
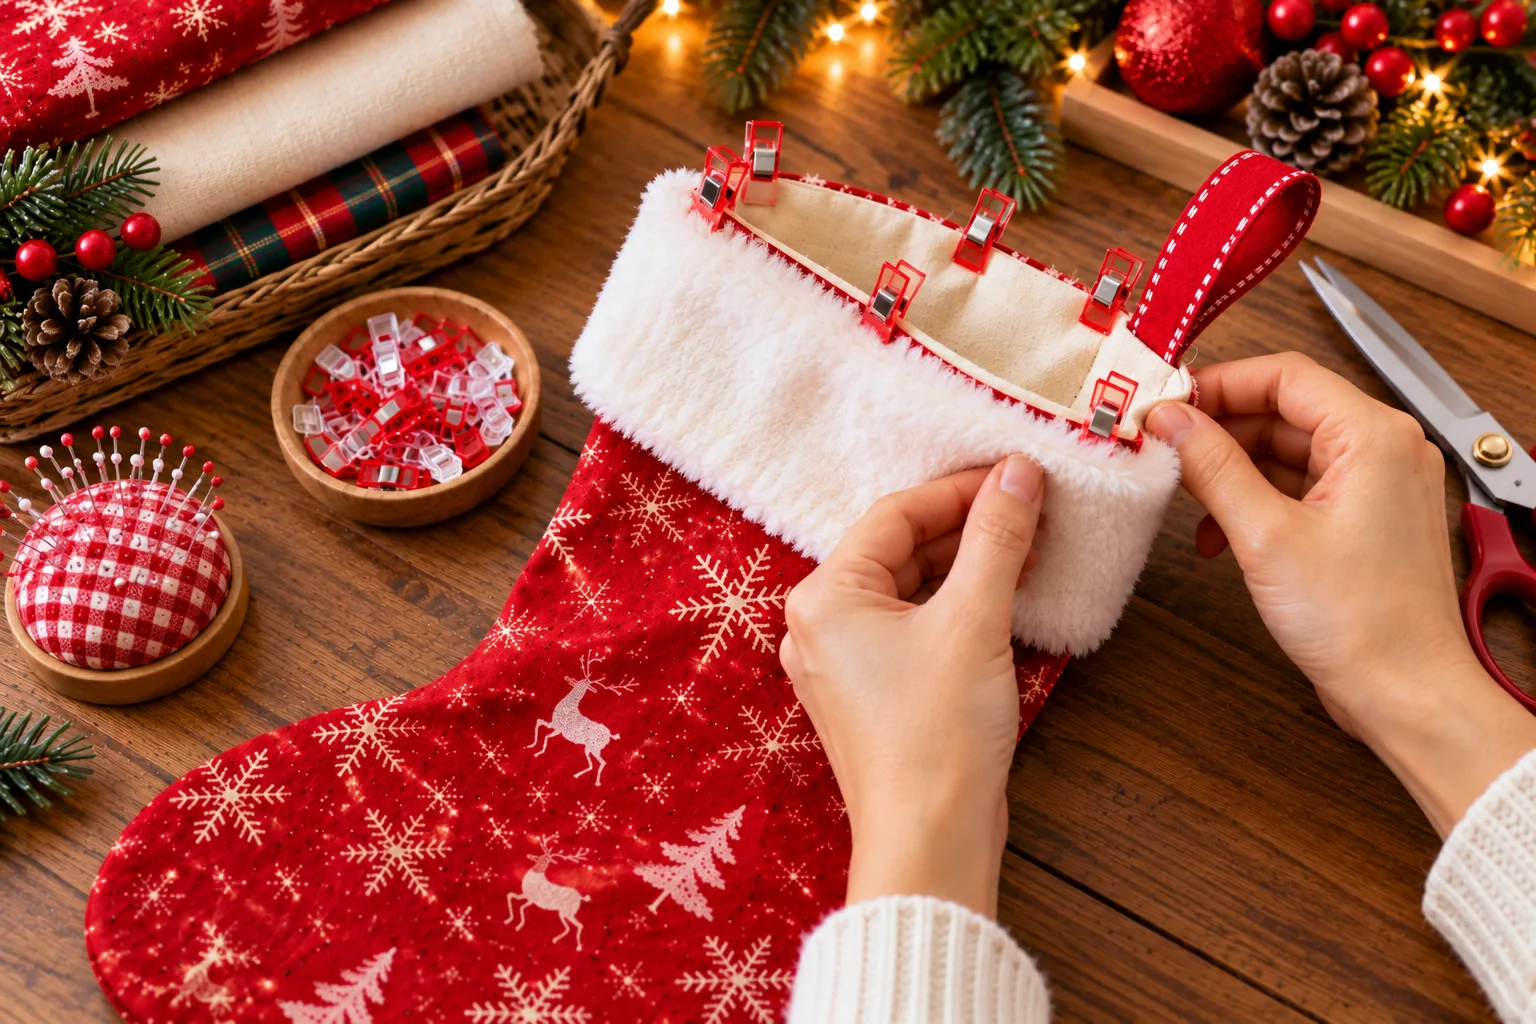
Step 5: Add the Hanging Loop and Cuff
Fold your ribbon or twill tape in half to create the hanging loop. Position it at the inside back edge of the stocking opening, with the raw ends facing upward.
Stitch the loop securely in place.
Next, insert the lining into the main stocking so that the right sides of the main fabric and lining face each other. Match the top edges and side seams.
Place the cuff around the opening and sew all layers together.
Take your time here because the cuff determines how professional the finished stocking will look.

Step 6: Turn, Press, and Finish
Pull the entire stocking through the opening you left in the lining.
Gently push out the toe and heel using a blunt turning tool or the rounded end of a chopstick. Never use a sharp object, as it can puncture the fabric.
Hand-stitch or machine-stitch the opening in the lining closed.
Finally, push the lining completely inside the stocking and press the cuff carefully.
Add your favorite decorations—such as a name, embroidered snowflake, buttons, ribbon, pom-poms, or a small bell.
Give the stocking one final press, and it's ready to hang!
Pro Tips & Troubleshooting
A few small techniques can make the difference between a homemade-looking project and a polished handmade stocking.
Expert Tips
Press as you sew. Ironing seams after each major stage creates sharper edges and a professional finish.
Use clips around curves. They make it easier to control curved seams without distorting the fabric.
Reinforce stress points. Backstitch at the beginning and end of seams, especially around the stocking opening and hanging loop.
Choose coordinated fabrics. A patterned exterior with a simple solid-color lining creates a stylish contrast.
Common Mistakes
The stocking looks smaller than expected: Remember that the seam allowance reduces the finished size. Make your paper template slightly larger if you want a generous stocking.
The toe looks wrinkled: The curve may be too tight or the seam allowance may not have been clipped properly. Carefully clip small notches around the curved seam allowance without cutting the stitching.
Styling, Variations & Care
The beauty of handmade Christmas stockings is how easily you can customize them.
1. Rustic Farmhouse Stocking
Use cream linen, plaid cotton, burlap accents, twine, and wooden buttons for a traditional farmhouse appearance.
2. Modern Scandinavian Stocking
Choose white, beige, gray, or muted green fabrics with simple geometric patterns. Add a minimal embroidered snowflake instead of heavy embellishment.
3. Personalized Family Stockings
Create one stocking for every member of the family. Add names using embroidery, fabric letters, or iron-on appliqué. You can even use a different color combination for each person.
For care, check the fabric manufacturer's washing instructions before cleaning. Most cotton stockings can be gently machine washed, but faux fur, delicate embellishments, embroidery, and glued decorations may require hand washing or spot cleaning.
Store your stockings in a dry place after Christmas. Fold them loosely rather than compressing them under heavy decorations.
Conclusion
Making your own DIY fabric Christmas stockings is an easy way to add warmth, personality, and handmade charm to your holiday decorations. 🎄 Whether you choose traditional red and green fabric or create a modern personalized design, this project can become a Christmas tradition you'll enjoy repeating every year.
Choose your favorite fabric, follow the steps above, and make something special for someone you love.
Made your own stocking? Share your finished creation on Pinterest or Instagram and show us your festive design!❤️