
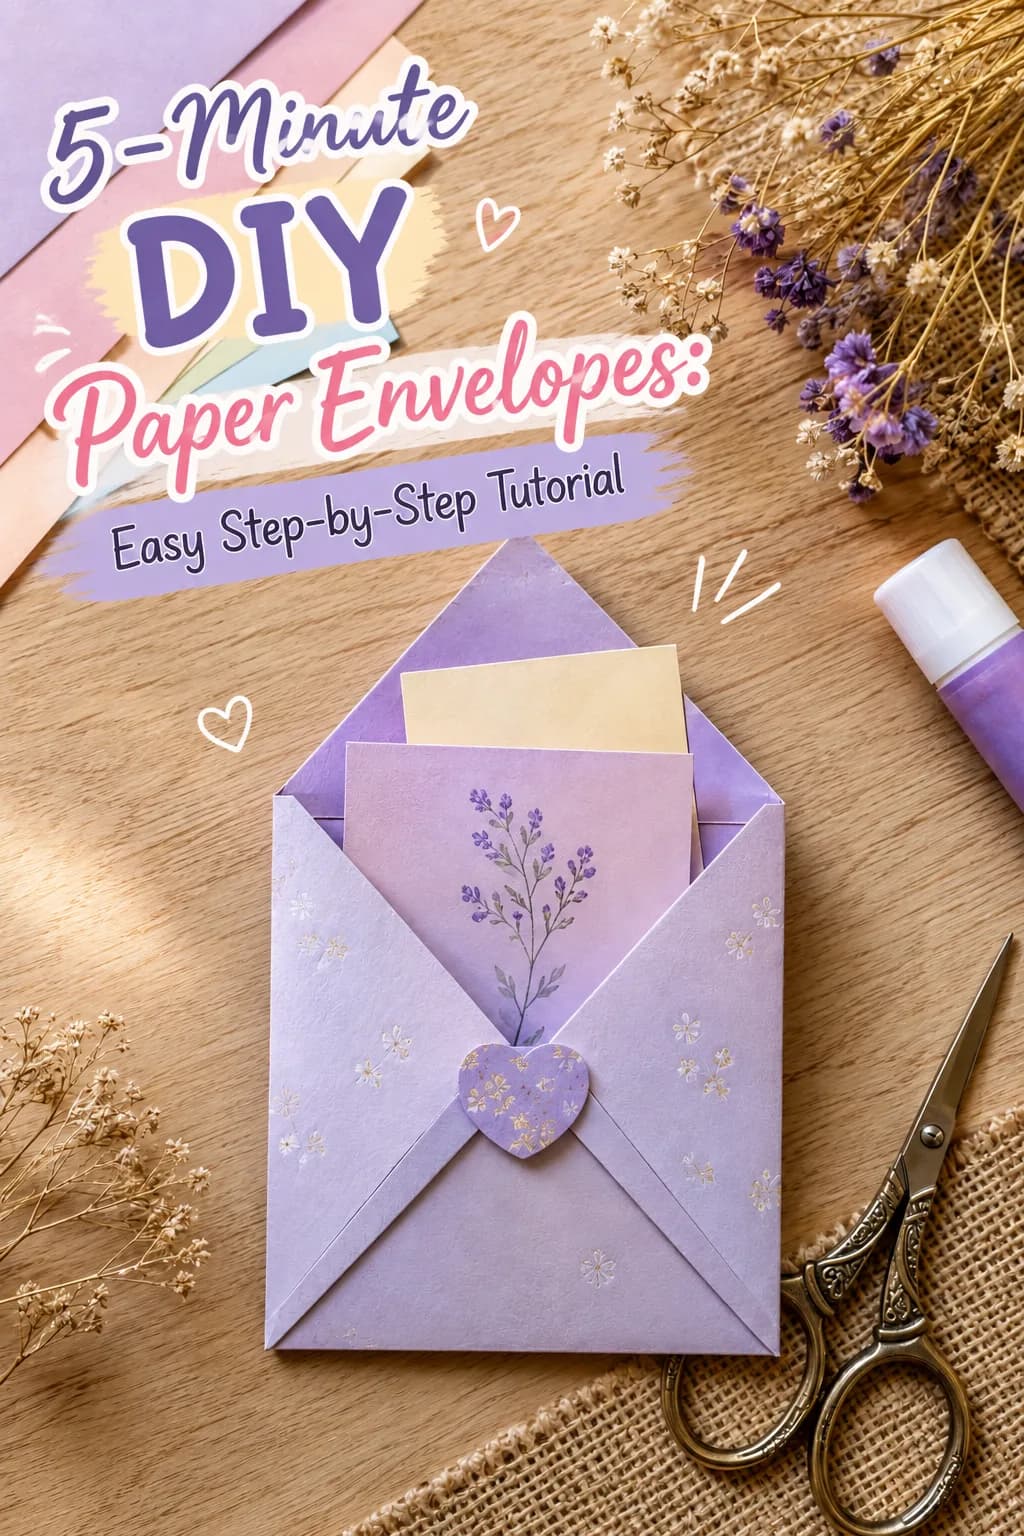
Are you looking for a quick, budget-friendly way to make your gift cards and handwritten notes extra special? Learning how to make a DIY paper envelope is one of the easiest paper crafts you can master in under 5 minutes!
Whether you need a last-minute gift card holder, a cute love note pocket, or custom party invitation envelopes, this simple step-by-step tutorial requires no fancy tools or expensive craft punch boards.
tarani fernando
Materials Needed
Before starting, gather these basic craft supplies.
1 Sheet of Square Paper (15cm x 15cm patterned origami paper or scrapbook paper)
Glue Stick or double-sided tape
Scissors (optional for embellishments)
Cute Stickers or Stamps for sealing
Step-by-Step Instructions: How to Fold a Paper Envelope
Step 1: Create Your Base Guidelines
Take your square piece of paper and turn it so it looks like a diamond. Fold it in half horizontally by bringing the bottom corner up to the top corner. Crease well, then unfold to reveal a horizontal center crease line.
Step 2: Fold the Side Flaps
Fold the left corner inward so the tip slightly overlaps the center crease. Repeat the same process with the right corner. Make sure the side edges remain parallel to keep your envelope symmetrical.
Step 3: Bring Up the Bottom Flap
Fold the bottom point up toward the center, overlapping the two side flaps slightly. Apply a small line of glue along the bottom edges of the left and right flaps, then press the bottom flap firmly down to secure the pocket.
Step 4: Seal and Decorate Your Envelope
Fold the top corner downward to create the main closure flap of your envelope. Slide your gift card, love note, or holiday greeting inside, and seal it with a aesthetic sticker or wax seal!
Pro Tips for Pinterest-Worthy DIY Envelopes
Use Double-Sided Paper: Patterned double-sided paper adds a beautiful contrast when the recipient opens the top flap.
Add Personal Touches: Use calligraphy pens to write the recipient’s name on the front, or attach dried flowers under a wax seal.